How to Get Rid of Stains on White Clothes: 8 Proven Methods That Work Fast
To get rid of stains on white clothes quickly, pretreat the stain using hydrogen peroxide or dish soap, then wash in hot water at 120 degrees or above. Soaking your whites in vinegar or a mix of hydrogen peroxide and baking soda can boost stain removal power and restore brightness. These methods tackle common stains like grass, ketchup, and yellowing effectively without special products.
This guide is for homeowners and renters who want clear, simple ways to keep their white clothes spotless. You’ll find fast, practical stain removal tips that match different types of marks, along with pretreatment and washing advice for the best results.
Key Takeaways
- Scrub grass stains with liquid dish soap or a 50/50 mix of hydrogen peroxide (3%) and water before washing.
- Soak yellow or underarm deodorant stains in a paste of hydrogen peroxide and baking soda, then rinse with vinegar.
- Wash cotton and polyester white clothes together in water at 120 degrees or hotter to maximize stain removal.
- Pre-soaking whites in one cup of white vinegar per gallon of hot water for an hour brightens fabric before wash.
- Add 120ml lemon juice and 360ml hydrogen peroxide into the washing machine drum for improve whitening effects.
- Limit vinegar soaks to 10 minutes on stains to avoid fabric damage when using it as a pretreatment.
1. The Fastest Ways to Remove Stains from White Clothes

Acting quickly after a stain appears on white clothes is critical to prevent it from setting in and becoming harder to remove. The sooner you treat a stain, the better your chances of lifting it without leaving a trace. Many common household items can serve as fast, effective stain removers, saving you money and avoiding harsh chemicals. Cold water often helps loosen fresh stains and avoid setting, while ingredients like salt, white vinegar, lemon juice, and hydrogen peroxide each target specific stain types instantly. Swift attention and the right steps can keep your whites bright and stain-free. Follow these practical steps to tackle fresh stains on white clothing efficiently:
- Blot the stain gently with a clean cloth or paper towel to absorb excess liquid or solids without rubbing it deeper into the fabric.
- Rinse the stained area with cold water from the back of the fabric. This helps push the stain particles outward, especially for protein-based stains like blood or sweat.
- Apply a pinch of salt directly onto the wet stain. Salt is an affordable stain remover that works well on sweat, red wine, and grass stains. Let it sit for 5 to 10 minutes to absorb moisture and lift the stain.
- For tomato-based or similar acidic stains, rub lemon juice onto the affected area and leave it in the sun for 10 minutes if possible. The acidity combined with sunlight breaks down the stain molecules gently but effectively.
- Use white vinegar for tougher spots like fruit or vegetable stains. Dab white vinegar onto the stain, let it sit for 10 to 15 minutes, then rinse with cold water before washing. Its acidic properties help dissolve stain residues without damaging whites.
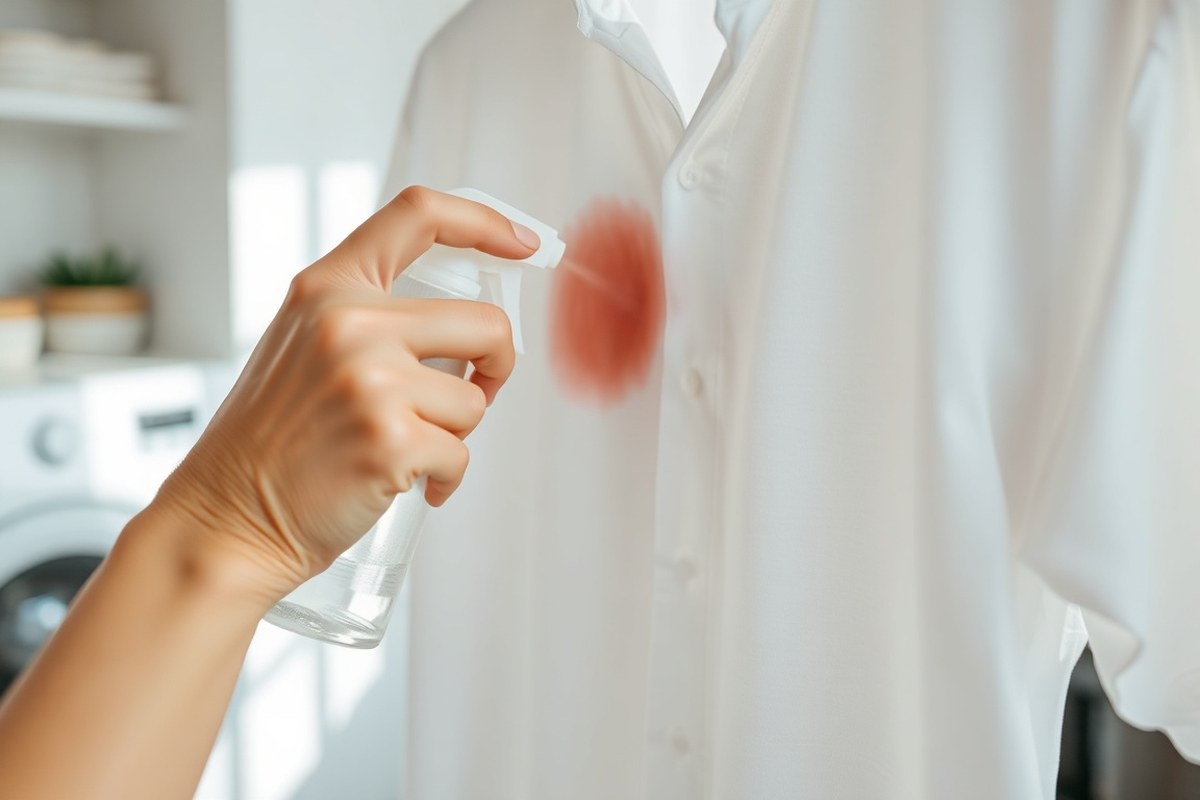
- Mix hydrogen peroxide with water (1:1 ratio) for blood or rust stains. Apply it carefully onto the stain, letting it fizz and work for a few minutes. Test this on a hidden seam first as hydrogen peroxide can bleach some fabrics.
- Apply a small bit of liquid detergent or stain remover to the stained spot and gently work it in using your fingers or a soft brush. Be careful not to scrub too vigorously to keep the fabric intact.
- Launder the white clothes promptly on the hottest safe water setting according to the care label. For cotton and polyester whites, wash at or above 120°F to help fully remove the stain and maintain brightness.
Treat stains as soon as you notice them, ideally within minutes. Delays allow stains to set due to heat from drying or time bonding with fabric fibers. Quick treatments typically cost only pennies using household ingredients but can prevent costly re-treatments or permanent marks. When a stain persists following washing, do not put the item in the dryer. Instead, treat the stain again to avoid making it permanent. White clothes are particularly unforgiving with stains, so timing and the right methods make all the difference to keep them looking clean and fresh.
2. How to Pretreat and Soak White Clothes Before Washing
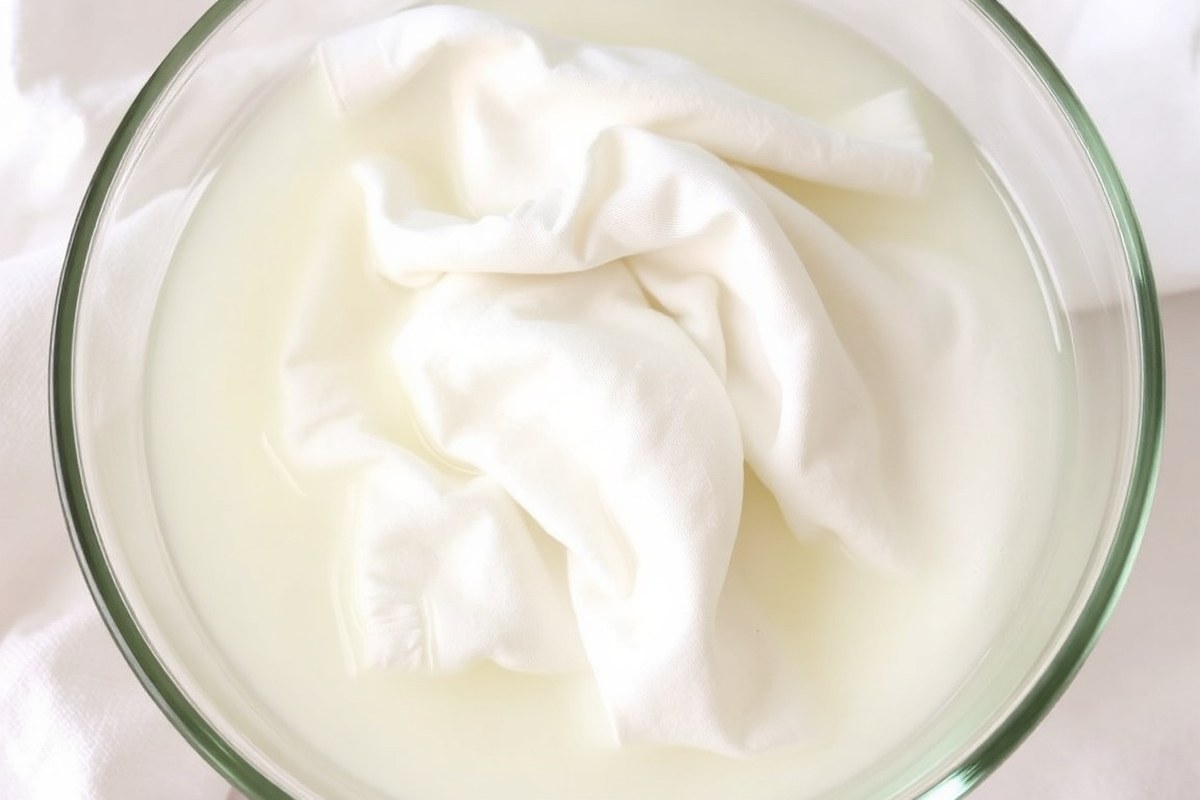
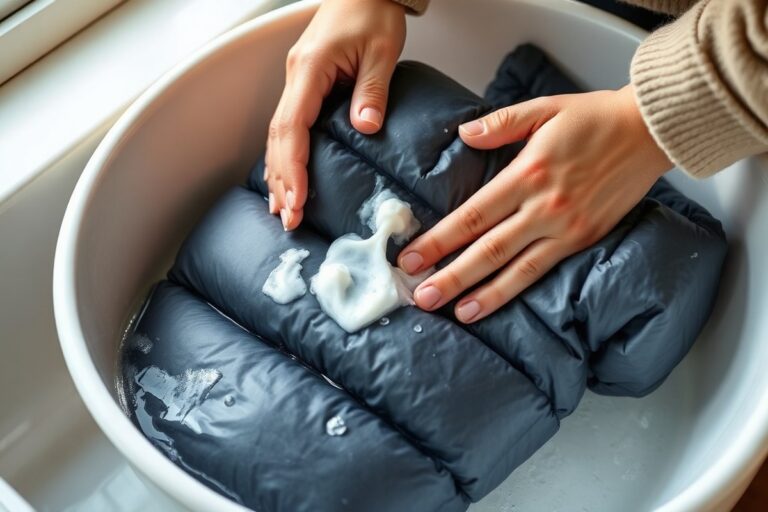
Pretreating and soaking white clothes before washing can significantly improve your chances of removing tough stains. These steps weaken stain bonds and brighten fabric, so stains come out easier during the wash cycle. You’ll need to apply targeted soaking solutions and scrubbing to get the best results without damaging the fabric.
Choosing Safe Soaking Solutions for Whites
White clothes handle certain soaking agents better than others, which speeds up stain removal. A common, gentle choice is white vinegar mixed with hot water, about 1 cup of vinegar per gallon of water. This mixture brightens whites and loosens dirt and residues. For stronger stains like yellow sweat marks or deodorant buildup, a 50/50 mix of hydrogen peroxide (3% concentration) and water is effective.
Avoid soaking with bleach directly, as it can yellow some fabrics or react poorly if stains aren’t fully removed first. Instead, use milder solutions like vinegar or hydrogen peroxide safely dissolved in water. Keep soaking times controlled, never exceeding 1 hour to prevent fabric wear.
Step-by-Step Pretreating and Soaking Process
The process below lays out how to address tough stains before machine washing. Following these steps consistently helps avoid repeated wash cycles and preserves your clothes’ bright white look.
- Sort your white clothes by fabric type and wash instructions to avoid damage.
- Prepare a soaking solution using 1 cup white vinegar per gallon of hot water for general brightening, or mix 50/50 hydrogen peroxide and water for strong yellow or deodorant stains.
- Submerge the stained areas or entire garment in the soaking solution, ensuring the fabric is fully saturated.
- Let the clothes soak for 30 to 60 minutes depending on stain severity.
- For heavy yellow stains, create a paste from 3% hydrogen peroxide and baking soda, then gently rub it on the stain before soaking.
- After soaking, rinse the clothes lightly and apply a small amount of liquid dish soap to the stain, scrubbing gently with a soft brush or cloth.
- Rinse again and transfer clothes to the washing machine for a regular white cycle using hot water.
Be sure not to soak delicate fabrics or clothes with care labels forbidding soaking, as it may weaken fibers or cause color loss.
How Long to Soak for Best Results
Stain type and fabric condition determine soaking time. A standard soak of 30 minutes loosens many stains effectively. For tougher odors and deodorant stains, soaking can extend up to 60 minutes. Avoid soaking for longer than an hour, as prolonged exposure to wet conditions may weaken fabric threads or cause discoloration.
When pretreating with a baking soda and hydrogen peroxide paste, apply it 10 to 15 minutes before the main soak. This extra step helps break down protein-based or oily stains without damaging the fabric.
Common Variations by Stain Type
To treat coffee or food stains, apply a solution of equal parts hydrogen peroxide and water onto the stained spot and let it sit for 30 minutes. For dull whites or underarm stains, try a two-step soaking process: first, use the diluted hydrogen peroxide mix, then soak the fabric in pure white vinegar for 15 minutes. This method targets both the stains and the buildup that causes yellowing.
Clothes with stubborn stains may need pretreatment with stain removers or scrubbing before soaking. Avoid mixing whites with colored clothes to prevent dye transfer during soaking.
3. Matching Stain Removal Methods to Stain Types
Choosing the right stain removal method depends on the type of stain and fabric involved. Sweat and yellow underarm stains require different care than grass, grease, or ink stains. Recognizing the stain’s source helps you pick a treatment that avoids setting the stain and protects your white clothes from damage.
Removing Sweat and Yellow Stains
Yellow stains under the arms of white clothing usually come from sweat, body oils, and antiperspirant residue combining over time. These stains are protein-based and prone to darkening if exposed to high heat. Apply a stain remover or a solution containing an acid that dissolves proteins before washing. Avoid hot water at first because heat can make stains permanent.
For best results, create a mixture of equal parts hydrogen peroxide (3 percent) and water. Soak the stained area for 30 minutes before washing normally in cool water. You can also use mild laundry detergents that help lift body oils without harsh chemicals. Check the stain before drying because heat from the dryer will set the stain permanently if it’s not fully gone.
Treating Grass and Dirt Stains
Grass stains on white fabric are tougher but respond well to treatments with dish soap or hydrogen peroxide. Dish soap breaks down natural oils and pigments from grass, while hydrogen peroxide acts as a mild bleach to lift the color. Scrub the stained area gently with liquid dish soap and warm water or apply a 50/50 mixture of hydrogen peroxide and water to loosen the stain.
Let the treatment sit for 15 to 30 minutes before washing. Use cool to warm water, not hot, to avoid setting the stain deeper. For dirt, simple pretreating with detergent or baking soda helps loosen particles. Always inspect the fabric after washing and before drying to avoid locking the stain in with dryer heat.
Handling Grease, Oil, and Food Stains
Grease and oil are common on white clothes, often from cooking or accidental spills. Dry baking soda works well to absorb excess oil before washing. Sprinkle baking soda on the stain and let it sit for 10 to 20 minutes, then brush it off. Follow with liquid dish soap applied directly to the stain; dish soap cuts oils gently without damaging fabrics.
Food stains respond similarly to grease stains and benefit from mild soap pretreatment. For greasy or oily stains, avoid hot water first, cold or warm water helps lift the oils. After pretreating with baking soda and soap, wash the garment on the usual cycle with laundry detergent. Check the stain again before drying.
Removing Ink and Blood Safely
Ink stains might seem tough but can often be removed at home with proper techniques. Dab the ink stain with rubbing alcohol or an ink-targeted stain remover, then rinse with cold water. Avoid rubbing too hard, which can spread the stain or damage fibers.
Blood stains are protein-based and best handled with cold water and hydrogen peroxide. Apply hydrogen peroxide directly to the stain and let it bubble for a few minutes. Then blot with a clean cloth and rinse gently with cold water. Avoid hot water with blood because it can set the stain permanently. Wash the garment after pretreatment using a regular laundry cycle with cool water. Use the table below to match common stains on white fabric with the most effective home treatment method and key tips:
| Stain Type | Best Treatment | Water Temperature | Key Tip |
|---|---|---|---|
| Sweat and Yellow Underarm | Hydrogen peroxide + water soak | Cool | Do not dry until stain is gone |
| Grass and Dirt | Dish soap scrub or 50/50 hydrogen peroxide mix | Cool to warm | Let solution sit 15-30 minutes |
| Grease and Oil | Baking soda then dish soap pretreatment | Cold or warm | Brush off baking soda before washing |
| Food Stains | Dish soap pretreatment | Cool or warm | Check stain before drying |
| Ink | Rubbing alcohol or targeted remover | Cool | Dab, do not rub hard |
| Blood | Hydrogen peroxide application | Cool | Avoid hot water |
Following these targeted treatments helps protect your white clothes from permanent stains. Trying the wrong method, like using hot water or bleach too early on delicate stains such as sweat or blood, can lock stains in or damage fabric. Stick to cool or warm water and let stain removers work fully before laundering and drying.
4. Choosing the Right Washing Techniques for White Clothes
Choosing the right washing techniques is key to maintaining the brightness of white clothes and effectively removing stains. Fabric type influences how the garment should be washed. For instance, delicate fabrics like silk or lace should be washed on cold or warm water settings to avoid shrinkage or damage, while sturdier fabrics like cotton or polyester tolerate hot water better, which helps dissolve stains and kill bacteria. Using hot water above 130°F can boost cleaning power particularly on durable fabrics, but it risks fading or shrinking sensitive materials.
Water temperature is a balance between stain removal and fabric care. Cold water is safest for most whites, preventing shrinkage and preserving fabric quality according to cleaning expert Karina Toner. Warm water around 90°F offers a middle ground by activating detergents more effectively than cold water without the risks of hot water. Hot water is best reserved for heavily soiled cotton whites, but avoid it if clothes have prints, trims, or are pretreated with delicate stain removers.
Detergent choice and amount directly affect how well stains lift. Use a high-quality liquid detergent designed for whites and stains. A typical load requires about 1 to 2 tablespoons of detergent, but increase the amount slightly if the load is large or heavily stained. Avoid using too much detergent because excess residue can trap dirt and dull whites. Detergents work by loosening oils and particles from fabrics, allowing them to rinse away. Combining detergent with oxygen bleach can improve whitening and stain removal without harshness.
Load size should allow enough room for water and detergent to circulate freely. Overloading the washer causes clothes to bunch together, trapping dirt and detergents. This leads to dull-looking whites and imperfect stain removal. Wash white clothes in separate loads to avoid color transfer from colored items. Also, make sure to fully absorb any fresh wet stains (for example, using salt) before washing, to prevent spreading.
- Separate whites from colors to prevent color bleeding
- Use warm water for everyday whites; hot water for heavily soiled cottons
- Choose liquid detergent made for stain removal on whites
- Use 1, 2 tablespoons of detergent per load, increase slightly for large or stained loads
- Do not overload the washer; leave space for cleaning action
- Pre-absorb fresh stains before washing to avoid spreading
Ensuring good rinsing is just as important as the wash cycle itself. Clothes that have enough space allow detergents to dissolve and rinse out fully, leaving whites brighter. Overloading or insufficient water weakens rinsing action and traps residues, causing a gray or dingy appearance over time. Adjusting your washing technique based on fabric type, stain level, and washer capacity will contribute significantly to keeping whites bright and stain-free. For delicate items, stick with cold water and gentle detergent, while saving hotter temperatures for sturdy white fabrics that tolerate it well.
5. Using Bleach and Alternatives Safely on White Fabrics
Chlorine bleach can be effective at whitening sturdy white fabrics like cotton and linen, but it is not safe for all white clothes. It can weaken fibers, yellow synthetic materials, and damage elastic when used too frequently. Avoid using chlorine bleach on delicate or mixed-fiber whites, as it may cause discoloration or make stains more noticeable by changing the fabric’s color. A splash of chlorine bleach on fabrics that are not bleach-safe can cause visible fading or yellowing.
For safer options, oxygen-based bleach alternatives such as OxiClean are recommended. These products rely on active oxygen to remove stains without the harsh effects of chlorine. Oxygen bleach works well on a wide range of white fabrics and also helps with stubborn yellowing caused by sweat and oils. These alternatives maintain fabric strength and color better than chlorine bleach, although they usually require soaking or longer wash cycles to achieve good results. Using oxygen bleach according to package directions typically costs around a dollar or less per load.
To avoid damage and yellowing when using chlorine bleach, always dilute it properly in water before adding clothes. Typically, you should use about ¾ cup of regular household chlorine bleach per gallon of water for soaking or in the washing machine. Never pour bleach directly onto clothes. Wash whites separately from colored or mixed white fabrics to prevent uneven bleaching or discoloration. Limit the use of chlorine bleach to occasional treatments rather than every wash to preserve the fabric’s lifespan and appearance.
Natural alternatives like lemon juice can also help brighten white clothes and target yellow underarm stains. Apply lemon juice directly to the stain before washing to act as a mild, natural bleach. Sunlight drying is another effective method, as ultraviolet rays help break down stains and whiten fabrics gradually without chemicals. Hanging white clothes outdoors after washing is especially useful to maintain their brightness over time.
Always check the care label for bleach safety, and test any bleach or alternative on a hidden fabric area before use to avoid surprises.
Using these methods safely means balancing stain removal with fabric care. Chlorine bleach is occasional and specific to durable whites, while oxygen bleach and natural treatments are safer for frequent use. Following dilution instructions and separating whites by type will help you remove stains without sacrificing your clothes’ look and life.
6. Natural Homemade Stain Removers That Work on Whites
Natural stain removers like vinegar, baking soda, and hydrogen peroxide work well on white clothes by breaking down stains gently and brightening the fabric without harsh chemicals. Preparing these homemade solutions is straightforward, using ingredients commonly found at home. Applying each correctly and knowing their limits helps you protect your white clothes while tackling a variety of stains effectively.
Making a Vinegar and Baking Soda Paste
Vinegar and baking soda together create a mild abrasive and acidic mix that lifts stains and neutralizes odors. Baking soda’s gentle scrubbing action combined with vinegar’s acidity helps break down many types of stains, from sweat marks to light grease. The paste is easy to prepare and safe for most white fabrics, but it should be tested first on a hidden area to ensure no reaction.
- Measure 2 tablespoons of baking soda and place it in a small bowl.
- Add 1 tablespoon of white vinegar slowly to the baking soda to form a thick paste.
- Mix the ingredients gently until they form a spreadable consistency.
- Apply the paste directly to the stained area using your fingers or a soft-bristle brush.
- Let the paste sit on the stain for 15 to 30 minutes to allow the mixture to work.
- Rinse the area with cold water to remove the paste.
- Launder the garment as usual using the warmest water safe for the fabric.
This method works well for fresh stains and mild discoloration. It may not fully remove deep-set or old stains, but repeating the process can improve results without damaging the fabric.
Hydrogen Peroxide Mixtures for Brightening
Hydrogen peroxide acts like a mild bleach by releasing oxygen molecules that break down stain pigments. This makes it particularly good at brightening white clothes and tackling tougher stains such as food or blood. Combining hydrogen peroxide with baking soda increases its stain-fighting power and helps avoid harsh chemical bleaches.
- In a bowl, mix 1/2 cup of hydrogen peroxide with 1 tablespoon of baking soda to form a paste.
- Optional: add a small amount of mild dish soap for greasy stains.
- Apply the paste directly onto the stained area using a clean white cloth or a soft brush.
- Gently work the mixture into the fabric with your fingers or brush for about 2 to 3 minutes.
- Let the paste sit for 30 minutes but do not allow it to dry out completely.
- Rinse thoroughly with cold water.
- Wash the item in warm water with your usual detergent.
You can also add 1/2 cup of lemon juice and 1 1/2 cups hydrogen peroxide to your wash cycle to brighten dingy white clothes. Avoid using hydrogen peroxide on delicate fabrics such as silk or wool, which can weaken fibers.
Applying Lemon Juice for Stain Removal
Lemon juice’s acidity helps break down stains and brighten whites naturally. It works best on fresh stains or yellowed areas caused by sweat or age. Instead of direct application, lemon juice often performs better when combined with sun exposure, which improve its bleaching effect safely on durable whites.
- Pour fresh lemon juice directly onto the stain to saturate it.
- Allow the lemon juice to soak for 5 to 10 minutes.
- Lay the garment flat in the sun for 1 to 2 hours to boost the whitening action.
- Rinse the stained area with cool water after sun exposure.
- Wash the item normally with detergent in warm water.
This method is gentle and safe for cotton, linen, and other durable white fabrics but may cause fading if used excessively on colored trims or weaker fibers. Avoid lemon juice on delicate or synthetic whites that can react poorly to acid.
Limitations of Natural Stain Removers
Natural stain removers offer a low-cost, eco-friendly way to care for white clothes but have their limits. They generally require more time and repeated treatments to remove stubborn, old, or set-in stains compared to commercial chemical products. Testing on a small patch is important to prevent fabric damage, especially with acidic ingredients like vinegar and lemon juice.
Natural solutions may not work as well on protein-based stains like blood or on oily stains absorbed deep into fabric fibers. Overuse can sometimes weaken fabric strength or cause uneven brightening if the treatments dry unevenly on the cloth. For stubborn stains, professional cleaning or commercial stain removers might be necessary to avoid harm to your white clothes.
7. Preventing and Fixing Common Stain Removal Mistakes
One common mistake that causes stains to set permanently is using warm or hot water on protein-based stains like blood. Heat causes the proteins to coagulate, making the stain much harder to remove. You should always rinse blood stains with cold water as soon as possible to prevent setting. Never put stained white clothes in the dryer before verifying that the stain is fully gone. The dryer’s heat will fix the stain inside the fabric fibers, making it nearly impossible to remove later.
In case the stain remains after washing, avoid putting the clothing in the dryer. Instead, reapply a stain remover based on the stain type and let it sit for at least 15 to 30 minutes before rewashing. This step helps break down any leftover residue. Persistent stains on white garments might need professional pre-spotting treatment, especially if they are old or deeply set. Pre-spotting uses specialized solvents to target stains before dry cleaning, a process often recommended for delicate fabrics or those with stubborn marks. Here is a checklist to help prevent and fix common stain removal errors:
- Use cold water for rinsing blood and other protein stains immediately after staining.
- Check clothes carefully after washing; do not place them in the dryer if stains are visible.
- Repeat pretreatment and washing if the stain persists; allow stain remover to work for 15-30 minutes.
- Avoid rubbing fabric too harshly to prevent damage or spreading the stain further.
- Choose stain removers suited to the type of stain and fabric material.
- Consider professional cleaning for old, set-in stains to avoid damaging your whites.
Fixing stain removal mistakes usually costs little more than time and the correct stain remover. The main investment is patience in repeating treatment and washing steps. Good results typically show a visible reduction or total disappearance of discoloration. If stains worsen or fabric damage occurs, it often means the stain was exposed to heat too soon or an aggressive cleaner was used improperly. Taking time to identify the stain type and treating it with the appropriate method prevents these issues and keeps white clothes bright and clean longer.
8. When to Use Professional Cleaning for Stubborn White Clothes Stains
Call a professional cleaner when stains resist standard home treatments after a full wash cycle or show signs of fabric damage. Tough stains such as ink, red wine, grease, or paint often require expert handling because they penetrate deeply and react poorly to common household cleaners. Likewise, delicate fabrics like silk, lace, or embellished whites call for professional care to avoid shrinking, stretching, or color loss. In these cases, continuing DIY methods risks worsening the stain or damaging the garment permanently.
Start by assessing the stain: if it remains visible or worsens after pretreating with oxygen-based stain removers or soaking in mild solutions such as hydrogen peroxide, professional help is a safer option. Also, evaluate the fabric care label. Materials that specify dry cleaning only or suggest hand washing with gentle detergents usually benefit from expert treatment. Taking white clothes to a professional cleaner often costs between $5 and $20 per item depending on stain type and fabric sensitivity, which is a reasonable investment compared to replacing or ruining beloved pieces.
Before bringing clothes to a cleaner, gently blot any fresh stains with a white cloth, avoiding rubbing that might spread marks. Avoid applying additional stain removers yourself, as overlapping chemicals can interfere with professional processes. Pack the items in a breathable bag to prevent moisture buildup and provide clear information about the stain’s origin, how long it has been present, and what treatments you’ve already tried. This communication helps professionals select the best cleaning method quickly and efficiently.
Expert cleaners use specialized solvents and enzyme-based agents tailored to break down stubborn substances without harming whites or altering fabric texture. They also monitor temperature and cleaning duration precisely to prevent shrinkage and fading common in home washing machines using too hot water. Good results show completely removed stains without weakened fabric or loss of elasticity that can occur from excessive scrubbing or heat exposure at home.
Understanding when to stop home treatment saves your clothes from further damage while minimizing costs. For example, ink stains on cotton shirts rarely disappear with just homemade solutions and need professional solvents. Conversely, sweat or food stains that respond to enzymatic cleaners are often safe to repeat at home. Consider the complexity of the stain and the care instructions before trying repeatedly. When uncertain, contacting a cleaner early can preserve the white fabric’s look and longevity.
Do not apply bleach or multiple stain treatments before professional cleaning, as chemical interactions can make stains harder to remove and risk fabric damage.
Step-by-Step Action Plan for Removing Stains from White Clothes
Use this plan to tackle white clothes stains efficiently and keep your garments looking their best.
- Right after the stain occurs: Blot the stain gently with a clean white cloth or paper towel to remove excess liquid; if it’s dry, brush off any loose particles. Stain should appear less saturated.
- Within the first hour: Pretreat the stain using a homemade solution like a paste of baking soda and water or a small amount of liquid detergent. Check if the stain starts to lighten before washing.
- Before washing: Soak the garment in cold water mixed with oxygen bleach or white vinegar for 30 minutes to an hour. The fabric should look brighter and the stain less visible.
- During washing: Use warm water (according to fabric care label) with the appropriate detergent and add bleach only if safe for the fabric. The stain should be visibly reduced or gone after washing.
- After washing: Air dry the item instead of using heat; heat can set stains that aren’t fully removed. The garment should appear clean and unstained once dry.
- When a stain remains: Use a targeted stain remover made for that stain type right away, then repeat soaking and washing. Improvement or removal indicates success.
- When the stain is still stubborn: Bring the garment to a professional cleaner experienced in stain removal. The stain should diminish and the fabric maintain its whiteness.
Frequently Asked Questions
Can Baking Soda Remove Stains?
Yes, baking soda can remove stains by absorbing oils and lifting them from fabric. It’s effective on grease, sweat, and grass stains and can be used as a powder to sprinkle on stains before washing.
Can I Bleach White Shirts, and If so, How?
You can bleach white shirts safely by using diluted chlorine bleach or oxygen bleach for fabrics with spandex. Always follow label instructions and avoid overuse to prevent yellowing or fabric damage.
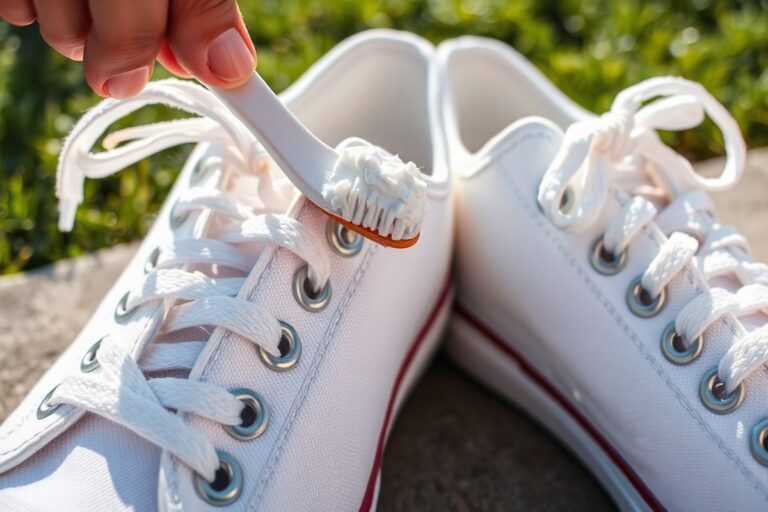
Can Toothpaste Remove Stains?
Toothpaste can remove some surface stains like ink or makeup on white clothes, but it should be a non-gel, non-whitening type to avoid damaging the fabric. Test a small area first.
How to Make a Stain Remover?
Mix household items like hydrogen peroxide, baking soda, and dish soap to create a homemade stain remover. This combo targets sweat, rust, and fruit stains without harsh chemicals.
How Do I Prevent Yellow Armpit Stains on White Shirts?
Pre-treat armpits with spray-on oxygen bleach from the first wash to stop yellow stains caused by sweat and deodorant buildup.
Can I Use Vinegar to Remove Stains from White Clothes?
Vinegar can remove some stains and odors from white clothes, but it’s best used as a rinse additive rather than a primary stain remover.
Key Points to Remember
Removing stains from white clothes is a manageable task when you use timely, safe, and methodical approaches. Taking quick action and choosing the right treatment for the stain type helps preserve whiteness and fabric quality. Start with a simple pretreatment step on your next stained garment to see noticeable improvements right away.