Do It Yourself Upholstery Cleaner: Safe Recipes and Steps That Really Work
A do it yourself upholstery cleaner can remove dirt, stains, and odors from your furniture using simple, safe ingredients you likely have at home. This approach saves money compared to store-bought products and gives you control over what touches your fabrics. It’s ideal for homeowners and renters looking for affordable, effective ways to refresh their upholstery without harsh chemicals or expensive services.
You’ll learn which fabrics can safely handle homemade cleaners, how to mix and apply them properly, and tips to avoid common mistakes. The focus is on easy recipes with non-toxic ingredients, practical step-by-step instructions, and maintenance advice to keep your upholstered items in great shape longer.
Key Takeaways
- Use blue Dawn dish soap for its superior grease-cutting ability in your do it yourself upholstery cleaner recipe.
- Test the cleaner on a hidden fabric area before applying it broadly to avoid damage.
- Let your homemade cleaner sit on the upholstery for 2 to 3 minutes to loosen dirt effectively.
- Apply baking soda after cleaning to remove persistent odors, leaving it on for 30 to 60 minutes before vacuuming.
- Use a gentle 3% hydrogen peroxide solution safely on many fabric types for stain removal.
- Clean upholstery every 6 to 12 months to maintain appearance and fabric longevity.
What Is DIY Upholstery Cleaner and How It Works
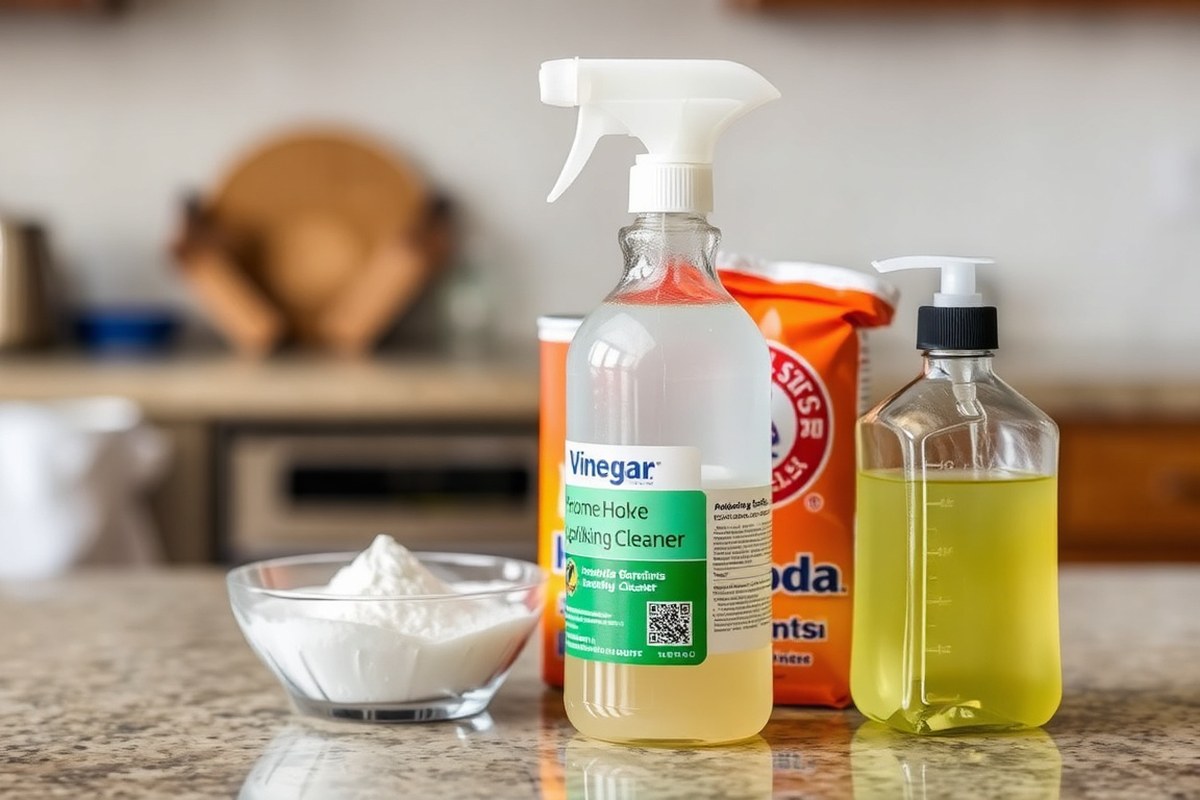
A homemade upholstery cleaner combines common household ingredients like vinegar, baking soda, dish detergent, and essential oils. This combination effectively breaks down stains, grease, and dirt on fabric, offering a cost-effective and gentle cleaning option for your upholstery. Vinegar acts as a natural cleaner and deodorizer. Baking soda helps eliminate odors and loosens grime. Dish soap, particularly grease-fighting versions such as blue Dawn, tackles oily spots without damaging the fabric. Essential oils add a pleasant fragrance and provide light antibacterial effects.
The cleaning action starts when the acidic vinegar loosens stains and eliminates bacteria, and baking soda’s mild abrasion helps lift trapped dirt without harsh scrubbing. Dish soap effectively cuts through grease and grime. You mix these ingredients in measured amounts, typically one to two tablespoons of dish soap, a quarter to half cup of vinegar, and a couple of tablespoons of baking soda dissolved in warm water. This mixture penetrates upholstery fabrics, breaking down common household stains like food spills, pet messes, and dirt. For odors, baking soda can be sprinkled directly onto dry fabric and left to sit for 30 to 60 minutes before vacuuming to absorb smells deeply embedded in the fibers.
Homemade upholstery cleaners often perform well on standard stains and odors, especially when stains are treated promptly. While they might not remove all stubborn or set-in stains compared to specialized commercial products, they are effective for routine cleaning and odor control. Using these natural ingredients reduces exposure to harsh chemicals often found in store-bought cleaners, making them safer for homes with children and pets. The cost advantage is significant, too: basic ingredients like vinegar and baking soda are inexpensive and usually already on hand, cutting cleaning expenses substantially compared to commercial upholstery cleaners that can cost $10 to $20 or more for a single bottle.
Choosing DIY cleaners means you control the ingredients and avoid additives that can irritate sensitive skin or damage delicate fabrics. These solutions are simple to prepare with minimal tools, just mix the ingredients in a spray bottle or bucket, apply with a clean cloth or sponge, and blot stains gently. Over-wetting the fabric should be avoided to prevent watermarks or mildew. For best results, test on a hidden area first. The DIY approach also lets you customize the cleaner’s scent with essential oils like lavender or eucalyptus to keep your upholstery smelling fresh after cleaning.
Making your own upholstery cleaner delivers a useful combination of low cost, good cleaning power, and safe use for routine fabric maintenance. It’s especially useful for light to moderate cleaning needs and maintaining the freshness of your furniture without the cost and chemicals of commercial products. Proper mixing, application, and drying ensure you get a clean, fresh fabric surface without risking damage or excessive moisture.
Which Upholstery Fabrics Are Safe for Homemade Cleaners
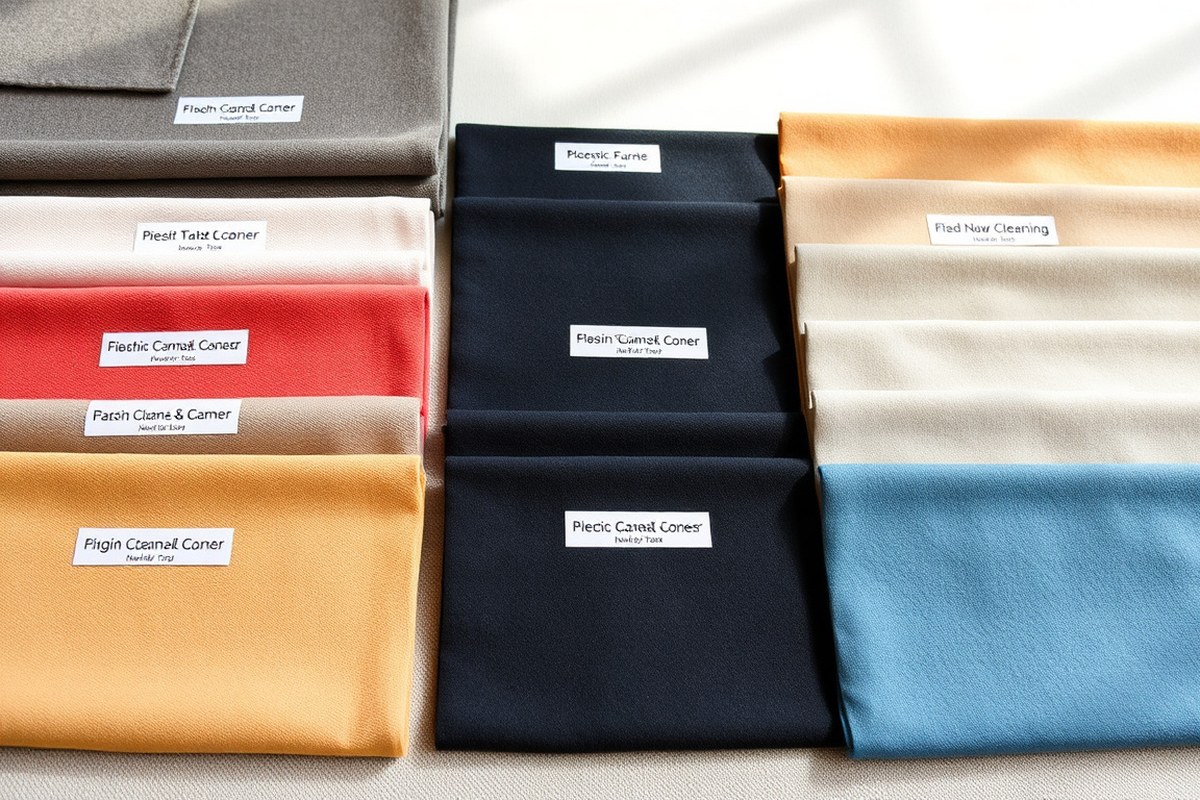
Identifying your upholstery fabric’s cleaning code is the first step toward safely using a DIY upholstery cleaner. Most upholstery tags include a letter code that indicates whether water-based or solvent-based cleaners should be used. This code helps prevent damage like discoloration, shrinking, or fabric deterioration from using the wrong cleaning method.
Cleaning codes generally fall into four categories: W, S, WS (or SW), and X. “W” means water-based cleaners are safe. “S” indicates only solvent-based cleaning works. “WS” means either water or solvent-based products are fine. “X” means vacuuming only; these fabrics cannot safely handle liquid cleaners. Checking the tag on your furniture will show these letters clearly and guide your choice of homemade cleaner.
| Upholstery Fabric | Cleaning Code | Recommended Cleaning Method |
|---|---|---|
| Cotton | W | Water-based cleaners |
| Polyester | W | Water-based cleaners |
| Leather | S | Solvent-based cleaners |
| Silk | S | Solvent-based cleaners |
| Microfiber | W or WS | Water-based or solvent-based cleaners, avoid WW for alcohol-based cleaners |
| Fabrics with X code | X | Vacuum only, no liquid cleaners |
Water-based DIY upholstery cleaners work well on fabrics marked with W codes, such as cotton and polyester. These cleaners typically contain mild ingredients that don’t harm the fibers or dyes. For fabrics coded S, including leather and silk, solvent-based or dry cleaning methods are necessary. Homemade solvent-based cleaners can be tricky and often not recommended without the right ingredients and ventilation.
Microfiber upholstery can sometimes be cleaned safely with water-based cleaners, but if the tag warns WW, avoid homemade alcohol-based cleaners to prevent damage. Always perform a spot test by applying your DIY cleaner to a hidden area, letting it soak for a minute, then wiping it off to check for colorfastness or fabric reaction.
Test any homemade cleaner on a hidden spot before tackling the whole piece to avoid costly damage.
For cleaning your upholstery, use a vacuum with a gentle suction first to remove loose dirt, then apply the cleaner suited to your fabric’s code. Avoid DIY cleaners on leather upholstery unless you have a recipe designed for leather, as improper cleaners can dry out or crack the material. Always ensure good ventilation when using solvent-based products to reduce inhalation risks. Following these steps ensures your DIY upholstery cleaning efforts are effective and safe for your furniture’s fabric type.
How to Make Different Homemade Upholstery Cleaners
Making your own upholstery cleaners at home lets you choose the right type for your fabric and cleaning needs. Liquid cleaners work well for general cleaning, dry powders handle surface freshening, and stain remover sprays tackle tough spots. Including essential oils can boost cleaning power and leave a fresh scent, but use them sparingly to avoid fabric sensitivity.
Recipe for Liquid Upholstery Cleaner
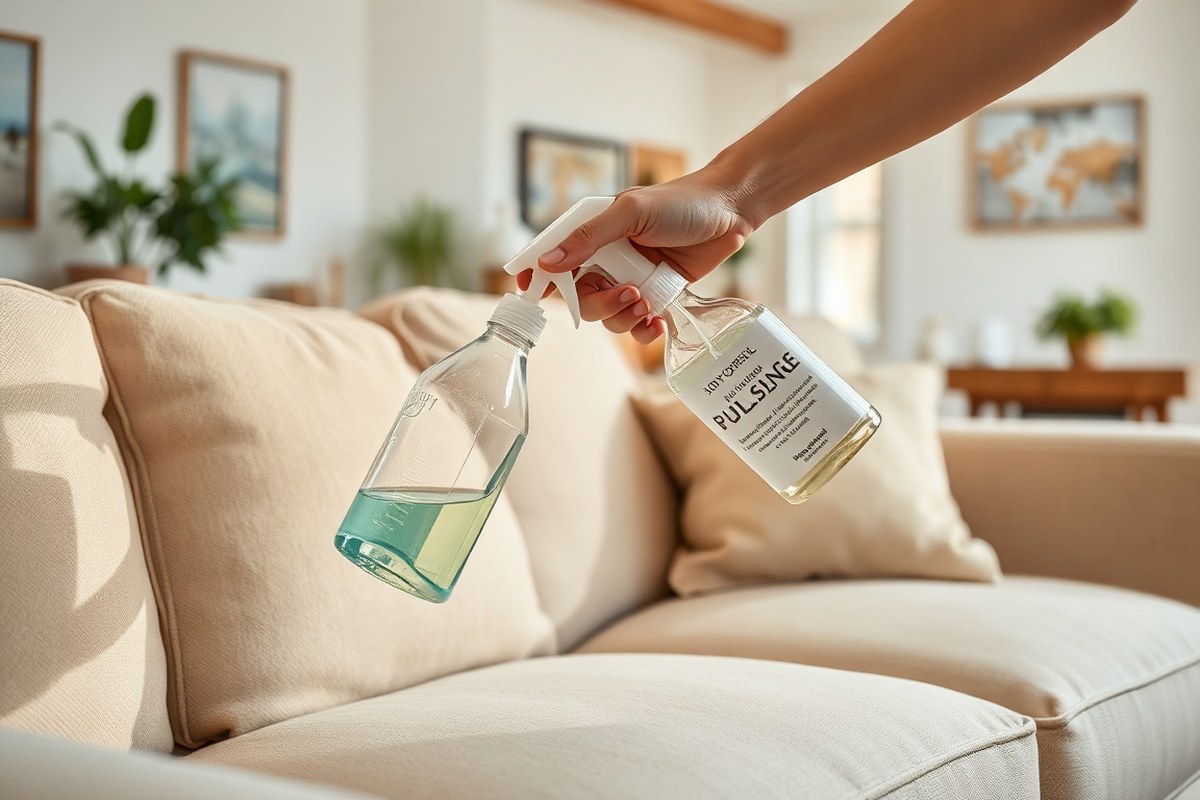
Liquid upholstery cleaners typically combine dish soap, vinegar, and water to break down dirt and oils without harming fabrics. Adding essential oils offers a natural fragrance and some antimicrobial benefits. This cleaner suits everyday use on most synthetic and cotton blend upholstery materials. Follow these steps to mix your liquid cleaner:
- Pour 2 cups of warm water into a clean spray bottle or mixing bowl.
- Add 1 cup of white vinegar to the water.
- Stir in 1 to 2 tablespoons of Dawn dish soap, which cuts grease effectively.
- Add 5 to 10 drops of your favorite essential oil, such as lavender or tea tree, for scent and mild antimicrobial effect.
- Close the bottle and shake gently to blend all ingredients.
- Test the cleaner on a hidden fabric spot to check for colorfastness before general use.
- Shake the bottle before each use to keep ingredients evenly mixed.
How to Prepare Dry Upholstery Cleaner Powder
Dry cleaner powders are great for refreshing fabrics and removing odors without heavy wetting. Their main ingredients like baking soda, borax, and grated laundry soap work together to absorb dirt and deodorize. This cleaner is best for delicate or natural fibers that tolerate minimal moisture. Use these instructions to make your dry cleaner powder:
- Grate 3 tablespoons of a mild laundry soap, such as Fels Naptha, into a bowl.
- Measure 1 tablespoon of borax and ½ cup of baking soda into the same bowl.
- Mix all ingredients thoroughly with a spoon to combine evenly.
- Store the powder in an airtight container or jar for future use.
- Sprinkle the powder lightly and evenly over the upholstery surface.
- Let it sit for 15 to 20 minutes to absorb odors and loosen dirt.
- Vacuum the treated area thoroughly to remove residual powder and debris.
Stain Remover Sprays for Tough Spots
Tough stains like ink, wine, or grease need targeted stain removers. Mixtures based on isopropyl alcohol and vinegar break down stubborn residues without damaging many upholstery fabrics. Use these sprays sparingly and always test first on hidden sections to avoid damage. Follow the steps below to prepare a stain remover spray:
- Combine 1 cup of white vinegar and 1 cup of isopropyl alcohol in a clean spray bottle.
- Optionally, add ½ cup of water to dilute and reduce potential fabric stress.
- Shake the bottle gently to mix ingredients fully.
- Spray the solution directly on the stained area, avoiding oversaturation.
- Allow it to sit for 5 minutes but no longer, to prevent fabric damage.
- Blot the stain gently with a clean microfiber cloth until it lifts.
- Repeat if necessary, then air dry the fabric completely.
| Cleaner Type | Main Ingredients | Best Use | Essential Oil Use |
|---|---|---|---|
| Liquid Upholstery Cleaner | Dish soap, white vinegar, water | General cleaning for synthetic and sturdy fabrics | Yes, 5-10 drops for scent and mild antimicrobial effect |
| Dry Upholstery Cleaner Powder | Baking soda, borax, grated laundry soap | Freshening and deodorizing delicate fabrics | Not typically used in powder form |
| Stain Remover Spray | Isopropyl alcohol, white vinegar, optional water | Treating stubborn stains on many upholstery types | Usually not added to avoid fabric irritation |
Step-by-Step Guide to Using Your DIY Upholstery Cleaner
Using a homemade upholstery cleaner requires careful preparation, testing, and application to ensure effective cleaning without damage. You should vacuum the fabric well, test the solution on a hidden spot, then apply the cleaner gently in sections, allowing it to work before blotting or scrubbing carefully.
Preparing Upholstery for Cleaning
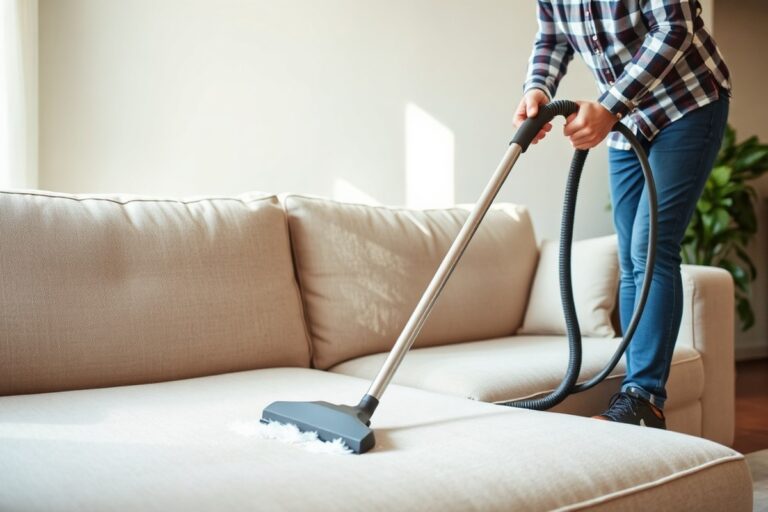
Start by vacuuming the upholstery thoroughly to remove loose dirt, dust, and crumbs. Use a soft brush attachment to avoid damaging the fabric and reach into crevices. Inspect the fabric closely for any wear, tears, or weak spots because cleaning can strain delicate areas further.
Ensuring the fabric is dry before applying any cleaner is important. A clean surface helps the homemade solution work more effectively and prevents dirt from spreading.
Testing Cleaner on a Hidden Area
Testing the homemade cleaner on a hidden spot prevents surprises like discoloration or fabric damage. Spray a small amount of the solution on an inconspicuous area, such as under a cushion or behind the furniture.
Wait 2 to 3 minutes for the cleaner to react with the fabric. Then blot gently with a clean cloth. Check for any color fading, bleeding, or texture changes. Testing a small area without damage or change means the cleaner is probably safe to use on visible spots.
Cleaning and Blotting Techniques
Apply the cleaner in sections, spraying lightly or using a cloth dampened with the solution. Avoid soaking the fabric, which can lead to water stains or slow drying times. Let the solution sit for about 2 to 3 minutes to break down dirt and stains.
Use a soft-bristled brush or microfiber cloth to scrub gently in circular motions. This spreads the cleaner evenly without roughening the fabric. After scrubbing, blot the area with a dry cloth to absorb excess moisture and cleaner residue. Stains that don’t go away may require repeating the cleaning process carefully, avoiding overuse that could harm the upholstery.
- Vacuum the upholstery thoroughly using a soft brush attachment.
- Inspect the fabric for any weak spots or damage.
- Spray a small amount of the homemade cleaner on a hidden area.
- Wait 2 to 3 minutes, then blot gently with a clean cloth.
- Without damage or color change, apply the cleaner to a small section of upholstery by spraying or other methods.
- Let the solution sit on the fabric for 2 to 3 minutes.
- Gently scrub with a soft-bristled brush or cloth in circular motions.
- Blot with a dry microfiber cloth to remove excess liquid.
Common Mistakes in DIY Upholstery Cleaning and How to Fix Them
Using too much water, harsh scrubbing, and ignoring fabric labels are common mistakes that can damage upholstery. These errors cause color bleeding, fabric weakening, and even mold growth. Avoid oversized soaking and abrasive tools; test cleaners first and apply lightly for safe, effective cleaning.
Using Excess Water and Cleaner Sparingly
One major cause of upholstery damage is applying too much water or cleaner. Excess moisture seeps deep into cushions and padding, leading to long drying times and mold or mildew growth. Always use just enough cleaner to slightly dampen the fabric. For example, a light spray or applying cleaner with a damp cloth helps control moisture. Using only the sudsy part of a homemade cleaner reduces water saturation further.
Avoid soaking the fabric; a wet upholstery surface should dry within a few hours in good airflow. Over-wetting not only risks fabric distortion but also weakens adhesives and backing materials under the upholstery.
Harsh Scrubbing and Proper Tool Use
Scrubbing aggressively can wear out fabrics and cause pilling or fuzziness, while stiff brushes may damage delicate fibers. Use a soft-bristled brush or a lint-free cloth to gently lift dirt and stains. Avoid abrasive scrubbers like wire brushes or hard sponges.
For deep stains, a small soft brush used sparingly can be effective, but don’t apply heavy force. Instead, let the cleaner work and blot stains with a clean cloth. Over-scrubbing often spreads the stain or grinds it deeper into the fabric.
Ignoring Fabric Labels and Testing First
Fabric care labels provide key information on what cleaning methods and products are safe. Ignoring these can result in color fading, shrinking, or fabric damage. Always check the label code before applying any homemade cleaner.
Test your DIY cleaner on a small, hidden area. Apply a tiny amount, wait 10 to 15 minutes, then check for any color change, fabric distortion, or residue. If any issue appears, either adjust the formula or try a milder approach.
Avoiding Color Bleeding and Fabric Weakening
Color bleeding happens when water or cleaning agents loosen dyes, especially on dark or vibrant upholstery. Using too much liquid or harsh chemicals increases this risk. Applying a light spray and blotting immediately prevents saturation and dye loss.
Fabric weakening often results from overuse of strong chemicals or scrubbing. Stick to gentle, natural cleaners like diluted dish soap or vinegar solutions. These maintain fabric strength better than bleach or harsh detergents.
Essential Dos and Don’ts for DIY Upholstery Cleaning
Following these practical steps can protect upholstery while cleaning effectively:
- Pretest cleaners on an inconspicuous spot before full use.
- Use only a light mist or damp cloth application, not soaking wet.
- Choose soft tools like microfiber cloths or soft-bristled brushes.
- Check fabric labels and follow recommended cleaning codes.
- Blot stains gently instead of rubbing harshly.
- Allow upholstery to dry completely in good ventilation.
- Avoid harsh chemicals like bleach or non-diluted detergents.
Overwetting fabrics can cause mold growth and permanent damage; always start with less liquid and add more if needed.
How to Handle Different Stains with DIY Upholstery Cleaner
Treating different stains on upholstery with homemade cleaners requires using specific ingredients suited to the stain type. DIY upholstery cleaner recipes commonly include natural or household ingredients like dish soap, hydrogen peroxide, white vinegar, and baking soda, each effective against certain stains because of their chemical properties. Knowing which stains respond best to these ingredients helps you clean more efficiently.
Pet urine stains and odors need special attention. Start by blotting the stain with paper towels and then sprinkling baking soda on the area to absorb moisture and smell. After 15 minutes, vacuum the baking soda. Follow this by applying a mixture of one part white vinegar to two parts water. Let the solution sit for up to 10 minutes before blotting dry. Vinegar neutralizes ammonia in urine, reducing odor and breaking down stain compounds.
Ink stains are tougher and respond well to a solution of hydrogen peroxide and dish soap. Mix 1 cup of peroxide with one teaspoon of dish soap, apply it to the spot, and allow it to sit for about 5 minutes. Hydrogen peroxide breaks down the ink molecules, while the soap lifts the stain from the fibers. Blot gently rather than rubbing to avoid spreading.
Grease requires agents that cut oil effectively. Dish soap is best here because it’s formulated to dissolve grease. Mix a few drops in warm water, apply to the grease spot, and let it sit for 5 minutes before blotting and rinsing. This method is quick and usually costs less than $0.10 per application, using common household ingredients.
For red wine stains, a salt or baking soda layer is useful to absorb excess liquid immediately after the spill. Once dry, remove the salt or soda and treat the remaining stain with a paste of baking soda and water. Let it sit for 15 minutes, then blot with the homemade upholstery cleaner containing dish soap. The natural abrasiveness of baking soda and soap cuts through the wine pigments without harsh chemicals.
| Stain | Homemade Cleaning Ingredients | Application Time | Key Effect |
|---|---|---|---|
| Pet Urine | Baking soda, white vinegar solution (1:2) | Baking soda 15 min, vinegar solution 10 min | Absorbs moisture and neutralizes odor |
| Ink | Hydrogen peroxide + dish soap | About 5 minutes | Breaks down ink, lifts stains |
| Grease | Dish soap in warm water | 5 minutes | Dissolves grease and oils |
| Red Wine | Salt or baking soda, baking soda paste with water, dish soap cleaner | Salt dry to absorb; paste 15 minutes | Absorbs liquid, lifts pigment stains |
Applying homemade upholstery cleaners requires patience because letting the cleaner sit allows the ingredients to break down the stains effectively. Avoid scrubbing aggressively to prevent damaging fabric fibers or spreading the stain. Getting results also depends on prompt action, especially with liquids, by blotting spills immediately.
Some stains may resist homemade solutions due to fabric type or stain age; professional cleaning might become necessary. Keeping a spray bottle with your preferred homemade cleaner mixture at home helps you respond quickly to spills, saving time and possibly avoiding costly repairs later. Always test your cleaner on an inconspicuous area for colorfastness before treating visible stains.
How to Dry and Maintain Upholstery After Cleaning
After cleaning your upholstery, it’s essential to dry it properly to avoid mold, mildew, and damage. Upholstery usually takes between 6 to 12 hours to dry completely, depending on the fabric thickness, room humidity, and airflow. You want the surface and interior to be dry so no moisture remains trapped inside.
Start by placing the furniture in a well-ventilated room away from direct sunlight or heat sources. Strong direct heat, like from a hairdryer or portable heater, can weaken fabric fibers, cause shrinking, or lead to uneven drying spots. Maintain air circulation by opening windows or using a fan pointed at the upholstery to speed drying without overheating.
- Keep the area ventilated with open windows or a fan to prevent mold.
- Avoid direct sunlight, which can fade colors and damage fibers.
- Do not use a hairdryer or heater on the fabric to avoid shrinkage or damage.
- If the cushions are removable, separate them to allow airflow on all sides.
- Use towels to blot excess moisture immediately after cleaning to reduce drying time.
Check the fabric care tag for any manufacturer instructions on drying or air temperature limits. For porous or dense materials like microfiber, it might take longer to dry fully, so patience matters. Mold and mildew can develop if dampness lingers beyond 12 to 24 hours, risking health and smell problems.
For ongoing maintenance between cleanings, vacuum your upholstery frequently to remove dirt and dust that wears down fibers. Using armrest and headrest covers can reduce sweat and skin oils soaking into the fabric. Spot clean spills quickly with a gentle homemade cleaner to avoid staining. Plan to deep clean upholstery every 6 to 12 months depending on use and household conditions to keep it fresh and lasting longer.
When to Choose Professional Upholstery Cleaning Instead
DIY upholstery cleaning works well for routine maintenance and freshening up light stains. However, professional cleaning is the better choice when you’re dealing with deep-seated dirt, tough stains, or fabric damage that homemade solutions can’t fully fix. If after your cleaning attempts you still see noticeable discoloration, texture changes, or persistent odors, these are strong signs that professional treatment is needed.
Stains from ink, grease, wine, pet urine, or paint often require professional-grade products and equipment. Spot removers and homemade cleaners usually can’t break down such stubborn contaminants completely, especially when they’ve set in over time. Also, fabrics like silk, velvet, or antique upholstery may be too delicate for DIY methods and risk damage if not handled by experts.
Professional upholstery cleaners use advanced tools and methods that go beyond typical home equipment. They often rely on hot water extraction, steam cleaning, and specialized chemical agents that penetrate deep into the fabric and cushion materials. These methods can reach embedded grime and eliminate bacteria or allergens effectively without harming the fabric, which is difficult to achieve with simple DIY cleaners. Technicians also inspect fabrics methodically for colorfastness and adjust cleaning techniques accordingly, preventing damage or shrinkage.
Cost is a key factor to consider. Professional upholstery cleaning prices usually range from $100 to $300 per piece, depending on the size, fabric type, and extent of cleaning required. While this is more expensive than DIY supplies, professionals can restore your furniture’s appearance and extend its lifespan, potentially saving money on replacement or repairs later.
You can use a simple decision rule to decide whether to call a professional: if your DIY cleaning does not remove stains after two attempts spaced a few days apart, or if the fabric shows signs of wear, fading, or fraying, it is time to seek expert help. Also, any odor that lingers after cleaning efforts usually requires deep sanitizing done by pros.
Never wait too long to address a stain; once it sets deeply in the upholstery fibers, even professional cleaning may not fully restore it.
Trusting a professional is wise if you have high-value or heirloom furniture, allergy concerns that need special disinfecting, or fabric types sensitive to water and chemicals. Their knowledge and equipment offer a level of cleaning and care that surpasses most DIY attempts, protecting your investment and improving your home environment.
Step-by-Step Action Plan for DIY Upholstery Cleaning
Follow these steps to get started with cleaning your upholstery using homemade solutions safely and effectively.
- Before you start: Identify your upholstery fabric type and test your DIY cleaner on a hidden spot. Confirm no discoloration or damage appears within 10 minutes.
- Day 1: Prepare your chosen homemade cleaner based on fabric type and stain severity. Mix fresh ingredients for best effectiveness.
- Day 1: Vacuum upholstery thoroughly to remove surface dust and debris before applying any cleaner.
- Day 1: Apply the DIY cleaner sparingly using a soft cloth or spray bottle. Work gently to avoid saturating the fabric.
- Day 1: Blot stains carefully without rubbing to lift dirt. Reapply cleaner only if needed and test for fabric reaction as you go.
- Day 1: After cleaning, use a dry cloth to absorb excess moisture, then allow upholstery to air dry completely in a well-ventilated area.
- After 24 hours: Check for any residual spots. Repeat spot treatment if necessary but avoid over-cleaning that can weaken fabric fibers.
- After 1 week: Maintain upholstery by regular vacuuming and prevent stains by acting promptly with spot cleaning.
Frequently Asked Questions
Can I Use DIY Upholstery Cleaner on Leather Furniture?
Yes, certain homemade cleaners with gentle ingredients work safely on leather. Use a cleaner specifically formulated for leather to avoid drying or damaging the material.
How Long Should I Let the DIY Upholstery Cleaner Sit on Fabric?
Let the cleaner sit for 2-3 minutes to break down stains effectively. Avoid leaving it too long to prevent deep moisture penetration.
Is Dawn Dish Soap the Best Choice for a Homemade Upholstery Cleaner?
Dawn, especially blue Dawn, is good for cutting grease in upholstery cleaner recipes. Use 1-2 tablespoons for effective yet gentle cleaning.
Can I Use DIY Upholstery Cleaner on All Types of Fabric?
Not all fabrics are safe for homemade cleaners; always check fabric cleaning codes first. Avoid water-based cleaners on materials labeled “S” or dry-clean only.
How Should I Dry Upholstery After Using a Homemade Cleaner?
Air drying is best to prevent mold and odors; use fans for faster drying. Avoid direct heat which can damage fabrics or leather.
What Ingredients Make a Good Natural Upholstery Cleaner?
A simple mix includes non-toxic items like mild dish soap, white vinegar, and water. These components clean without harsh chemicals and are safe for multiple fabrics.
Final Thoughts
Using your own DIY upholstery cleaner can save money and prevent exposure to harsh chemicals while keeping your furniture fresh. Start by testing small areas and proceed with care, respecting the fabric’s needs. Your next step should be gathering the right ingredients and setting aside time for your first cleaning session following the plan above.