How to Shrink a Dress: Proven Methods That Work for Every Fabric
Shrinking a dress at home is often as simple as using heat and water, especially with cotton fabrics that respond well to hot washing and drying. You can use various methods like soaking, machine washing, or targeted heat to control how much your dress shrinks. This approach offers an affordable way to improve your dress’s fit without professional tailoring.
This advice helps anyone wanting to adjust their dress size themselves, whether you’re new to fabric care or have some experience. You’ll learn which fabrics shrink, how to manage the shrinking process safely, and when to avoid damage or call in a tailor for best results.
Key Takeaways
- 100% cotton dresses shrink best with a hot wash cycle followed by a high-heat dry for up to 20% size reduction.
- Check polyester garments in the dryer every 5 minutes to prevent overheating since synthetics dry faster than cotton.
- Soaking wool in warm water for at least 15 minutes helps relax fibers for gentle shrinkage without damage.
- Hand soaking dresses in hot water for 30 minutes and rinsing with cold water encourages gradual and even shrinkage.
- Dryers and irons can target specific dress areas for shrinking, but avoid prolonged high heat to prevent fabric damage.
- Natural fibers like cotton and wool shrink more predictably than synthetic ones, which resist changes in shape.
How to Shrink a Dress at Home Safely
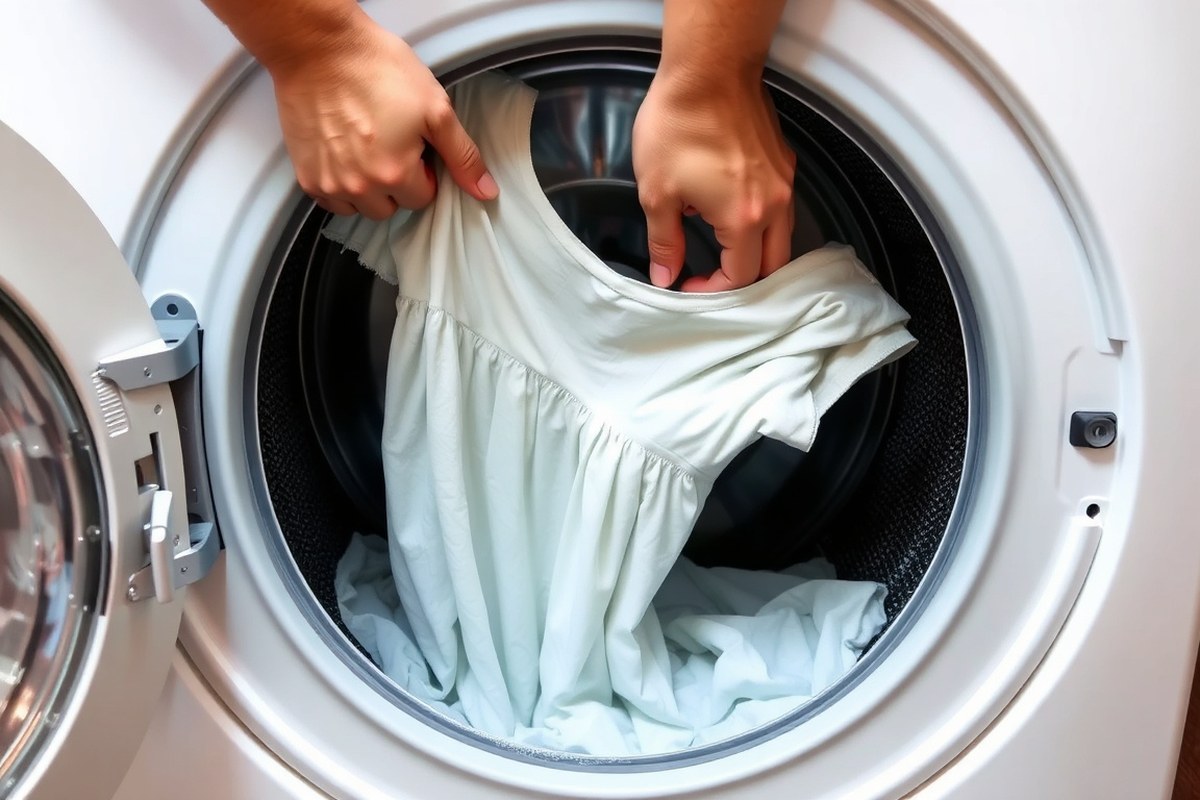
Shrinking a dress at home requires careful control over heat and water to avoid damaging the fabric or causing uneven results. Hot water tightens the fibers, and applying heat through drying further reduces size. Cotton dresses can shrink significantly, sometimes up to 20%, if handled with high heat in washing and drying. Synthetic fabrics like polyester are less responsive but can still shrink with extreme heat, though you must monitor more closely to prevent damage. Your goal is to expose the dress evenly to warm or hot temperatures while periodically checking to ensure balanced shrinkage.
- Prepare the dress and workspace. Inspect the dress for any delicate trims or labels. Remove accessories, and turn the dress inside out to protect the surface. Gather hot water, a basin or sink, and access to your washing machine and dryer. Ensure your area is safe from steam or splashes, especially if using boiling water.
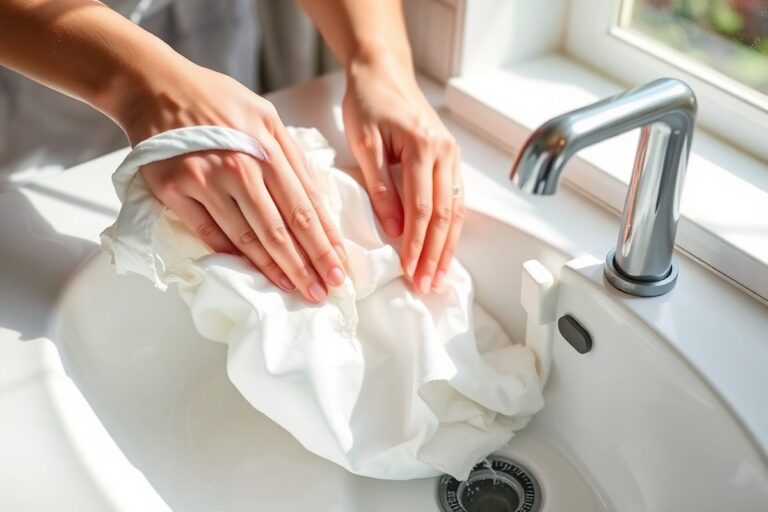
- Soak the dress in hot water. Fill a basin or sink with water heated between 120°F and 140°F (49°C, 60°C). Submerge the dress completely and let it soak evenly for 10 to 15 minutes. This temperature tightens cotton fibers efficiently without immediate risk of felting or melting synthetics.
- Drain and gently press the dress. After soaking, carefully lift the dress and press out excess water without wringing to avoid stretching or deforming it. Rinse with cold water to stop the heat action and cool the fibers, setting the new size.
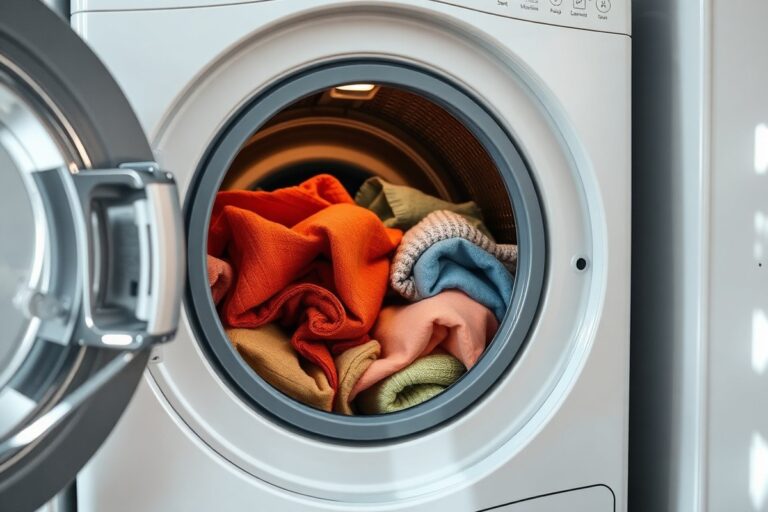
- Dry the dress on high heat. Place the dress in your dryer using the highest heat setting suitable for the fabric, usually “Cotton” or “High.” Allow the dryer to run for up to 60 minutes. For synthetic blends, stop and check every 5 to 10 minutes to prevent overheating and melting.
- Check fit and repeat if needed. After drying, try on or measure the dress. If the shrinkage is not sufficient, repeat the soaking and drying process once more, but avoid more than two full cycles to prevent permanent fabric damage.
- Allow the dress to rest. Let the dress cool and dry fully at room temperature before storing or wearing. This prevents distortion and helps the fibers stabilize at their new size.
Following these steps helps control shrinkage safely by balancing water temperature and drying time. Avoid using boiling water directly on delicate fabrics or leaving the dress in the dryer unattended, as this risks irreversible damage. Regularly checking the dress’s size during the process ensures you stop exactly when the fit improves, making your dress comfortably smaller without sacrificing quality or longevity.
Which Fabrics Shrink and How Much to Expect

Fabrics made from natural fibers like cotton, wool, silk, and linen shrink more noticeably due to their organic structure. These fibers absorb water and heat differently than synthetic ones, causing them to contract when exposed to moisture and improve temperatures. Synthetic fabrics such as polyester, spandex, and nylon are designed to keep their shape and usually show minimal shrinkage. Learning which fabrics shrink and to what extent helps you decide if shrinking your dress is possible without damaging it.
Natural fibers shrink because water loosens the tension in fibers formed during manufacturing, allowing them to return to their original, smaller size. The amount of shrinkage varies; cotton and wool usually shrink between 3% and 7%, depending on fabric quality, weave, and finish. Polyester and synthetic blends might shrink only about 1% or less, if at all, and attempts to shrink these can lead to damage like warping or puckering.
| Fabric Type | Natural Shrinkage Range | Why and How It Shrinks | Shrinkage Notes |
|---|---|---|---|
| Cotton | 3% to 7% | Fibers absorb water and heat, loosening tensions | Easiest to shrink; moderate heat and water trigger shrinkage |
| Wool | 4% to 8% | Protein fibers contract in warm water; swelling causes felting | Requires careful temperature control; cold water and mild soap recommended |
| Linen | Up to 5% | Absorbs water; heat tightens the fibers | Shrinks less than cotton; drying methods impact shrinkage |
| Silk | 2% to 5% | Natural protein fiber contracts with water and heat | Delicate; risk of damage if overheated |
| Polyester | 0% to 1% | Thermoplastic fibers resist shrinkage | Minimal shrinking; heat can damage fabric |
| Blends (Natural/Synthetic) | Varies, generally 1% to 3% | Mixed fibers shrink unpredictably | Test first; synthetic content limits shrinkage |
Knowing these shrinkage ranges helps you estimate the potential size reduction of your dress. For example, a 40-inch cotton dress might shrink about 1.2 to 2.8 inches after washing and drying. Wool dresses require gentler handling but may shrink more if heat and agitation increase. Blends demand extra caution since the synthetic fibers reduce the overall shrinkage and may respond poorly to aggressive heat or water. Always check the label to confirm fabric content and suitability for shrinking.
To avoid ruining your dress, do a spot test with heat and water on an inconspicuous area before shrinking the whole garment.
Attempting to shrink garments made mostly of synthetic fibers risks permanent damage. Polyester can melt or warp under heat, so use the gentlest methods if shrinking is necessary. Natural fabrics tolerate more aggressive techniques but only shrink up to their natural limit; forcing additional shrinking can distort the garment or weaken fibers. Understanding these fabric behaviors saves time and prevents costly mistakes when shrinking your dress at home.
How Heat and Water Affect Dress Shrinking
Temperature is the main factor that causes dresses to shrink. Hot water speeds up fiber contraction by relaxing and tightening the threads. Set your washing machine to the hottest water setting that won’t ruin the fabric, usually around 130°F to 140°F for cotton and blends that tolerate heat. Soaking the dress completely in hot water for about 30 minutes helps break down the stiffness in the fibers, making it easier for them to pull together.
Agitation also plays a role, but it is less important than temperature. The mechanical action of a washing machine or hand rubbing helps fibers move and tighten. For cotton dresses, a normal wash cycle with hot water and regular agitation is effective. However, synthetic blends resist shrinking because their fibers don’t contract as much in heat. For these, hot water alone often isn’t enough. You’ll need to use a combination of hot washing and high heat drying to see noticeable shrinkage. Maintaining constant agitation during washing ensures even exposure to heat and helps prevent uneven shrinking or misshaping.
When preparing to shrink a dress, first check the fabric care label to confirm it can handle high temperatures. Submerge the dress fully in hot water in a laundry tub or washing machine set to the hottest setting it can safely handle. Let it soak for 30 minutes to allow fibers to soften. Next, run it through a wash cycle with agitation to aid fiber movement. For best results, immediately transfer the dress to a dryer on a high heat setting. The combination of hot water and heat from the dryer maximizes shrinkage. Always monitor the drying process to prevent over-shrinking or damage, stopping when the dress reaches the desired size.
Note that for wool dresses or blended fabrics, medium heat and gentler agitation cycles work better to avoid felting or warping. Shrinking denim usually requires repeated exposure to hot water and dryer heat, as the sturdy fabric resists quick shrinking. With synthetic blends, expect less shrinkage overall and adjust heat carefully to avoid melting or deforming fibers.
To summarize the method, use the hottest water the fabric label allows, soak the dress thoroughly for about half an hour, follow with a cycle providing normal agitation, and finish with high heat drying. This approach costs only water, electricity, and time, with no special tools required. Good results show a noticeably smaller dress that fits better but remains soft and undamaged. Problems like uneven shrinking or fabric distortion often come from insufficient agitation, too low temperature, or drying too long, so adjusting one or more steps helps achieve the best fit while preserving the dress quality.
Hand Shrinking Dresses Without a Machine
You can shrink a dress by hand without a washing machine or dryer by soaking it in hot water and carefully manipulating the fabric. This manual approach helps control the shrinking process, especially for delicate dresses that need gentle handling. It requires patience and attention to timing to avoid damage and get a better fit.
Preparing the Hot Water Soak
Start by selecting a container large enough to fully submerge your dress in hot water. Use water at about 120°F to 140°F (49°C to 60°C) depending on the fabric’s durability. Always check the dress label first; wool and silk require lower temperatures, closer to 100°F (38°C), to prevent damage.
Fill the container with the hot water and add a small amount of mild detergent if you want to clean the dress while shrinking it. Avoid harsh detergents or bleach, as these can weaken or discolor fabrics. Make sure the water temperature is steady before placing the dress in to ensure even soaking.
Soaking and Checking Fit Intervals
Submerge the dress completely and gently push it underwater to remove air bubbles. Soak for about 20 to 30 minutes at a time, which gives the fibers enough heat exposure to shrink without overstressing them. After soaking, remove the dress and test the fit by carefully squeezing excess water with your hands, not wringing.
Check the dress against your body or a dress form to see if it has reduced in size to your liking. If the fit is not quite right, repeat soaking for additional intervals of 10 to 15 minutes. Keep an eye on the fabric’s feel to watch for stiffness or fiber stress, which signals you should stop soaking.
Drying and Reshaping by Hand
After reaching your target size, gently lay the dress flat on a clean towel to air dry. Roll the towel with the dress inside to absorb more water without twisting or wringing. You can shape the dress manually by stretching or compressing certain areas to refine the fit as it dries.
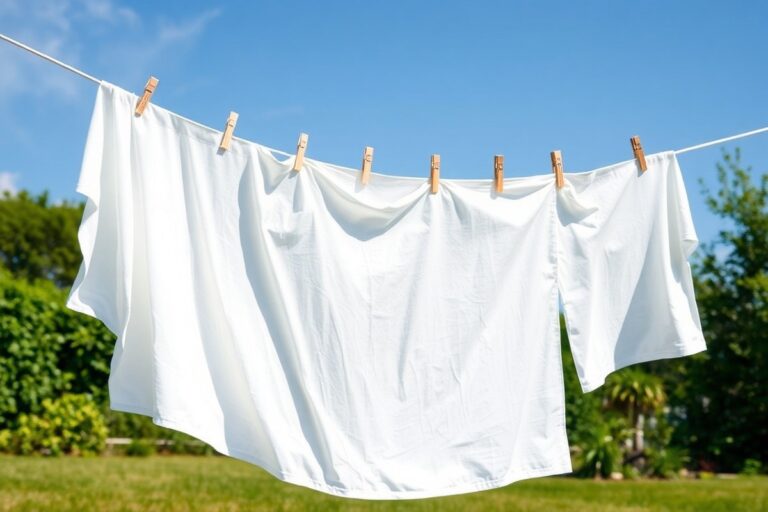
Allow the dress to dry in a warm, well-ventilated area out of direct sunlight, which may fade colors. Avoid hanging heavy wet dresses because gravity can stretch the fabric and undo some shrinking. For particularly delicate fabrics, a light steaming with the iron held above the fabric (never touching) can help relax and reshape fibers after drying.
- Heat water to the appropriate temperature based on fabric type.
- Fill a basin or tub with the hot water.
- Fully submerge the dress and soak for 20 to 30 minutes.
- Remove the dress and gently squeeze out excess water.
- Check the fit and repeat soaking if needed in 10 to 15 minute increments.
- Lay the dress flat on a towel, roll to remove more water.
- Reshape the dress by hand and let it air dry completely.
- Optionally, use steam from an iron held above to refine the shape after drying.
Using Dryers and Irons for Targeted Shrinking
Using a dryer or iron can help you shrink specific areas of a dress with control and precision. It is safe if you match the heat to the fabric type and check frequently to avoid damage or over-shrinking. These tools allow you to focus heat exactly where you want it, unlike washing and drying that affect the whole garment.
Dryer Settings for Different Fabrics
The dryer is useful for shrinking natural fibers by exposing them to high heat. Cotton and denim respond best to high-temperature drying, which relaxes the fibers and causes noticeable shrinking. For synthetic blends, choose a medium setting to avoid melting or warping. Wool and delicate fabrics should be avoided in the dryer as heat can cause severe damage or felting. Here are suggested dryer settings based on fabric:
- Cotton: Use the highest heat setting for 30 to 40 minutes for significant shrinkage.
- Denim: High heat for 40 minutes; expect moderate shrinkage.
- Wool: Avoid the dryer; air dry instead to prevent over-shrinking.
- Synthetic fabrics (nylon, polyester): Medium heat or air fluff setting to minimize damage; expect little shrinkage.
- Blends: Use medium heat; check every 10 minutes to avoid shrinking too much.
Turn the dress inside out before drying to protect the color and fabric surface. Avoid leaving the dress in the dryer unattended; check every 5 to 10 minutes to monitor progress and avoid over-shrinking.
Iron and Steam Techniques
An iron offers targeted heat for precise shrinking on problem areas like tight sleeves or shoulders. Set the iron according to the fabric’s heat tolerance, usually listed on the garment tag. Cotton and linen allow high heat with steam, while synthetics require low heat and no steam to avoid melting. To shrink a specific area with an iron:
- Lay the area flat on an ironing board.
- Set the iron heat level according to fabric type (high for cotton, low for synthetics).
- Apply steam or sprinkle water lightly to help fibers contract.
- Press firmly, avoiding long contact that could burn the fabric.
- Lift the iron frequently to move and prevent scorching.
Steamers also shrink fabric by relaxing fibers through moist heat without direct pressure. Use steam on wool or delicate areas to carefully shrink without flattening the fabric texture.
Practical Tip: Always test the iron or steamer on a hidden area before shrinking visible sections of your dress.
Monitoring Shrinkage Progress
Regular checks during drying or ironing prevent over-shrinking. Every 5 to 10 minutes, pause to measure the dress or try it on to see if it’s reaching the desired size. Adjust heat upward or downward depending on results. Stopping while the dress is slightly larger than needed is safer; fabric will relax again after cooling.
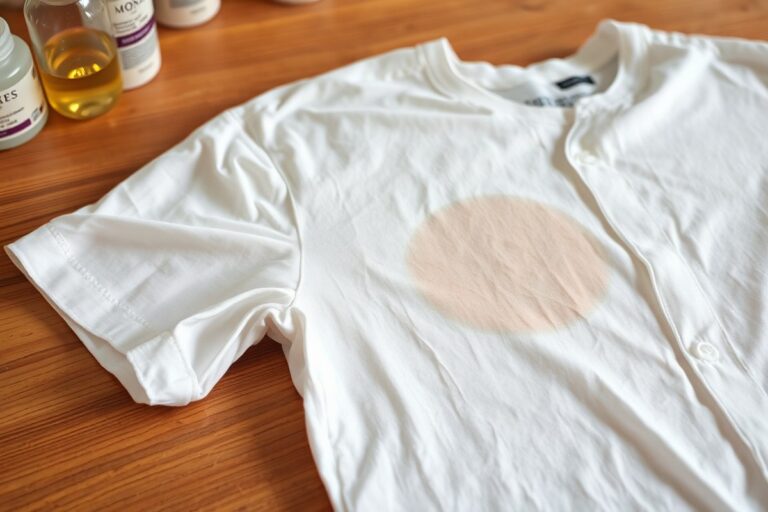
Good shrinkage looks even without warping or misshaping fabric. Watch for signs such as fabric stiffness, burnt spots, or exaggerated creases, which indicate too much heat or drying time.
To keep track effectively, use a tape measure or place the dress on a flat surface to measure length and width regularly during the process. Document measurements to avoid losing progress or shrinking past your goal.
Common Shrinking Mistakes and How to Fix Them
One common mistake when shrinking dresses is not identifying whether the garment is pre-shrunk or not. Pre-shrunk dresses resist further shrinkage, so applying heat or water aggressively can damage the fabric or distort the shape. To avoid this, check the label for “pre-shrunk” or special care instructions. Treat these dresses gently, using lower temperatures and shorter times in water or heat. For example, keep water temperature below 90°F (32°C) and limit dryer time to just 10, 15 minutes.
Another frequent error is uneven shrinkage caused by applying heat or water inconsistently. This often leaves parts of the dress tighter or smaller than others, which ruins the fit and appearance. Prevent this by wetting the dress evenly and laying it flat when air drying or rotating it regularly in the dryer. Uneven shrinkage calls for gently stretching the tighter areas while damp to promote more consistent sizing.
Using high heat settings is tempting to speed up shrinking, but it can shrink the dress too much or weaken fibers, especially with delicate fabrics like wool or rayon. Limit machine dryer temperatures to medium or low heat and monitor the dress closely every 5 to 10 minutes. For delicate or synthetic blends, hand shrinking with warm water and careful stretching is safer. Dresses that shrink too much benefit from soaking in lukewarm water and gently stretching back to shape to partially reverse shrinkage.
- Check garment labels for “pre-shrunk” or care instructions first.
- Wet or steam the dress evenly to avoid patchy shrinkage.
- Use medium or low heat settings in dryers; avoid high heat.
- Rotate or reposition the dress during drying for consistent shrinkage.
- Hand shrink delicate fabrics to prevent damage.
- When a dress shrinks too much, soaking it in water and carefully stretching it can help bring back some size.
- Sort dresses separately to protect garments not meant for shrinking.
Accidentally shrinking dresses that are delicate or labeled “do not shrink” often results in fabric thinning, color fading, or irreversible shape loss. Always opt for gentle methods like hand washing in warm water and air drying flat for these types. Organic laundry detergents can reduce fabric stress and preserve breathability while minimizing excessive shrinkage. Carefully monitoring shrinking progress by measuring length and width before and after each shrinking step prevents surprises and ensures better control of the outcome.
When and Why to Consult a Tailor Instead
Choosing between shrinking a dress at home and consulting a tailor depends on the fabric type, dress condition, and the fit you’re aiming for. Heat shrinking works best on natural fabrics like cotton and wool, which respond predictably to water and heat. However, synthetic blends, delicate fabrics like silk, or heavily structured garments may not shrink evenly or safely with DIY methods. Dresses made from denim or thick fabrics often won’t shrink successfully at home without risking damage. Those fabrics often require professional techniques to reshape properly.
When dealing with older dresses, especially vintage or fragile ones, a tailor’s expertise can protect the garment from harm. The structural integrity of seams, linings, and any embellishments might suffer if exposed to heat and water repeatedly. Tailors can also assess the fabric’s resilience and recommend alteration methods beyond shrinking, such as adjusting seams or panels, to improve the fit. Also, dresses with complex construction, like layered skirts, boning, or built-in linings, often need careful handling that surpasses simple shrinking methods.
The cost of tailoring varies but generally starts around $30 to $75 for basic alterations, such as taking in seams or shortening a hem. More extensive work, like adjusting a bodice or resizing, can cost $100 or more. This is a worthwhile investment if the dress has sentimental value, high quality, or an intricate design that requires precision. Tailoring complements shrinking by fine-tuning the fit after any home shrinking attempts, or it can entirely replace shrinking if the fabric and dress style demand it.
To decide whether to attempt shrinking yourself or visit a tailor, consider the fabric care label and your dress’s complexity. For example, a cotton summer dress you want to take in a few inches may benefit from careful soaking and drying at home. On the other hand, a silk cocktail dress with delicate lace should probably go to a professional to avoid shrinkage damage or distortion. When shrinking results seem uneven, or fabric changes texture and loses shape, that signals the limit of what home methods can safely achieve.
Starting with a test on a small, inconspicuous part of the dress can give you a preview of how it responds to heat and water. Use this to judge whether further shrinking attempts are advisable or if professional service is the better route. When exact fit and garment longevity are priorities, a tailor’s skill ensures that the dress will be reshaped accurately and preserved in good condition. Knowing when to go for professional resizing can save you time and money, and it delivers results that home shrinking can’t match.
How to Monitor and Measure Shrinking Progress
To avoid over-shrinking your dress, you need to check its size frequently during the shrinking process. Measuring key points and testing the fit after each attempt gives you control over the results. This prevents unwanted changes and allows multiple safe shrinking sessions if needed.
Taking Accurate Measurements
Use a flexible measuring tape to track your dress’s size before, during, and after shrinking. Focus on critical areas like bust, waist, hips, and length, since these affect fit most. Write down each measurement to compare progress clearly.
Measure laying the dress flat and smooth, without stretching. Double the flat width for circumference measurements. For example, if the waist measures 15 inches laying flat, its circumference is about 30 inches. Keep a record like this:
- Bust width: across the fullest part
- Waist width: narrowest part of the dress
- Hip width: widest point below the waist
- Length: from shoulder or waist to hem, depending on dress style
Taking precise measurements avoids guesswork and helps stop shrinking right when the dress fits as intended.
Intervals for Checking Fit
Check your dress’s size regularly during shrinking for the best control. When using heat methods like dryers, check every five minutes. For hand shrinking or washing, inspect after each cycle or soak to see incremental size changes.
Different fabrics respond at different rates. For cotton or linen, one heat cycle might shrink about 2% to 5% overall size, so plan for short intervals and re-measure quickly. Synthetic blends or pre-shrunk fabrics may show little to no change after several cycles. This schedule works well to balance shrinking progress and prevents surprises:
- Measure before starting
- Check after every 5 minutes in the dryer or after each wash and dry cycle
- Take additional measurements after each full drying process
- Test fit by trying on the dress if possible
- Stop and measure twice when close to desired size
Frequent monitoring helps prevent over-shrinking and uneven results.
Knowing When to Stop Shrinking
Stop shrinking as soon as the dress reaches your target size. This prevents fabric stress, distortion, and losing the intended shape. Signs that the dress has shrunk enough include the dress fitting snugly without pulling, no excess looseness, and measurements matching your ideal size chart.
You can shrink a dress multiple times, but expect diminishing returns after the first shrink. Most fabrics won’t reduce size much beyond initial shrinkage, especially if they are pre-shrunk during manufacturing. Repeated attempts risk damage or uneven texture.
Keep an eye on the dress during drying or hand shrinking and remove it immediately once it fits. Over-shrinking can cause permanent loss of garment shape.
Step-by-Step Action Plan to Shrink Your Dress at Home
Follow these steps to safely shrink your dress while tracking the changes to get the best fit.
- Before You Start: Identify the dress fabric by checking the care label to understand how it reacts to heat and water.
- Day 1: Test a small hidden section by soaking it in warm water for 10 minutes, then air dry to see if any shrinkage occurs.
- Day 2: For natural fibers like cotton or linen, wash the entire dress in hot water on a gentle cycle to begin shrinking.
- Day 3: Use a dryer set to high heat for 20 to 30 minutes, then check the dress’s size; repeat if necessary but avoid over-drying.
- Day 4: For targeted shrinking, lightly iron damp areas on a medium setting with a pressing cloth and measure progress.
- Day 5: Monitor the dress fit by measuring key areas like bust, waist, and length, then wear it to see how it feels.
- Day 6: If the dress has not shrunk enough or you notice uneven shrinking, consult a tailor to avoid damaging the garment.
- Ongoing: Repeat gentle water and heat treatments as needed, but always measure after each attempt to avoid over-shrinking.
Frequently Asked Questions
How Can I Shrink My Clothes Slightly?
You can shrink clothes slightly by washing them in hot water and drying on a low heat setting. This method relaxes fibers just enough to reduce size without major distortion. Check the garment often to avoid over-shrinking or damage.
Does 100% Polyester Shrink?
Polyester can shrink but very minimally compared to natural fibers. Use hot water and high dryer heat cautiously, checking every 5 minutes as synthetics dry faster and can melt or warp if overheated.
How Many Sizes Does 100% Cotton Shrink?
Pure cotton dresses might shrink up to one size or about 20% if exposed to high heat water and drying. The shrinkage varies by fabric weight and weave, so test cautiously to avoid too much size reduction.
Can You Shrink 70% Cotton?
A dress with 70% cotton can shrink but less than 100% cotton. The synthetic blend slows shrinkage, so expect smaller changes and monitor drying time carefully.
How Can I Shrink a Dress Without Losing Color Vibrancy?
Use warm, not hot, water and air dry or low dryer heat to protect color. Avoid prolonged heat exposure, which can fade dyes, while still shrinking fabric fibers gently.
Is It Possible to Reverse Shrinkage If My Dress Becomes Too Small?
Some minor shrinkage might be reversible by soaking the dress in lukewarm water with hair conditioner to relax fibers, then gently stretching it back to size before drying flat.
Wrapping Up
Shrinking your dress at home involves controlled use of heat and water based on the fabric type, combined with careful monitoring. Taking small steps helps prevent permanent damage while improving fit. Start with a fabric test today to see how much your dress can safely shrink before applying more heat. This hands-on approach gives you better control over the final result and keeps your dress wearable.