How to Dry Clean Clothes at Home: 8 Proven Methods for Safe Cleaning
Knowing how to dry clean clothes at home can save you money and extend the life of your wardrobe. You can safely clean many “dry clean only” items using methods that don’t require expensive or harsh professional services. This is helpful for people who want to refresh clothes at home without risking damage or extra cost.
This article is perfect if you want practical, safe solutions for at-home dry cleaning. You’ll learn which fabrics work best, what tools you need, and trusted steps to clean your clothes effectively and carefully at home.
Key Takeaways
- Most “dry clean only” clothes can safely be cleaned at home with gentle methods.
- Use moisture-activated dry cleaning kits that refresh and remove odors within 15 to 30 minutes.
- Check fabric labels closely to avoid home cleaning on delicate or structured garments like wool, silk, or heavily decorated pieces.
- Common household products like gentle detergent and a dryer with a steam bag can serve as home dry cleaning tools.
- Rotate clothes gently by hand or in a laundry bag for 3 to 5 minutes to avoid damage during home cleaning.
- Dry clothes on high in the dryer for 30 minutes with special dry cleaning sheets, then hang to finish drying.
1. Can You Really Dry Clean Clothes at Home?
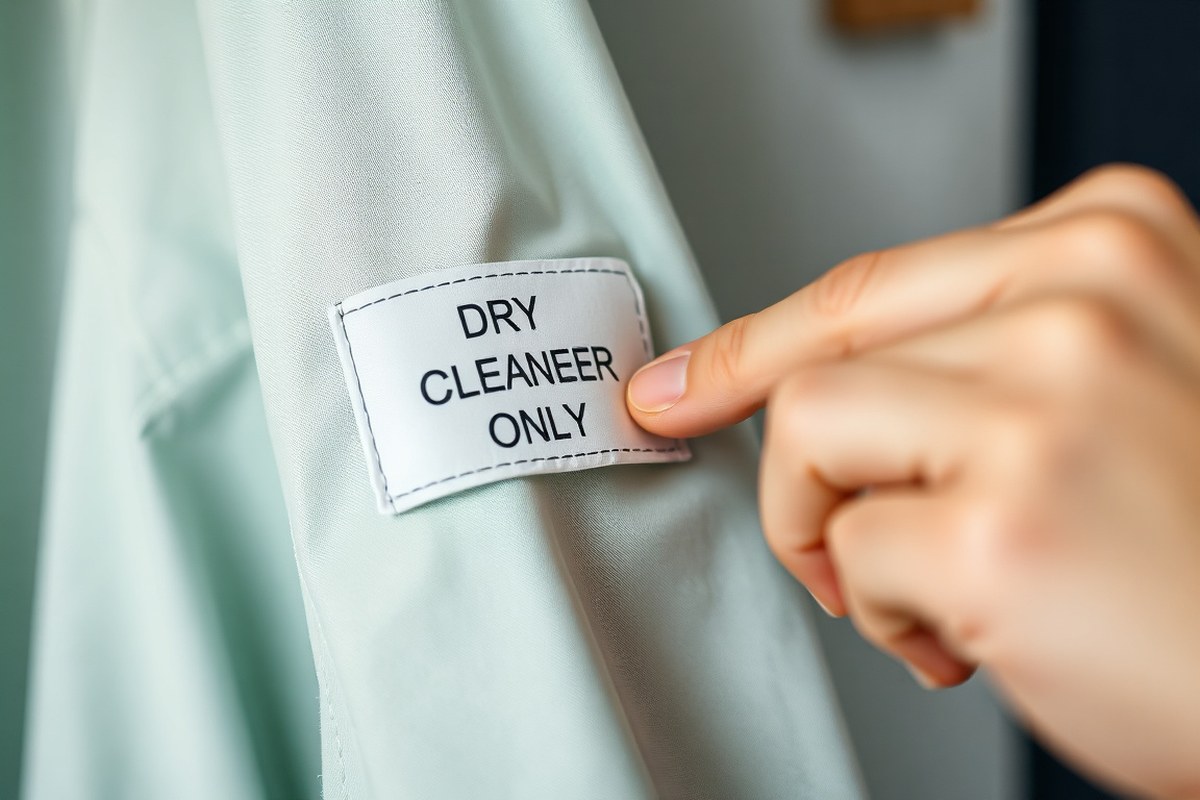
Dry cleaning is a method of cleaning clothes without water, using chemical solvents to remove dirt and stains gently. Unlike regular washing, which relies on water and detergent combined with agitation, dry cleaning avoids water entirely, preventing shrinkage, color loss, and fabric distortion in delicate or structured garments. This process is essential for fabrics that don’t respond well to water or vigorous washing, such as wool, silk, and certain synthetics.
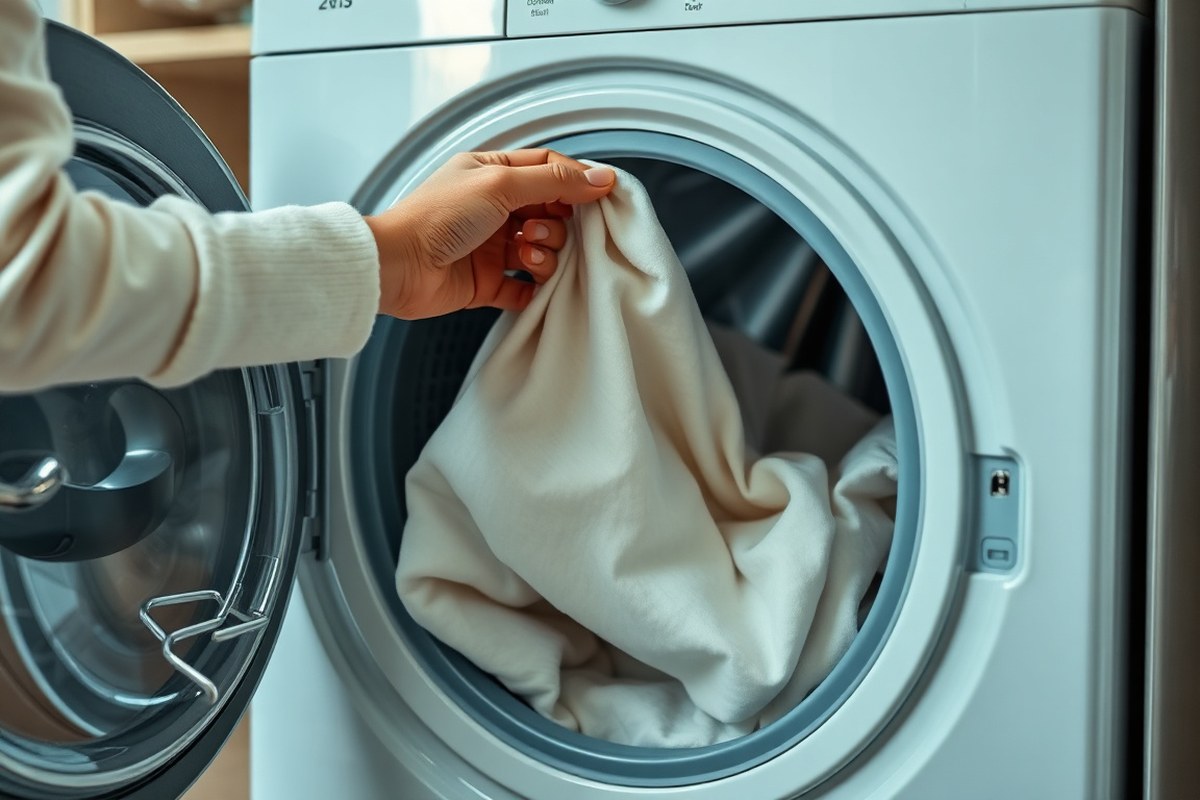
At-home dry cleaning is possible but cannot fully replicate professional machines or solvents. Instead, kits designed for home use, such as Dryel, use special cleaning cloths and gentle formulas meant to work in your tumble dryer without water. These kits allow you to freshen clothes labeled “dry clean only” while reducing the need for frequent trips to a professional cleaner. The process usually involves placing a cleaning cloth and the garment inside a dryer-safe bag and tumbling for about 15-20 minutes on low heat. The heat releases the cleaning agents from the cloth, which gently removes odors and light dirt.
Home dry cleaning offers advantages like saving money and time, plus it lets you clean delicate items that might wear out quickly with harsh washing. It’s safe for lightly soiled garments and suitable in between professional cleanings to keep clothes fresh. However, it has limits. It won’t remove heavy stains, tough grime, or deep soil as effectively as professional dry cleaning. If your clothes are heavily stained or very valuable, relying solely on home methods might risk damage or insufficient cleaning.
To do home dry cleaning effectively, follow these steps: first, check your garment’s tag for specific instructions and fabric type. Then, remove any loose dirt or debris, possibly spot-treat small stains with a mild stain remover safe for the fabric. Place the garment and the cleaning cloth from the home kit into the provided dryer bag. Run your dryer on a low heat setting for about 15 to 20 minutes. After drying, hang the garment immediately to prevent wrinkles and allow any residual moisture to evaporate. Avoid high heat, which may damage delicate fibers or shrink garments.
When comparing home dry cleaning to professional services, consider cost and convenience. Kits usually cost between $10 to $20 and treat several garments, while professional dry cleaning can cost $5 to $20 or more per item depending on fabric and complexity. Home kits are convenient and reduce chemical exposure but offer less thorough cleaning. Professional services use solvents like perchloroethylene under controlled conditions, achieving deeper stain removal without water damage. This makes them better suited for structured or heavily soiled garments.
With patience and care, home dry cleaning can extend the life of many dry clean only clothes between professional visits. It works best for light cleaning and odor removal rather than complete stain treatment. Always use gentle heat and follow the instructions on any kit or product you choose. Avoid substituting home dry cleaning for regular washing on garments labeled “do not wash” or “dry clean only” when they carry significant risk of damage. In those cases, professional help remains the safest choice.
2. Which Fabrics and Garments Are Safe for Home Dry Cleaning?
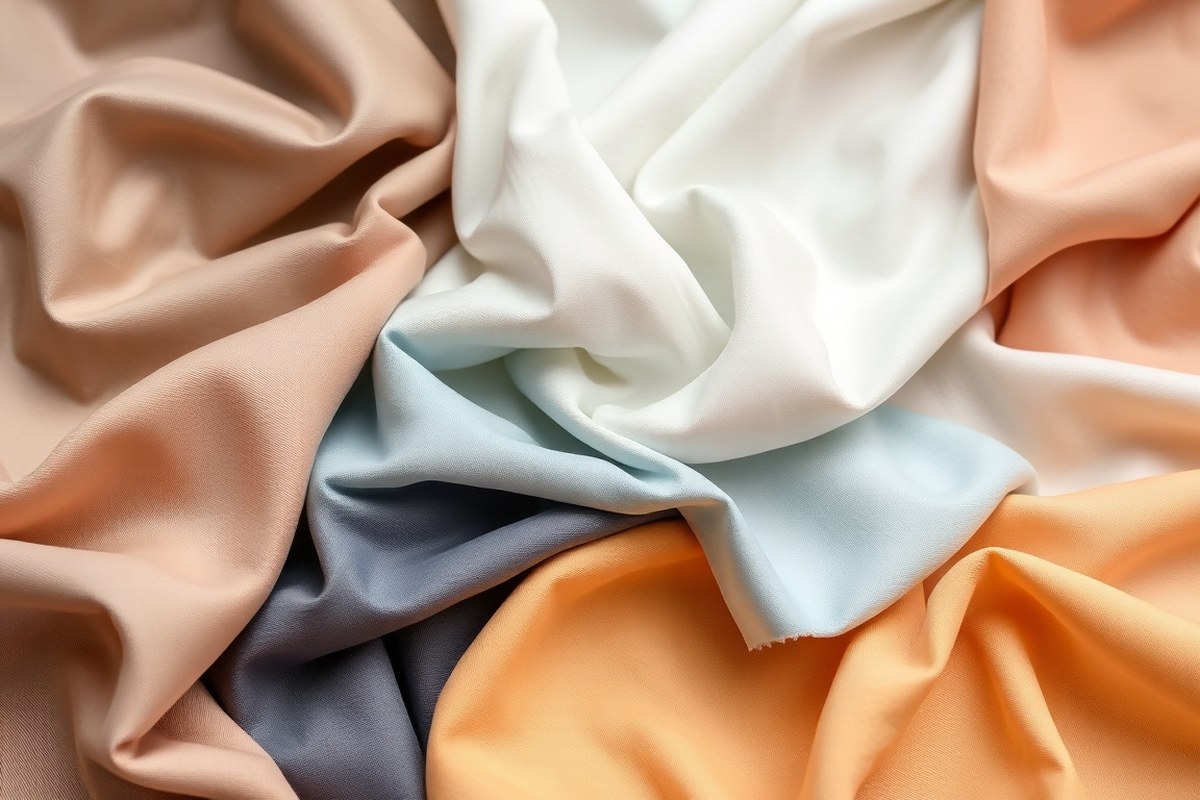
Some fabrics marked “dry clean only” can be cleaned safely at home using gentle methods, but knowing which ones to treat carefully matters greatly. Natural fibers like cotton, polyester, and nylon blends often withstand home dry cleaning or gentle hand washing. You can treat these fabrics cautiously without risking shrinkage or damage. However, delicate fabrics such as wool, silk, and velvet usually require professional cleaning due to their texture and color sensitivity. Structured garments like suits and dresses designed to hold a specific shape also need the expert touch to avoid distortion.
Garments with leather elements need special consideration. Leather itself, unless labeled “non washable” or explicitly “dry clean only,” can often be cleaned gently at home, including pieces with leather trims like collars, patches, or bindings. Avoid putting full leather coats or items with extensive embellishments such as sequins or beads in home cleaning processes, as these require professional handling to maintain appearance and integrity. Before attempting home dry cleaning, check the care label closely and perform a spot test on a hidden area to see how the fabric reacts. You should avoid home cleaning if the garment contains:
- Silk or wool items with intricate patterns or prone to color running
- Structured suits or dresses that rely on internal shaping
- Velvet or other plush, textured fabrics
- Heavy leather items or garments labeled non-washable
- Clothes with delicate trims, heavy beading, or sequins
- Items with unknown or mixed fibers without clear washing instructions
- Heavily stained clothes that may need specialized stain treatment
Test a small, inconspicuous area for colorfastness before dry cleaning home kits or solutions to avoid irreversible fabric damage.
Following this decision checklist keeps your garments safe and reduces the risk of costly mistakes. It’s safer to start with items you’re less worried about and always follow the product or kit instructions closely. Home dry cleaning usually involves less expense and chemical exposure compared to professional methods, but some fabrics just can’t handle the gentler at-home process and still need professional equipment and attention. Carefully identifying what to clean at home versus what requires a professional maintains your clothes looking their best while avoiding unpleasant surprises.
3. Essential Tools and Products for Dry Cleaning at Home
To dry clean clothes at home effectively, you need specific kits, gentle detergents, and a few safe household items as substitutes for professional solvents. These tools work together to refresh your garments, reduce stains, and maintain fabric quality without costly trips to the dry cleaner.
Types of At-Home Dry Cleaning Kits
At-home dry cleaning kits typically include a stain remover, a reusable fabric bag, and moist towelettes treated with a gentle solvent. You place the clothes inside the bag with a towelette, then tumble them in your dryer on low heat for about 20 to 30 minutes. This process helps to reduce wrinkles and odors while loosening dirt. Prices for these kits generally range from $10 to $25 per kit, enough for 3 to 5 loads.
Some kits focus on fabric refreshment rather than deep cleaning, so they work best on lightly soiled clothes or to extend the time between professional cleanings. Kits often specify fabrics they fit best, such as wool, polyester blends, and cotton-synthetics, but avoid them on items with plastic components.
| Kit Name | Contents | Best For | Price Range |
|---|---|---|---|
| SimpleCare Dry Cleaner | Stain remover pen, dryer bag, moist towelettes | Light stains, fabric refresh | $15-$20 |
| Dryel At-Home Kit | Moist towelettes, reusable dryer bag | Wrinkles, odors, mild cleaning | $10-$15 |
| Clotheshield Dry Cleaning System | Stain remover, drying bag, fabric protector spray | Stains, fabric protection | $20-$25 |
Recommended Cleaning Sprays and Detergents
Specialized sprays and mild detergents designed for delicate fabrics supplement at-home dry cleaning by targeting stains and odor. Look for products labeled for wool, silk, and other delicate materials to avoid damage. These products use gentle enzymes or solvents with low water content, which mimics professional dry cleaning’s liquid solvents without harsh chemicals.
When using cleaning sprays, always test on a hidden seam to check for colorfastness. Mild detergents with a pH-balanced formula work well for hand washing when extra cleaning is needed before or after using dry cleaning kits. Avoid anything with bleach or strong fragrances as they can harm delicate fibers.
- Mild wool and silk detergent (e.g., Woolite Delicates)
- Enzyme-based stain removers designed for delicate fabrics
- Fabric refresher sprays without alcohol or harsh chemicals
- Stain remover pens safe for wool and silk
- Low-foam formulas that rinse easily
Using these sprays can increase the cleaning effectiveness while keeping fabric textures and colors intact. Spray lightly and avoid overwetting the garment.
Household Alternatives for Cleaning Garments
When professional solvents are unavailable, some household items offer a safe alternative for light cleaning of delicate clothes. White vinegar diluted with water at a ratio of 1:4 can remove odors and help loosen dirt when applied gently with a soft cloth. Distilled water works best because it lacks minerals that might leave residue.
Another option is to use a dampened microfiber cloth to gently blot stains, followed by air drying flat. Avoid rubbing or over-saturating clothing, especially for wool and silk. Common household rubbing alcohol or nail polish remover should never be used, as they can damage or discolor fabrics.
- White vinegar diluted with water for mild odor removal
- Distilled water for light spot cleaning and rinsing
- Soft microfiber cloths for gentle blotting
- Zip-top pillowcase bags as an alternative to kit bags during tumble drying
Use these alternatives with care, testing on an inconspicuous area first, and apply sparingly. These methods help maintain your clothes’ look and extend the time they last without professional cleaning.
4. How to Dry Clean Clothes at Home: Step-by-Step Process
Dry cleaning clothes at home follows a careful process of inspection, treating stains, gentle cleaning with a solvent kit, drying, and finishing. These steps take about 15 to 30 minutes total with typical home kits and help preserve the fabric’s look and feel without damaging the garment.
Initial Inspection and Spot Treatment
Before cleaning, check your garment carefully for stains, weak seams, or missing buttons. This step preserves garment integrity and avoids making stains worse. Do not spray perfumes or typical stain removers, which can damage sensitive fabrics labeled “dry clean only.” Instead, use the stain treatments included in your cleaning kit or consult the kit instructions.
Look over the entire garment, inside and out, for any discoloration or spots you may want to target. Treat only visible stains with the kit’s approved stain stick or solution. Let the treatment sit for about 5 minutes to loosen dirt or oils before cleaning.
Loading and Using the Dry Cleaning Kit
The core of at-home dry cleaning is a special pouch or bag containing a moist cleaning cloth infused with a dry cleaning solvent substitute. Place your pretreated garment inside, following the kit’s size limits, usually one or two items at a time. Overloading reduces cleaning effectiveness.
Seal the bag and put it into your dryer on the lowest heat or air fluff cycle. Run for 15 to 20 minutes to allow the cleaning cloth to loosen dirt and deodorize fabric. Avoid high heat, as it can shrink or damage delicate fibers.
- Inspect the garment for stains, damage, and missing elements.
- Treat stains with the kit’s stain remover, letting it sit 5 minutes.
- Place garment inside the dry cleaning bag with the cleaning cloth.
- Seal the bag securely and place it in the dryer.
- Run the dryer on low heat for 15 to 20 minutes.
- Remove the garment promptly after the cycle ends.
Post-Cleaning Drying and Finishing
Once dry cleaning finishes, take your garment out of the bag immediately to prevent wrinkles. Hang the garment on a padded hanger in a well-ventilated area to air out any residual solvent smell for about 10 to 15 minutes. Avoid direct sunlight, which can fade colors.
Light steaming or gentle ironing on the lowest heat setting, with a pressing cloth, helps restore shape and remove wrinkles. Do not use high heat or spray water, as this may harm the fabric. Inspect the garment again for any remaining stains or damage before wearing or storing.
5. Can You Use Your Dryer to Dry Clean Clothes?
Using a tumble dryer for dry clean only clothes is generally not recommended due to the heat and tumbling action, which can damage delicate fabrics and cause shrinkage. Traditional dry cleaning removes stains and refreshes clothes without exposing them to high temperatures or water. However, some modern dryers offer a “refresh” or “steam” cycle designed to gently freshen garments without washing, which can be used carefully on dry clean only items.
If you decide to use a dryer for dry clean only fabric refreshment, use the lowest heat setting or, ideally, the no-heat or air-dry setting. Avoid regular drying cycles that can reach temperatures above 120°F, as many sensitive fabrics like wool, silk, and rayon may shrink or lose shape at higher temperatures. Limit drying time to 10-15 minutes to prevent overdrying or damage. Remove clothes promptly to reduce wrinkles and maintain fabric integrity.
- Use a dryer with a “refresh” or “steam” cycle if available
- Set the dryer to no-heat, air-fluff, or the lowest heat setting
- Keep drying time short, 10 to 15 minutes maximum
- Remove clothes immediately after the cycle ends to prevent wrinkles
- Do not use fabric softeners or dryer sheets on dry clean only clothes
- Check garment labels for any specific drying instructions or cautions
For spot-treated stains or slight freshening, avoid the dryer altogether unless the garment is confirmed safe for dry drying. Many dry clean only fabrics respond better to air drying laid flat or hanging away from direct sunlight. The tumbler action and heat in dryers, especially older or non-specialized models, risk altering fabric texture and fit, which can ruin your clothes rather than refresh them. Always prioritize gentle, cool drying methods.
Using a dryer with a steam or refresh cycle can help freshen dry clean only garments, but never use high heat or tumble drying beyond 15 minutes to avoid irreversible damage.
6. Tips for Refreshing Dry Clean Only Clothes Without Washing
Refreshing dry clean only clothes without washing helps extend wear between cleanings while preserving fabric integrity. You can remove wrinkles, brighten colors, and eliminate odors using steaming, airing, and homemade refresh sheets. These methods save time and reduce exposure to chemicals from frequent cleaning.
Using a Garment Steamer Safely
Steaming is an effective way to smooth wrinkles and deodorize dry clean only clothes without risking water damage from washing. Use a handheld garment steamer that produces a consistent flow of steam around 212°F (100°C). Hold the steamer nozzle 6 to 8 inches away from the fabric to avoid soaking or burning the garment. Slowly move the steamer vertically on hanging clothes, covering all areas, especially seams and collars where odors and wrinkles concentrate. To steam properly:
- Hang the garment on a sturdy hanger in an open area.
- Fill the steamer with distilled water to prevent mineral buildup.
- Allow the steamer to heat fully before applying steam.
- Run the steamer up and down at a steady pace, taking about 2 to 4 minutes per item.
- Let the garment air dry completely before wearing or storing.
Steaming freshens clothes quickly, removes odors, and relaxes fibers for a neat look. Avoid direct contact with delicate fabric details to prevent damage.
Airing and Ventilating Clothes
Air circulation helps reduce odors and moisture build-up without touching the fabric. Airing clothes outdoors or near an open window for 30 minutes to an hour usually reduces light odors and freshens garments. Avoid direct sunlight on dyed fabrics to prevent fading. A gentle breeze helps evaporate any trapped moisture and lowers musty smells.
Use a clothing brush with soft natural bristles after airing to remove dust and lint that settle on surface fibers. These brushes reach beneath fabric weaves without damaging threads or finish. Follow up airing and brushing with a brief steaming session for best results.
- Hang clothes on a padded hanger for shape retention
- Air garments in a shaded, well-ventilated space
- Brush lightly in one direction to lift dust away
- Avoid using scented sprays directly on dry clean only fabrics
- Do not store clothes in plastic bags immediately after airing
This routine is best as maintenance between deeper cleanings or after minimal wear.
Making Your Own Refreshing Dryer Sheets
Create DIY dryer sheets to lightly scent and reduce static on dry clean only clothes without washing or dry cleaning. Mix 1 cup of white vinegar with 10 to 15 drops of essential oils such as lavender or tea tree in a spray bottle. Lightly mist a clean cloth with this solution and toss it in the dryer for 5 to 10 minutes on a no-heat or air fluff cycle along with your garments. Steps for crafting and using refresher sheets:
- Combine 1 cup distilled white vinegar with essential oils in a spray bottle.
- Spray a folded cotton cloth or reusable fabric wipe lightly; it should be damp but not wet.
- Add the cloth and clothes to the dryer on the lowest or no heat setting for 5 to 10 minutes.
- Remove clothes promptly and hang or fold to avoid wrinkles.
This method helps neutralize odors without heavy fragrances or chemicals found in commercial fabric fresheners, which can build up in dry clean only fabrics over time and damage fibers. Use this technique sparingly to maintain fabric condition and avoid excessive dampness in the fabric.
7. Common Mistakes in At-Home Dry Cleaning and How to Avoid Them
One common mistake when dry cleaning clothes at home is ignoring fabric colorfastness. Garments that bleed color when hand-washed or machine-washed usually require professional cleaning to avoid permanent discoloration. Always test a hidden area by dabbing a moist cloth to check for color transfer before starting. This helps prevent ruining your garment.
Using too many clothes or not enough cleaning cloths in the kit can also affect results. Most home dry cleaning kits recommend 1 to 5 garments per cleaning session along with one activated cleaning cloth. Overloading the reusable fabric protection bag limits the cleaning solution’s ability to refresh the fabric and remove odors effectively. Follow package instructions closely for the best outcome.
Shrinking and misshaping often come from using heat or improper drying methods. Home dry cleaning kits rely on gentle heat inside the dryer for about 30 minutes, so do not exceed recommended times or drying temperatures. Avoid hand-wringing or stretching garments while wet to maintain their shape. For delicate items or those with linings, reshape them gently and lay flat to air dry if the kit instructions allow.
Attempting to remove tough stains without proper knowledge can make problems worse. Most home dry cleaning systems are designed to refresh and deodorize rather than treat heavy stains. If a stain persists or worsens, stop and take the item to a professional dry cleaner to avoid setting it permanently. Trying aggressive stain removers at home can damage fibers or cause color fading.
- Do a colorfastness test on a hidden area before cleaning
- Use the correct number of garments and cleaning cloths per kit instructions
- Do not overload the fabric protection bag in the dryer
- Stick to recommended dryer settings and times to avoid heat damage
- Reshape garments gently after cleaning to prevent distortion
- Avoid hand-washing or agitation that can shrink or stretch fabrics
- Consult a professional cleaner for persistent or heavy stains
Fading often happens when garments are washed too frequently or with harsh detergents. Dry cleaning protects colors by avoiding water washes, but home methods can still cause fading if instructions are not followed. Use only mild solvents from the kit and limit dry cleaning frequency to what is necessary for maintaining freshness.
Knowing these common pitfalls and how to fix them helps protect your clothing investment and keeps dry clean only items looking their best. Always read your kit’s instructions carefully and err on the side of professional help when uncertain about fabric condition, stain severity, or colorfastness. Safe handling pays off with longer-lasting, better-looking garments.
8. When to Choose Professional Dry Cleaning Instead of DIY
Some garments and situations clearly signal the need for professional dry cleaning instead of at-home methods. You should never attempt to dry clean very delicate fabrics like silk, wool, or cashmere on your own, especially if the garment fits tightly or has handmade embroidery, beading, or other embellishments. These materials and details can be easily damaged by the friction and chemicals involved in home dry cleaning kits. Also, items labeled as “professionally dry clean only” with no alternative washing instructions usually require expert handling to avoid shrinkage, distortion, or color loss.
Valuable or antique clothing falls into a category that almost always needs professional care. These items often have historical or sentimental value, where any damage could be irreversible. Professional cleaners use specialized solvents, equipment, and preservation techniques designed explicitly for delicate or rare fabrics that home dry cleaning kits cannot replicate safely. Drapes and curtains, due to their size and weight, also require professional cleaning. Their bulk makes it hard to clean evenly at home and risks incomplete solvent removal or fabric stress.
A practical way to decide if professional dry cleaning is necessary involves a quick risk assessment. Look at the garment type, fabric sensitivity, cost, and label instructions. For instance, if a blouse has a delicate silk blend and costs over $150 or shows a strict dry clean only label, professional cleaning is the safer choice. When home cleaning produces a spot test with no damage and costs less, you could try it yourself to save money. However, avoid home methods if stains are old or set in; professionals use stronger solvents and techniques to eliminate them without harming fabric.
From a cost perspective, professional dry cleaning typically costs $10 to $30 per item, depending on the garment size and fabric. Home dry cleaning kits are usually priced between $5 and $15. While the kits provide a more affordable option for everyday clothes with minor soil, the risk of damaging valuable or complex garments might cost more in replacement or repair than the price saved. Professional services also save time, home cleaning requires careful preparation, spot testing, drying, and sometimes a second treatment. Professionals handle these steps quickly and with less risk due to their experience and equipment.
Assessing signs that professional care is necessary helps avoid improving small damages. When the garment shows loose threads, weak seams, fading, color bleeding, or existing damage, take it to a professional cleaner. Another red flag is if the fabric changes texture after a test cleaning or if there is a strong chemical smell remaining after home treatment. These indicate that the garment’s integrity might be compromised, and professional assessment and treatment are required.
Always perform a spot test in an inconspicuous area before any home cleaning, and if any change occurs, stop immediately and seek professional care.
Step-by-Step Action Plan for Dry Cleaning Clothes at Home
Follow these practical steps to start cleaning your dry clean only clothes safely at home. Each step includes a way to check your progress.
- Before you begin: Identify the fabric and check the care label to confirm it’s safe for home dry cleaning. Proceed only if labels say “dry clean” and fabrics are suitable such as wool, silk, or polyester blends.
- Gather your supplies: Purchase a home dry cleaning kit that includes cleaning cloths and a reusable bag. Verify the kit matches your garment types for best results.
- Spot test: Before treating the entire garment, apply the cleaning cloth to a hidden area to ensure no color loss or damage appears.
- Start cleaning: Place the garment and cleaning cloth inside the kit’s bag, then run it in your dryer on a low heat setting. The garment should come out looking refreshed and odor-free.
- Air out: Remove the item promptly and hang it in a ventilated area. It should look and smell clean without any stiffness or spots.
- Address stains separately: For stubborn spots, gently treat with a mild solvent or spot cleaner recommended for the fabric before repeating the kit process. Check that fabric integrity remains intact.
- Refresh regularly: Use your dry cleaning kit every few wears to maintain freshness and avoid heavy dirt buildup. Your clothes should keep their shape and feel clean between full washes.
- Know when to stop: If garments develop persistent stains, shrink, or lose texture, switch to professional dry cleaning to prevent damage.
Frequently Asked Questions
Can You Dry Clean in a Tumble Dryer?
You can dry clean clothes in a tumble dryer using a home dry cleaning kit like Dryel, following the instructions carefully to avoid damage. These kits use special cloths that release cleaning agents and steam to refresh and clean your clothes safely.
Is Dry Cleaning Actually Worth It?
Dry cleaning is worth it for delicate fabrics and structured garments that water and agitation could damage. However, many “dry clean only” clothes can be cleaned gently at home with proper care and the right products.
Is Dry Cleaning Safe for All Fabrics?
Dry cleaning is not safe for all fabrics; some, like leather, suede, and certain embellished materials, require professional care. Checking the garment label and fabric type helps you decide if home dry cleaning is safe for your clothes.
Can I Use My Dryer for Dry Cleaning?
Yes, you can use your dryer with a home dry cleaning kit designed for this purpose. Avoid using your dryer without a kit, as regular drying can shrink or damage dry clean only fabrics.
How Often Can You Dry Clean Clothes at Home?
You can safely dry clean clothes at home multiple times but limit it to avoid wear from repeated treatments. Frequent refreshing methods like airing out can extend the time between cleanings.
Do Dry Cleaning Kits Remove Tough Stains?
Home dry cleaning kits do not remove tough stains effectively. Stains usually require pre-treatment or professional cleaning to avoid setting them permanently.
Key Points to Remember
Cleaning dry clean only clothes at home can save money and extend garment life when done carefully. Start with fabrics you trust and follow product instructions closely. Your next step is picking the right home dry cleaning kit and testing it on less valuable items, so you build confidence in your process before tackling favorite pieces.