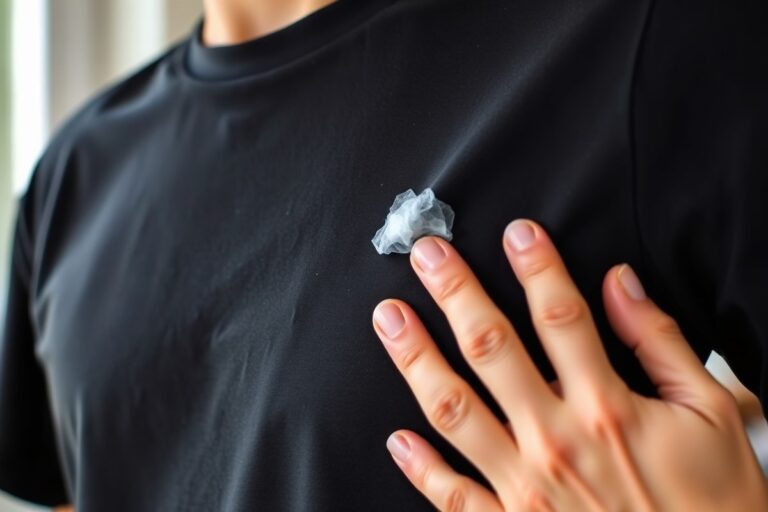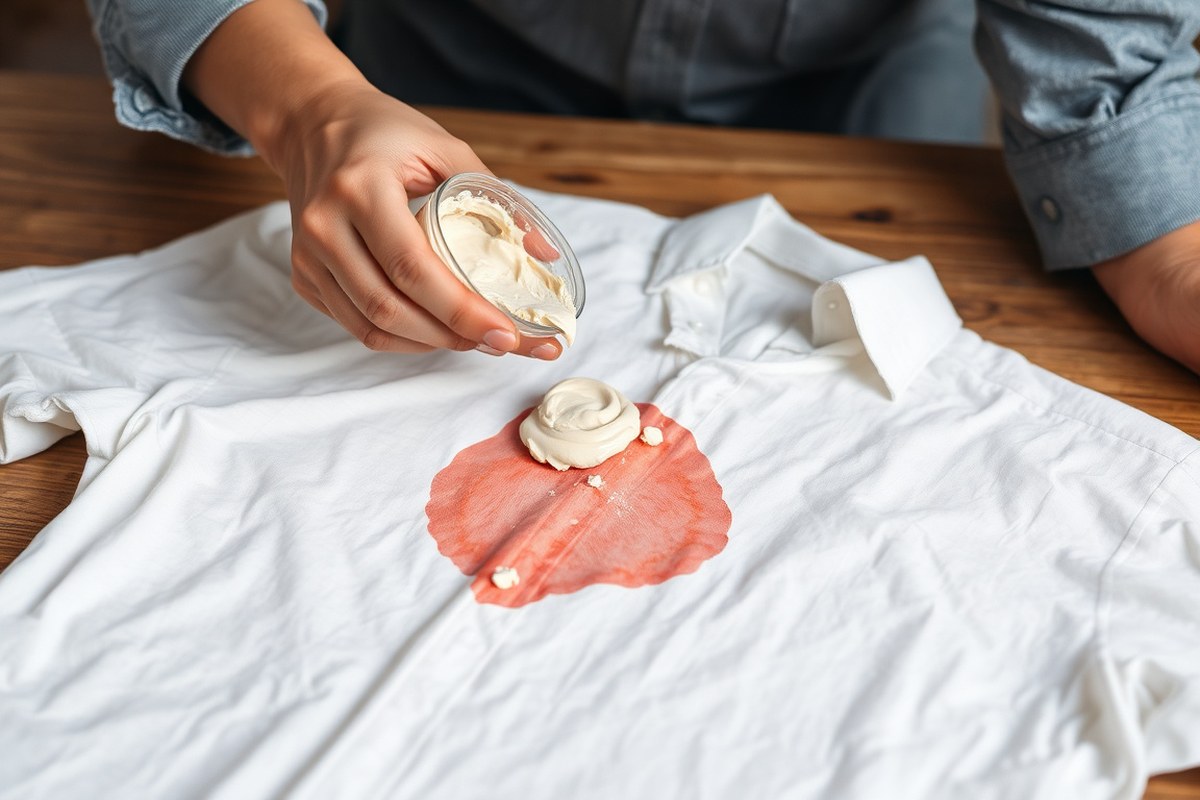
How to Remove Stain from White Shirt: 8 Proven Methods for Fast Results
The best way to prevent a stain from settling on your white shirt is to act instantly. Put a spot cleaner or liquid detergent on the stained region, then let it sit for 15 minutes before rinsing with cold water. For tougher stains, create a paste by combining equal amounts of 3 percent hydrogen peroxide and baking soda, then apply it to the stain for effective removal.
This advice suits anyone needing practical, at-home solutions for stain removal, whether dealing with food, sweat, or unknown causes. The steps focus on proven methods you can try using common household ingredients or laundry products, saving you time and preserving your shirt’s brightness.
Key Takeaways
- Apply liquid detergent or spot treatment on stains and wait 15 minutes before rinsing with cold water.
- Use a hydrogen peroxide and baking soda paste on stubborn stains, letting it sit for up to 30 minutes.
- Soak sweat-stained shirts in a hydrogen peroxide and water mix for 30 minutes to lift discoloration.
- Treat stains promptly to prevent them from setting and becoming harder to remove.
- Allow pre-treatment mixtures to rest for 15, 30 minutes for better stain breakdown.
- Cold water rinse after treatment helps stop the stain from spreading and sets cleaning in motion.
1. Fast-Acting Steps to Remove Stains from White Shirts
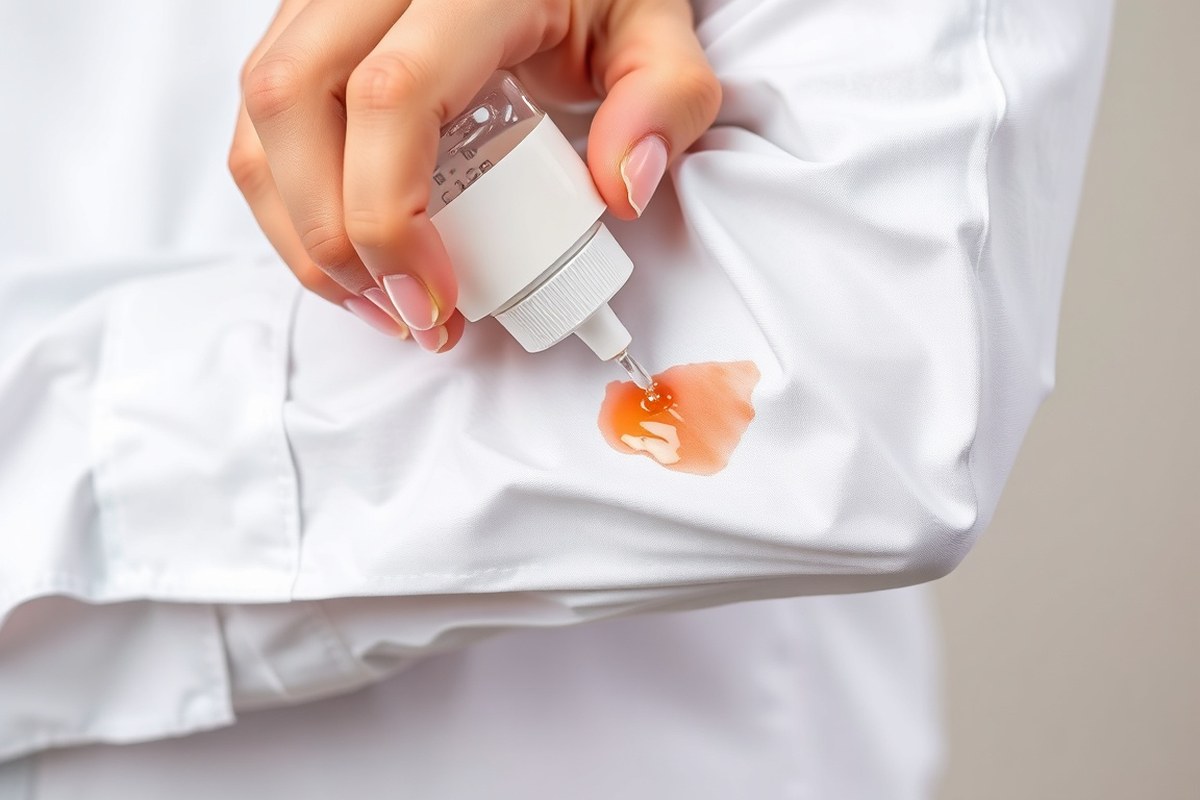
Acting quickly after a stain appears on a white shirt limits its chance to set, making removal easier and more effective. Immediate treatment keeps the stain from bonding deeply with fabric fibers, which can happen within minutes. You can often lift fresh stains using household liquids or laundry detergent without a full wash right away. Letting the treatment sit for the right amount of time improve its ability to break down the stain without damaging the fabric or fading the whiteness.
For best results, stain removers should stay on the fabric for 15 to 30 minutes before rinsing or washing. This time frame allows active ingredients to loosen the stain. Shorter times might not fully treat the spot, while longer soaking could weaken fibers, especially with bleach or homemade solutions containing hydrogen peroxide. When you cannot wash the shirt immediately, treating the stain and gently rinsing with cold water helps prevent the stain from setting until you can launder. Follow these steps to quickly and effectively treat stains on white shirts right after they happen:
- Blot the stain with a clean cloth or paper towel. Avoid rubbing to prevent pushing the stain deeper into fibers.
- Rinse the stained area with cold water. Hold the fabric under running cold water from the back of the stain to flush out as much as possible.
- Apply a liquid laundry detergent or stain remover directly onto the stain. Use about a teaspoon or enough to cover the spot fully.
- Let the treatment sit for 15 to 30 minutes. This timeframe works well for detergents or commercial spot removers without harming fabrics.
- After soaking, rinse with cold water again. This removes loosened stain particles and excess cleaner.
- For a persistent stain and the ability to wash right away, launder the shirt in warm water following care label instructions. Use a laundry detergent with oxygen bleach safe for whites.
- Unable to wash right away? Repeat the detergent application and cold rinse later. Keeping the fabric damp with treatment slows down stain setting.
This approach is cost-effective, using common laundry supplies that generally cost a few cents per treatment. Results vary depending on stain type; protein-based stains like sweat respond well to detergent pre-treatment, while oily stains may need dish soap and longer soaking. Rinsing with cold water avoids “cooking” stains into synthetic fibers, especially important for blended fabrics.
2. Choosing the Right Stain Treatment by Stain Type
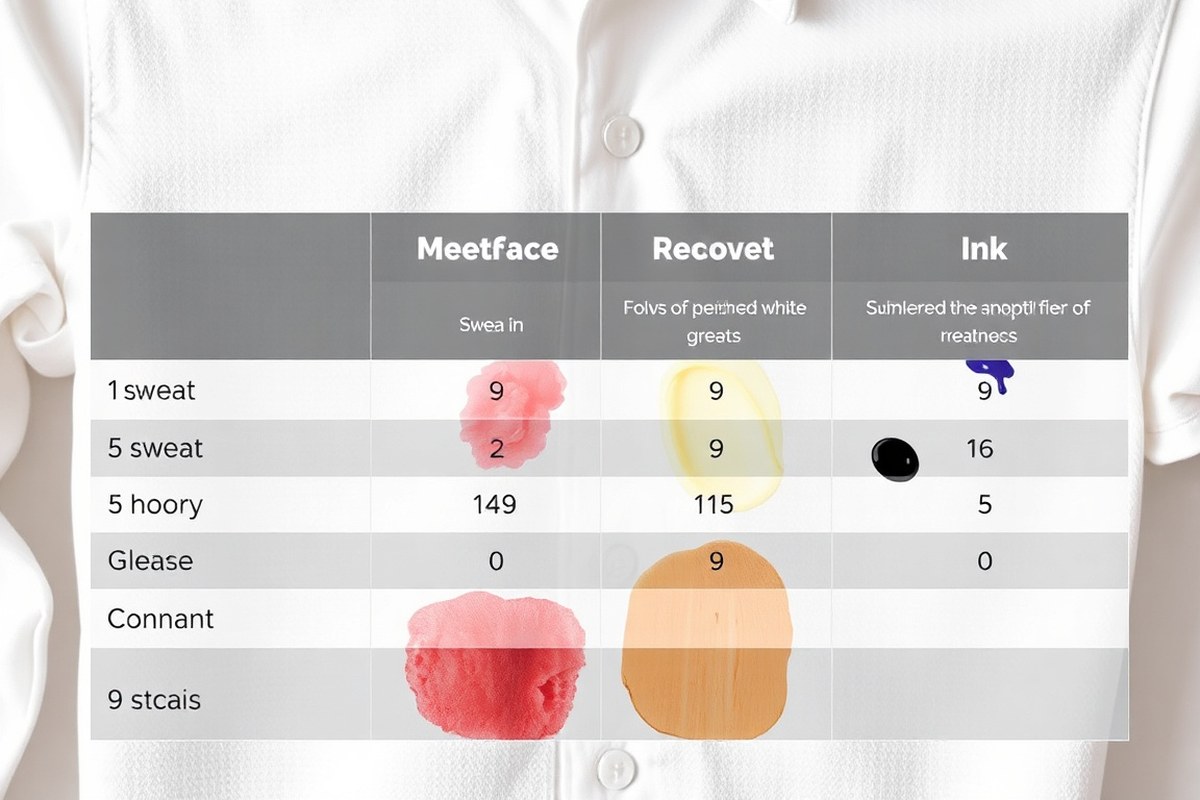
Different stains require different treatments to effectively remove them from white shirts. Sweat stains typically appear as yellow marks, especially around the collar and underarm areas. These are caused by oils and salts in sweat and can hold onto dirt and discoloration over time. Grease stains come from oily foods or mechanical oils and tend to sit on the fabric surface, while ink stains, such as from pens, soak deeper with dye that resists washing. Food stains vary widely, from fruit juices to sauces, and often contain pigments and acids that can set quickly.
The treatment method depends largely on the stain type and fabric. For sweat stains on cotton shirts, pretreating with an enzyme-based liquid laundry detergent helps break down proteins in sweat. Gently work it into the stain with a soft-bristled toothbrush and then rinse with warm water. After pretreatment, drying the shirt in sunlight can naturally bleach away residual yellowing. Avoid scrubbing, which pushes the stain deeper into the fibers.
Grease stains require different handling because water alone won’t lift oil. Apply a small amount of dish soap or stain stick containing plant-based oils, vitamin E, and essential oils directly to the grease. Let it sit for 10 to 15 minutes before washing in the warmest water safe for the fabric. For ink stains, rubbing alcohol applied with a cloth is effective. Dab gently without rubbing, and rinse thoroughly before laundering.
Delicate fabrics like silk or dry-clean-only shirts need gentler care. Avoid harsh stain removers and machine washing as they can damage fibers. Spot clean with mild detergent solutions or seek professional cleaning for ink and grease stains. Cotton and linen shirts are durable and can tolerate enzyme detergents and warm water treatments.
Knowing your shirt’s fabric and the stain type will help you choose the safest and most effective approach. The table below summarizes treatments by stain type and fabric type.
| Stain Type | Best Treatment | Fabric Considerations |
|---|---|---|
| Sweat (yellowing) | Enzyme detergent pretreatment + sunlight bleaching | Good for cotton, linen; avoid harsh methods on delicates |
| Grease | Dish soap or plant-based stain stick applied, warm water wash | Safe on sturdy fabrics; test on delicate; no harsh scrubbing |
| Ink | Dab rubbing alcohol, gentle blotting, rinse, then wash | Use caution on silk or dry-clean-only; professional cleaning recommended |
| Food (fruit, sauces) | Boiling water pour-through for fruit/veg stains or enzyme detergent | Effective on cotton; delicate fabrics require mild, cool water cleaning |
Choosing the right method depends on balancing stain removal strength with fabric safety. Hot water and enzymatic detergents excel on durable cotton fabrics but can harm delicate fibers if used aggressively. Alcohol removes ink effectively but risks fabric damage if overused or rubbed.
Avoid putting your white shirt in the dryer until the stain has been fully removed, because heat can make the stain impossible to remove.
Following these guidelines helps restore brightness while preserving fabric integrity. Gentle pretreatment focused on specific stain types, paired with careful washing, delivers the best results with minimal fabric wear over time.
3. Natural Remedies for White Shirt Stain Removal
Baking soda, lemon juice, white vinegar, and hydrogen peroxide all serve as effective natural stain removers for white shirts. Each uses a different chemical property, mild abrasiveness, acidity, or oxidation, to lift stains without harsh chemicals. Using these substances correctly ensures safe removal without damaging your shirts.
Using Baking Soda and Water Paste
Baking soda is a gentle abrasive that whitens and lifts stains while neutralizing odors. It works especially well on sweat and mild grime. To harness its power without harming fabric, create a paste and apply it carefully.
- Mix 4 tablespoons of baking soda with 1/4 cup of water until it forms a thick paste.
- Lay the white shirt on a flat surface with the stained area exposed.
- Spread the paste evenly over the stain using a soft cloth or your fingers, covering it completely.
- Leave the paste on the stain for up to 30 minutes, but no longer to avoid fabric weakening.
- Rinse the treated area under lukewarm water from the inside of the shirt to push out the stain.
- Wash the shirt as usual, following care instructions.
- Check that the stain is gone before drying, as heat can set any remaining discoloration.
Applying Lemon Juice Safely
Lemon juice contains natural acids that act similarly to mild bleach, helping brighten white fabric and reduce stains like rust, grass, or sweat. To prevent damage, dilute lemon juice with water before use and avoid direct sun exposure during treatment.
- Mix equal parts lemon juice and cool water in a bowl.
- Place the stained part of the shirt over a towel or basin to catch drips.
- Use a clean white cloth or sponge to dab the lemon-water solution onto the stain gently.
- Let it sit for 10 to 15 minutes, checking frequently to avoid fabric dryness or lightening beyond the stain area.
- Rinse thoroughly with cool water to remove the acid and prevent damage.
- Launder the shirt normally and air dry it in the shade.
Treating with Hydrogen Peroxide and Vinegar
Hydrogen peroxide and white vinegar have strong stain-fighting properties but should never be mixed directly in a bottle for safety reasons. Use them sequentially or with baking soda to boost stain removal while applying proper dilution and care.
- Turn the shirt inside out and rinse the stained area under cool water to loosen dirt.
- Use a clean white cloth or soft brush to gently apply 3% hydrogen peroxide directly onto the stain. Allow it to rest for 5 to 10 minutes before treating the fabric further.
- Blot the area gently to absorb excess liquid, then sprinkle baking soda over the stain for additional lift if desired.
- Wait 15 minutes for the paste to work, then rinse thoroughly with cool water from the inside out.
- Combine white vinegar and water in equal amounts in a spray bottle. Spray the mixture over mildew or coffee stains and leave it on for 30 to 60 minutes before rinsing thoroughly.
- Launder the shirt according to label instructions after treatment.
- Ensure stains are gone before drying, as drying with heat can make stains permanent.
Limitations and Precautions of Natural Methods
Natural remedies can be less harsh on fabrics and the environment than commercial cleaners but usually require more time and careful application. They may not remove all stain types as effectively, especially deeply set or oily stains, where stronger or specialized products might be necessary. Avoid using undiluted acids like lemon juice or undiluted vinegar for long periods, as acids can weaken fabric fibers or cause yellowing on delicate materials.
Never mix hydrogen peroxide directly with vinegar as this creates peracetic acid, which is corrosive and hazardous. Apply treatments in a well-ventilated area, and test a small hidden area of the shirt first to ensure there’s no adverse reaction. Using these natural ingredients can save money compared to commercial products, often costing only a few cents per treatment, but they demand more patience and care to achieve the best results.
4. Advanced Stain Removal Techniques for Set-In Stains
For old or stubborn stains on white shirts, using combined cleaning methods like homemade paste treatments and sun-drying can improve your results. If stains don’t fade after your efforts, professional dry cleaning is often needed. Tailoring your approach to the stain’s age and type increases the chances of fully restoring your shirt’s whiteness.
Making and Applying a Hydrogen Peroxide Paste
Hydrogen peroxide is a mild bleach that works well on set-in stains, especially on white fabric. Mixing it with baking soda creates a paste that can break down organic stains such as sweat, food, or blood. This method avoids harsh scrubbing that risks spreading the stain or damaging fibers.
- Mix 2 parts hydrogen peroxide (3% solution) with 1 part baking soda to form a thick paste.
- Apply the paste directly to the stained area, covering it completely.
- Let the paste sit for 30 to 60 minutes without drying out; cover with plastic wrap if needed to retain moisture.
- Gently blot the area with a clean cloth to lift loosened stain particles.
- Rinse the treated spot with cool water to remove all paste residue.
- Wash the shirt as usual in the warmest water safe for the fabric.
- Inspect the stain before drying; if still visible, repeat the process once more.
This treatment can cost only a couple of dollars for the peroxide and baking soda, and works best for stains older than 24 hours but not set for weeks.
Soaking and Sunlight Treatment for Yellow Stains
Yellow stains on white shirts, common from sweat or deodorant buildup, respond well to soaking combined with the natural bleaching power of sunlight. Using an acidic soak helps break down oils and proteins that cause yellowing.
- Fill a basin with warm water and add 1 cup of white vinegar.
- Submerge the stained area of the shirt completely; soak for 1 to 2 hours.
- After soaking, gently rinse the shirt with cold water.
- Lay the shirt flat or hang it outside in direct sunlight; expose the stain to sunlight for 2 to 4 hours.
- Check the stain coverage periodically; repeat soaking and sun exposure if the stain remains.
- Once the stain fades, wash the shirt normally before drying fully.
Sunlight acts as a gentle oxidizer and whitener but avoid excessive drying that could set any residual stain permanently.
When to Consult a Dry Cleaner
Persistent stains that resist home treatment often require professional intervention. Dry cleaners use specialized solvents and equipment not available at home, which can dissolve or lift tough stains like ink, oil, or dye transfers without damaging the white fabric.
Choose a reputable cleaner and inform them of the stain type and attempts already made. Professional stain removal costs typically range from $5 to $20 per garment, depending on the difficulty and location. Promptly submitting the stained shirt to a dry cleaner increases the odds of full removal.
Do not attempt stronger household chemicals like bleach on delicate or expensive white shirts, as improper use can cause discoloration or fabric breakdown. A dry cleaner also offers advice on how to prevent future damage and maintain your shirts’ brightness over time.
5. Best Practices When Washing White Shirts After Treatment
Washing white shirts after pre-treating stains involves using the hottest water safe for the fabric and following the care label instructions closely to avoid setting the stain or damaging the material. Pre-treat first, then brush gently, soak if needed, and finish with a properly timed machine wash using suitable detergent and temperature. Bleach can be useful but isn’t safe for every white shirt fabric, so check labels before use.
Sequence of Stain Treatment and Washing
Start by applying a pre-treatment product or stain remover directly onto the affected area. Gently brush or rub the fabric to help loosen the stain without damaging the fibers. Let the pre-treatment sit for about 5 to 10 minutes but avoid letting it dry completely on the fabric. Next, soak the shirt if the care label allows, either in warm water with a small amount of bleach or a color-safe alternative for about 30 minutes. After soaking, wash the shirt on the hottest water setting the fabric care label recommends.
Using Bleach Safely on White Shirts
Not all white shirts can be bleached safely. Fabrics labeled 100% cotton usually tolerate bleach, but blends, delicate fabrics, or those marked as bleach-safe should be tested first on a hidden seam. Chlorine bleach can weaken fibers or cause yellowing if overused or applied incorrectly. Color-safe bleach, typically oxygen-based, is milder and a better option for sensitive fabrics or shirts with prints and decorations. To use bleach safely:
- Check for the bleach-safe symbol on the care label.
- Test on a small, hidden area before full application.
- Never pour bleach directly onto stains; dilute in water.
- Soak the shirt for no more than 30 minutes.
- Rinse thoroughly with water before washing.
Machine Washing Pre-Treated White Shirts
After pre-treatment and possible soaking, place the shirt in the washing machine. Use a heavy-duty detergent formulated for whites, which helps maintain brightness. Select the hottest water temperature recommended on the care label. This is usually at least 104 to 140°F (40 to 60°C) for cottons but lower for more delicate fabrics. Avoid overloading the machine to ensure proper agitation and rinsing. To get the best results:
- Use the hottest water temperature safe for the fabric.
- Add detergent according to shirt soil level and water hardness.
- Include bleach or color-safe bleach in the bleach dispenser if permitted.
- Choose a normal or heavy-duty wash cycle for thorough cleaning.
- Do not machine dry the shirt if the stain might persist, air dry instead.
What to Watch for After Washing
Check the shirt carefully before drying. Heat from a dryer can set any remaining stains permanently, so air dry if stains remain. If the stain is still visible, repeat pre-treatment and wash again before drying. Fabric damage or discoloration can occur if washing instructions are ignored or bleach is overused, leading to thinning fabric or yellow tints.
Only dry white shirts after confirming stains are fully removed to avoid permanent setting from heat.
6. Common Mistakes and How to Avoid Them When Removing Stains
Common mistakes when removing stains from white shirts often cause more harm than good. Scrubbing a stain vigorously can damage the fabric fibers, leading to thinning or holes. Instead, gently blot or dab the area using a clean cloth to lift the stain without spreading it or wearing the fabric down.
Using heat prematurely is another frequent error. Applying hot water, ironing, or putting the shirt in the dryer before a stain is fully removed can set the stain permanently. Always treat stains and air-dry or let the shirt dry naturally until you’re sure the stain is completely gone. According to stain removal guidelines, avoid heat treatment until after confirming no visible residue remains.
Repeated washing without proper treatment can also degrade the whiteness and fabric over time. Overwashing can cause white shirts to yellow or lose brightness, especially if harsh bleaches or incorrect detergents are used. Using gentle, color-safe detergents and washing shirts according to their care labels helps preserve the fabric’s integrity and whiteness.
- Don’t scrub stains; blot gently instead to avoid fabric damage.
- Hold off on heat, skip dryers and irons until stains are fully removed.
- Pre-treat with appropriate stain removers based on stain type.
- Use cool or lukewarm water for washing stained areas to prevent setting.
- Avoid bleach unless confirmed safe for your shirt’s fabric.
- Wash shirts promptly or hang them to dry rather than leaving them in hampers.
- Follow care label instructions closely to protect fabric and maintain whiteness.
If stains persist after initial treatment, soak the stained part in white vinegar for 15 minutes, which can help break down residue without harsh chemicals. To remove food or oil stains gently, apply a small amount of dish soap worked into the fabric before washing. These approaches minimize the risk of fabric wear or discoloration.
By avoiding harsh scrubbing, skipping early use of heat, and selecting proper cleaning methods, you protect your white shirts from damage and keep them bright longer. Patience and careful stain management pay off better than quick, aggressive cleaning attempts that risk permanent harm.
7. Preventing Stains and Maintaining White Shirt Brightness
Preventing stains from becoming permanent starts with prompt action and proper care. The longer a stain sits on a white shirt, the harder it becomes to remove. Always treat spills as soon as possible by blotting gently without rubbing, which can spread the stain or push it deeper into the fibers. Avoid using hot water before stain treatment, especially on protein or tannin-based stains, because heat can set these stains permanently.
Sunlight has a mixed effect on white shirts. Direct sunlight can naturally brighten fabric by breaking down some organic stains, but it can also cause yellowing or weaken fibers if the shirt is exposed for long periods. To boost brightness without damage, dry your white shirts outside in indirect sunlight for about 30 to 60 minutes. Overexposure beyond this timeframe may lead to fabric deterioration and yellow spots.
Reading and following fabric care labels is key to preserving your white shirts’ look and feel. Labels will indicate the safest water temperature, washing method, and drying instructions. For example, a label might specify machine wash cold (below 80°F) or hand wash only, which helps prevent shrinking or damaging delicate fibers. Using bleach on fabrics marked “no bleach” can cause yellowing or holes, so always adhere to these guidelines. Use this checklist to protect white shirts long-term and maintain their brightness:
- Wear an undershirt or use a light stain guard spray to minimize sweat and oil contact.
- Treat stains quickly with appropriate stain removers before washing.
- Wash white shirts separately to avoid dye transfer from darker clothing.
- Use a detergent formulated for whites, preferably with optical brighteners or oxygen bleach substitutes.
- Choose the recommended water temperature on the care label, typically warm (about 90°F) for cotton shirts.
- Rinse thoroughly to remove detergent residue that can cause dulling or yellow buildup.
- Dry shirts promptly and avoid prolonged heat exposure in dryers; opt for air drying when possible.
Maintaining white shirts takes a little effort but pays off by extending their wearable life and keeping them looking crisp. Avoiding harsh chemicals and treating stains properly help prevent yellowing, while correct washing and drying preserve fabric strength and brightness. If you notice gradual dullness or yellow buildup, re-treat the shirt promptly and consider using whitening agents designed for whites, following package instructions carefully. Consistent care keeps your white shirt bright for months to come without frequent replacement.
8. Quick Fixes and Camouflage Techniques for Visible Stains
When stain removal isn’t possible right away, quick fixes and camouflage techniques can save your white shirt from looking worse. These approaches help you manage the stain’s visibility, especially when you can’t wash the shirt immediately or the stain is stubborn. Quick treatments like applying toothpaste or covering the area strategically can minimize the stain’s impact until proper cleaning is possible.
One instant treatment involves spreading a thin layer of plain white toothpaste over the stain. The mild abrasives in the toothpaste can break down fresh spots, making them less noticeable. Rub it gently with a soft cloth, let it sit for 5 to 10 minutes, then wipe off. This method works best on fresh stains rather than older set-in marks.
Blotting the stain gently with a clean paper towel or cloth helps stop it from spreading when immediate washing isn’t possible. Avoid rubbing, which can push the stain deeper into the fibers. For oil-based stains, first try to absorb as much oil as possible with baking soda or a napkin to reduce the stain’s size.
Camouflage options work well for visible stains that can’t be treated right away or are in tricky areas. Covering the stain creatively with accessories or clothing adds a stylish cover and shifts attention away from the spot.
- Put on a jacket or sweater to hide stains on the torso or sleeves.
- Place a brooch, pin, or small scarf over the stain if it’s on the chest or near buttons.
- Use a patterned bandana or necktie to distract from collar or chest stains.
- For large fabric stains on the lower shirt, a tucked-in layer like a vest can cover up.
- Try temporary fabric markers or fabric-safe bleach pens to blend lighter stains, but test on a hidden area first.
- Without any cover-ups, folding the shirt carefully while sitting can hide the stain in a less obvious spot.
- Spot clean with cold water and dab carefully to reduce the stain’s brightness without spreading it.
These quick fixes usually don’t remove the stain permanently but buy time until you can apply proper stain removal methods. A stain that’s camouflaged may still discolor the fabric, so expect to return to deep cleaning as soon as possible. Wearing covering layers might feel restrictive in warm weather.
Rubbing the stain hard risks pushing it deeper into the fabric and spreading it, which makes getting it out later harder.
Using these simple tricks lets you manage the stain’s appearance with little cost or effort. Cotton plain white toothpaste typically costs under $2 per tube and is widely available. Accessories for covering stains may depend on what’s in your wardrobe, making this approach free if you already own such items. Always keep stain treatment products or quick covers nearby for emergency use.
Step-by-Step Action Plan to Remove Stains from White Shirts
Follow these clear steps to treat stains effectively and keep your white shirts looking their best. Each stage shows you what to do and how to check your progress.
- Immediately after staining: Blot the stain gently with a clean cloth to absorb excess liquid without rubbing. The stain should stop spreading.
- Within 30 minutes: Rinse the stained area under cold water from the back to push the stain out. You should see the stain lighten noticeably.
- Before washing: Apply a stain remover appropriate for the stain type (such as oxygen bleach for organic stains). Let it sit for at least 10 minutes to break down the stain.
- During wash cycle: Use the hottest water safe for the fabric and add a quality detergent with optical brighteners if possible. The stain should fade significantly after washing.
- After washing: Check the stain before drying; if the stain remains, repeat the treatment steps. Avoid drying if the stain is still visible, as heat sets it permanently.
- For set-in stains: Use a paste of baking soda and water or a diluted hydrogen peroxide solution, left to sit up to 30 minutes, then launder again. The stain should appear much lighter or gone.
- After drying: If the shirt looks clean, use a whitening detergent occasionally during laundry to maintain brightness.
Frequently Asked Questions
Can Toothpaste Remove Stains?
Toothpaste can help remove some stains from white shirts because it acts as a mild abrasive cleaner. Use a non-gel, white toothpaste and apply it gently to the stain, then rinse thoroughly before washing as usual. Avoid colored or gel toothpaste to prevent new stains.
How Do Dry Cleaners Remove Stains?
Dry cleaners use specialized solvents and professional techniques to break down and lift stains without water. They target specific stain types with chemical solutions not available at home, which helps preserve fabric color and texture. This method is best for delicate or stubborn stains on white shirts.
Can Baking Soda Remove Stains from Colored Clothes?
Baking soda can remove some stains from colored clothes but works better on whites. Use a paste of baking soda and water and test it first on a hidden spot to avoid color fading. It gently lifts stains without harsh chemicals, making it safe for many fabrics.
Can White Vinegar Be Used to Remove Stains?
White vinegar effectively removes stains from white shirts due to its acidic nature, which breaks down stain molecules. Soak the stained area in a vinegar and water solution before washing for best results. Vinegar also helps maintain overall whiteness.
What Causes Yellow Sweat Stains on White Shirts?
Yellow sweat stains result from a reaction between sweat and deodorant ingredients, causing discoloration over time. These stains are tough because they bond to fabric fibers and need targeted treatment like baking soda paste to break them down.
Is It Safe to Use Bleach on All White Shirts?
Bleach can damage certain white fabrics like silk or wool, so use it only on sturdy cotton or polyester shirts. Always check care labels and dilute bleach properly to avoid weakening fibers or causing yellowing.
The Bottom Line
Removing stains from white shirts requires prompt action and matching treatment to the stain type. Handling stains carefully before washing and avoiding common mistakes helps preserve fabric brightness. Start by treating any stain on your shirt today with a gentle blot and cold rinse to see the difference effective care can make.