How Do You Bleach a Shirt: Safe Steps and 8 Essential Tips
To bleach a shirt safely, use a diluted bleach solution, wear protective gloves, work in a well-ventilated area, and monitor the fabric closely. Apply bleach evenly and rinse thoroughly to avoid damage. Understanding fabric type and bleach concentration ensures the best results without ruining your shirt.
This advice suits DIYers and casual crafters wanting to customize or refresh shirts. You’ll learn clear, practical steps for safe bleaching along with essential tips to choose materials, prepare your workspace, and care for your bleached shirt afterward.
Key Takeaways
- Choose 100% cotton shirts for strong, consistent bleaching results.
- Always dilute bleach with equal parts water for sprayed polyester shirts to avoid fabric damage.
- Wear gloves and work outdoors or in a ventilated area to protect skin and lungs.
- Soak cotton shirts in bleach solution for 10 to 60 minutes, checking every 10, 15 minutes for desired lightening.
- Use color-safe bleach on multi-colored shirts to protect non-target colors.
- After bleaching, rinse shirts in cold water and dry completely before further washing or wearing.
1. How to Bleach a Shirt Safely and Effectively
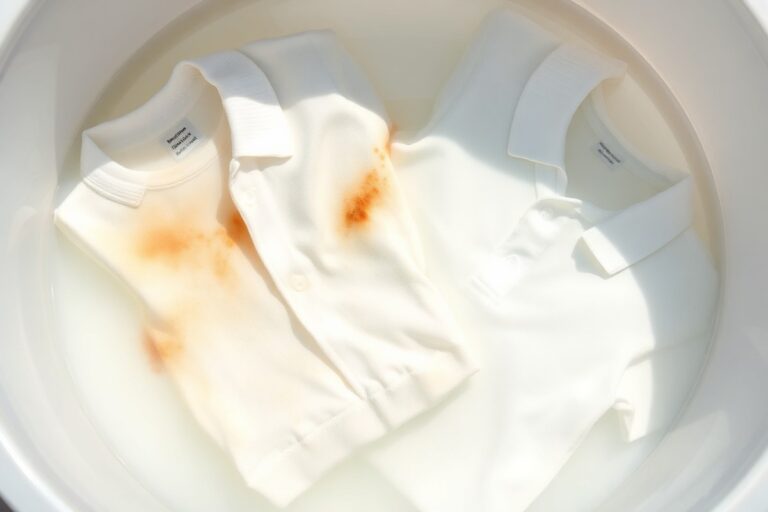
Bleaching a shirt requires careful attention to detail and timing to produce a clean lightening effect without damaging the fabric. Using the right bleach solution and proper protective gear helps you stay safe and avoid unwanted stains on your skin or clothes. The key is to dilute the bleach correctly, soak the shirt for the right amount of time based on how light you want it, and then rinse immediately to stop the bleaching process before the fabric weakens or holes appear.
- Put on protective gear and prepare your workspace. Wear rubber gloves and long sleeves to protect your skin. Choose a well-ventilated area and lay down plastic or newspapers to catch drips. Have two buckets ready: one with your bleach solution and one with water or a bleach-neutralizing solution like hydrogen peroxide mixed with water.
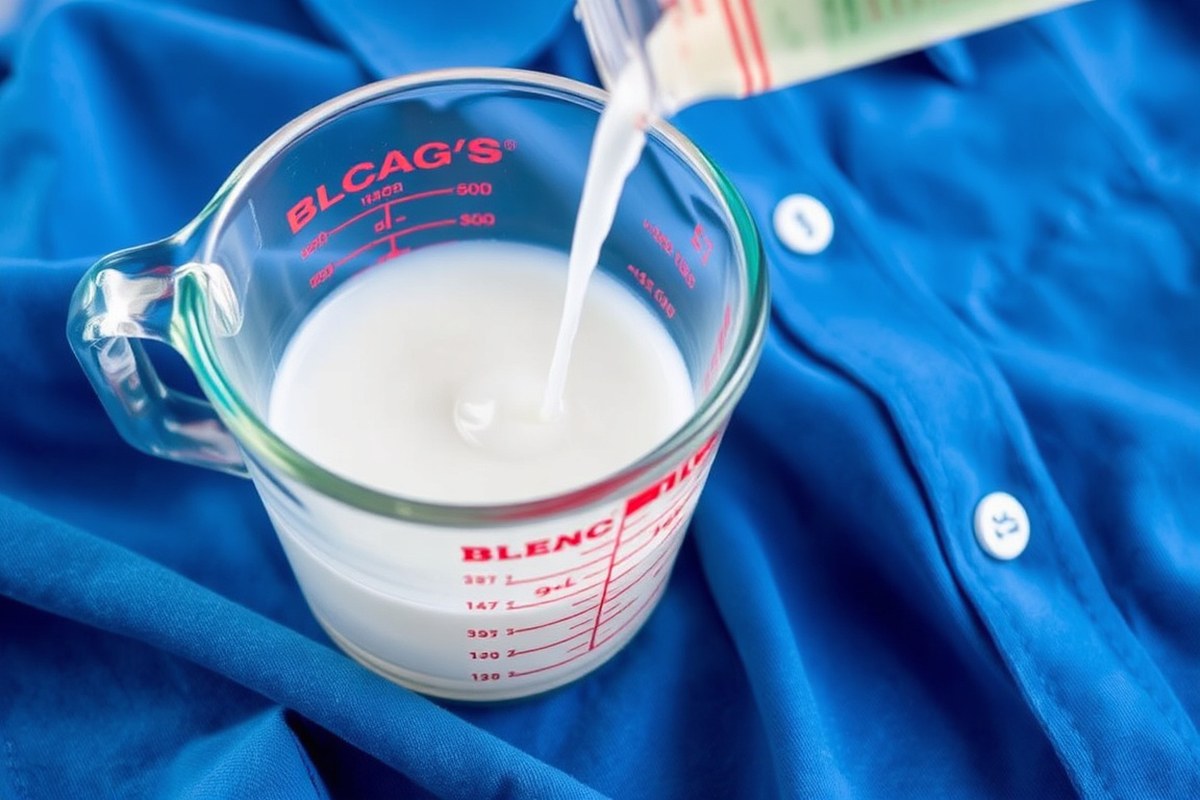
- Mix your bleach solution carefully. Use 1 part regular bleach to 5 parts water for cotton shirts. Avoid using undiluted bleach, as it can cause uneven splotches or severely damage the fabric. For polyester blends, a spray of equal parts bleach and water is better, applied for a short time in the sun.
- Submerge your shirt fully in the bleach solution. Use a wooden spoon or tongs to keep the shirt submerged and prevent uneven bleaching. Timing depends on your desired lightness, start checking at 10 minutes. Do not leave the shirt soaking longer than 1 hour, as prolonged exposure will weaken the fabric fibers and may cause holes.
- Remove the shirt once it reaches your preferred color. You can pull it out before it turns completely white if you prefer a lighter shade. Be aware that color changes can happen quickly, so watch carefully during soaking.
- Rinse the shirt thoroughly in cold water immediately after bleaching. This step is important to stop the bleach from continuing to act on the fabric. Rinse until all bleach residues are gone and no more color is washing out.
- Check for any crystallized bleach powder on the shirt once dry. This appears as a fine powdery residue; if present, run the shirt through a dryer cycle for about 30 minutes to remove it safely.
- Rinse the bleached shirt on its own using cold water and a gentle detergent. This step clears out leftover bleach and helps fix the color you created. Skip hot water since it can harm the fabric.
This step-by-step approach helps you safely and effectively bleach a shirt, with clear timing and rinsing instructions to keep your fabric in good condition. Overbleaching or skipping the rinse can weaken the shirt or cause stains that cannot be fixed.
2. Choosing the Best Shirts and Bleach Types for Bleaching

Start by picking a 100% cotton shirt if you want clear, crisp bleaching results. Cotton’s natural fibers absorb bleach well, making color removal effective and even. Avoid shirts with high synthetic blends like polyester because bleach doesn’t remove color evenly on synthetic fibers, and can leave yellow stains or uneven patches. For example, a blend with 65% polyester and 35% cotton is often used in sublimation printing, but this type won’t bleach as uniformly as a pure cotton shirt.
Colored shirts can be bleached if you choose the right kind of bleach. Chlorine bleach works best on white cotton fabrics. It breaks down the chromophores that give fabric its color, but it will completely remove color and can seriously damage non-cotton fibers. For colored shirts, use oxygen bleach, also called color-safe bleach. It’s milder, less likely to harm fibers, and designed to lighten clothes without stripping all the color. Check the shirt’s care label for instructions, if it says “non-chlorine bleach only,” use oxygen bleach or hydrogen peroxide.
| Bleach Type | Best Fabric Type | Recommended Use | Safety Notes |
|---|---|---|---|
| Chlorine Bleach | 100% Cotton Whites | Full color removal, whitening white cotton shirts | Harsh, can damage synthetics and colored fabrics |
| Oxygen Bleach | Cotton and Colorfast Colored Fabrics | Lightens colors while preserving fabric color integrity | Mild, safer for colored and synthetic blends |
| Hydrogen Peroxide | Non-chlorine labels or delicate fabrics | Gentle whitening and stain removal | Less damaging than chlorine bleach |
| Natural Alternatives (e.g., Lemon Juice) |
Delicate or lightly stained shirts | Mild brightening and subtle bleaching effects | Works best with sun exposure, less potent |
Use chlorine bleach only on white, pure cotton shirts and avoid leaving it on for more than 10 minutes to prevent fabric damage. Oxygen bleach might take longer to show results but it’s gentler and can be used on colorfast colored fabrics, maintaining color brightness without harsh fading. Always do a spot test first on colored shirts to check for colorfastness and fabric reaction.
Never use chlorine bleach on polyester blends or colored shirts, as it can cause fiber damage and severe discoloration.
Pay attention to the label’s care instructions and fabric composition to select the right bleach type and avoid ruining your shirt. Oxygen bleach usually costs a bit more than chlorine bleach but is worth the extra cost for safety on colored fabrics and synthetics. Your bleaching results will look best when the fabric is compatible with your bleach choice and you follow recommended timing and concentration guidelines.
3. Preparing Your Workspace and Shirt for Bleaching
Preparing your workspace and shirt carefully before bleaching is important to protect your skin, eyes, and clothes while ensuring the best results. Wearing safety gear, setting up proper ventilation, and testing the shirt will help prevent unwanted damage or health risks during the process.
Essential Safety Gear and Protective Measures
Wear rubber gloves to shield your hands from harsh bleach chemicals, which can cause skin irritation or burns. Safety goggles protect your eyes from splashes that could trigger serious irritation or injury. Avoid wearing your regular clothes during bleaching to prevent accidental stains. Washing your hands thoroughly after handling bleach is important to minimize skin exposure.
Make sure to read and follow the safety instructions on your bleach product’s label. If bleach contacts skin and irritation lasts more than a few minutes, contact a healthcare professional. Using bleach outdoors or in a well-ventilated area reduces the risk of breathing in harmful fumes.
Pre-Washing and Testing the Shirt
Start by washing the shirt without fabric softener to remove dirt, oils, and sizing that may block the bleach from reacting evenly with the fabric. Avoid using dryer sheets as their residue can interfere with bleaching. Always do a spot test by applying a diluted bleach solution to a small, hidden area of the shirt to check for fabric damage or unexpected color changes.
Allow the test spot to sit for several minutes, up to five, then rinse thoroughly and let it dry. This helps you determine whether the fabric can handle the bleach without weakening or discoloring unevenly. Testing is especially important for shirts with prints, mixed fabrics, or polyester blend materials.
Workspace Setup with Ventilation and Coverings
Set up your bleaching area in a well-ventilated space, such as outside or near an open window with a fan running. Bleach fumes can irritate your respiratory system if inhaled over time. Cover your working surface with plastic sheeting, old towels, or disposable tablecloths to catch spills and protect your furniture. Avoid working on carpet or delicate surfaces that bleach could permanently stain.
Keep a bucket of water or a hydrogen peroxide solution nearby to neutralize bleach spills quickly. This preparation allows you to work efficiently and safely without scrambling if an accident happens.
Organizing Bleach and Mixing Tools
Gather all materials you’ll need before starting to avoid leaving bleach unattended. Use a plastic container with a secure lid for mixing bleach solutions, following recommended dilution ratios like 1 part bleach to 10 parts water for typical shirt bleaching. Keep paper towels handy to dab excess bleach off the shirt quickly and prevent over-bleaching in one spot.
- Rubber gloves and safety goggles
- Plastic container or spray bottle for bleach solution
- Measuring cups and spoons for accurate mixing
- Old towels or plastic sheeting to protect surfaces
- Paper towels for blotting excess bleach
- A bucket with water or a 10:1 water/hydrogen peroxide solution
- The pre-washed shirt, ready to bleach
Have all your bleach supplies within reach to maintain control and timing. Remember that bleaching can take 30 minutes to an hour or longer depending on shirt color and fabric, so prepare to keep everything organized throughout the process to avoid rushed mistakes.
4. Factors That Affect Bleaching Results and Timing
The fabric blend plays a big role in how bleaching affects your shirt and how long it takes to lighten. Natural fibers like cotton typically bleach faster and more evenly than synthetic fibers such as polyester. For shirts with at least 65% polyester, bleaching results will be less dramatic, often requiring longer exposure or stronger bleach concentrations to see a noticeable change. On the other hand, bleach can damage or weaken delicate fabrics like wool or mohair, so these usually need milder agents like hydrogen peroxide instead.
Bleach concentration also impacts the timing and effect. Household bleach usually has about 5, 6% sodium hypochlorite. Diluting it with water slows the bleaching process but lowers the risk of fabric damage. For example, a 1:1 ratio of bleach to water can lighten cotton shirts visibly within 3 to 5 minutes, while a more diluted mix may take 10 minutes or more. Soaking shirts too long, beyond 10 minutes, can cause weakening or holes, especially on sensitive fabrics.
Temperature matters, too. Warmer temperatures speed up the chemical reaction of bleach. Using bleach at room temperature or slightly warmer (around 70 to 80°F) typically produces results within 3 to 10 minutes. Cooler environments slow the bleaching, possibly requiring extra time or a second application. Cold water or fridge-cold air can hinder how quickly the bleach lightens the fabric.
Sunlight can naturally bleach shirts but far more slowly than chemical bleach. Leaving a shirt in direct sun for about 7 to 8 minutes may brighten certain areas lightly. This method won’t deliver strong or even bleaching like the chemical method, though sunlight is a good afterstep to brighten faded areas gently without fabric damage. Combining sunlight after bleaching can improve lightening but won’t replace bleach’s faster action.
In practice, you can choose your timing based on fabric and desired effect. For a mostly cotton shirt, start testing bleach for about 3 minutes, checking frequently. For polyester blends, expect 5 to 10 minutes, adjusting the bleach strength to avoid damage. Avoid soaking in bleach longer than 10 minutes except on thick or sturdy materials, and always rinse immediately afterward. If using sunlight, plan for a longer exposure and monitor color changes slowly.
Bleaching results vary with fabric type, bleach strength, temperature, and light. Taking time to test small spots and adjusting based on fabric and environment gives you control over how your shirt looks after bleaching. Gloves and a well-ventilated space help prevent accidental spots during this careful timing process.
5. Using Stencils and Spray Techniques with Bleach
Using stencils with bleach lets you create sharp, custom designs on your shirt. Spraying bleach allows for controlled patterns while keeping bleach where you want it. You can manage bleach spread by diluting it and choosing an appropriate spray nozzle. Drying your shirt in sunlight after rinsing helps set the pattern and brightens the bleached areas.
Selecting and Preparing Stencils
Choose a stencil made from a non-porous material like freezer paper or acetate to prevent bleach from seeping underneath. You can buy pre-made designs or cut your own using craft knives or cutting machines. Use spray adhesive or iron the stencil down to ensure it stays flat against the shirt’s fabric. This prevents the bleach from bleeding under the edges, giving you crisp lines.
For best results, pick solid shapes rather than intricate, thin lines, which are harder to stencil cleanly. Test your stencil on a scrap piece of fabric or an old shirt first to fine-tune placement and technique.
Mixing and Applying Bleach Solution via Spray
Mix equal parts household bleach and water in a clean spray bottle. Use a 50/50 ratio for more control and less harsh bleaching, especially on cotton or colored shirts. Before spraying, shake the bottle to blend the mixture evenly. Position the shirt flat on a protected surface with the stencil secured.
Lightly spray the exposed areas through the stencil. Avoid heavy sprays or large mists, which cause uneven bleaching and overspray outside the stencil boundaries. Hold the bottle about 6 to 12 inches away to reduce drip and spread.
Spraying too close or using undiluted bleach can cause excessive spread and weaken fabric fibers.
- Mix a 50/50 ratio of bleach and water in your spray bottle.
- Place the shirt flat and secure the stencil tightly.
- Spray a light, even coat of bleach through the exposed stencil areas.
- Apply in several light passes rather than one heavy spray.
- Check the shirt every 2 to 3 minutes to monitor bleaching progress.
Timing and Monitoring the Bleaching Process
Bleach usually starts to lighten fabric within 5 to 10 minutes. Keep a timer nearby and check the color every few minutes to stop bleaching once you achieve your desired look. The environment affects speed: warmer rooms and direct sunlight speed up bleaching.
Wear gloves and work in a well-ventilated space to reduce exposure to bleach fumes. Avoid oversaturating the shirt, as too much bleach can cause fabric damage and holes.
Removing Stencils and Final Rinsing
After reaching the right shade, carefully remove the stencil to avoid smearing bleach onto other areas. Submerge the shirt immediately into a bucket containing a 10:1 water to hydrogen peroxide solution to stop the bleaching reaction. Soak for about a minute to fully neutralize the bleach.
Rinse thoroughly with cold water to wash out remaining bleach and set the design. Dry the shirt in bright sunlight if possible, which helps brighten the bleached areas and prevents mildew. Avoid drying inside or in damp conditions to preserve the pattern quality.
6. Stopping the Bleach and Proper Aftercare
Stop the bleaching process by rinsing the shirt thoroughly with cold water as soon as you reach the desired color. Follow this with a careful washing cycle to remove bleach residues, then air-dry or tumble dry on low heat to preserve the shirt’s quality and appearance.
Neutralizing the Bleach Quickly
Bleach keeps working as long as it stays on the fabric, which can cause over-lightening or weaken the material. To halt this, you need to stop the chemical reaction right away. The most effective way is to remove the shirt from the bleach solution and rinse it thoroughly with cold water. This cooldown prevents the bleach from continuing to break down the shirt fibers.
When you don’t have immediate access to running water, soak your shirt in a water and hydrogen peroxide mix, which neutralizes the remaining bleach. Washing the shirt alone in a washing machine right after rinsing or soaking also finishes neutralizing bleach safely.
Thorough Rinsing Techniques
Rinse the shirt under cold running water for at least 3 to 5 minutes to flush out all traces of bleach. Use your hands to gently rub the fabric during rinsing to ensure deep saturation and removal. Cold water is critical since warm or hot water can keep the bleach active longer and damage the fabric.
For stubborn or heavy bleach use, consider soaking the shirt in clean cold water for 10 to 15 minutes after the initial rinse. Check that no bleach smell or yellowish residue remains before moving on to washing. Thorough rinsing preserves the shirt’s structure and prevents holes or stiffness.
Washing Recommendations
After rinsing, wash the bleached shirt separately to avoid cross-contamination. Use cool water and a mild detergent to remove any bleach residues and the chemical scent. Avoid hot water, which may set any residual bleach stains or weaken fibers further.
Use a normal wash cycle but do not mix with other clothes unless you have multiple bleached shirts to wash together. Washing separately protects other garments, especially if some bleach remains. A gentle cycle prevents excessive wear on the fabric.
- Place the rinsed shirt in the washing machine alone or with other bleached shirts.
- Add mild detergent designed for delicate fabrics.
- Set water temperature to cold or cool, not warm or hot.
- Choose a normal or gentle cycle based on your machine options.
- Run the wash cycle completely.
- Optional: Add a second rinse cycle to ensure all detergent and bleach residues are removed.
Drying and Storing Bleached Shirts
After washing, air drying is best for maintaining the shirt’s strength and colour. Hang the shirt in a shaded, well-ventilated area to avoid sun bleaching or fabric damage. Let the shirt dry completely before handling or storing.
Should you prefer to use a dryer, tumble dry on the lowest heat setting to prevent shrinkage or heat damage. Avoid high heat, which can weaken fabric fibers already stressed by bleach. Once dry, store the shirt in a cool, dry place away from direct sunlight to preserve its look and integrity over time.
Limit washing frequency to keep the bleached design vibrant and the shirt fabric durable. Spot clean when needed and only wash fully when necessary to extend your bleached shirt’s life.
7. Troubleshooting Common Bleaching Problems
Uneven bleach spots often result from inconsistent application. Using a spray bottle set to a fine mist ensures an even distribution of bleach over the shirt’s surface. Hold the bottle about 12 inches away and spray in sweeping motions, overlapping slightly to prevent blotches. Avoid spraying from uneven distances or concentrating too long on one area, as these habits create patchy results. When some spots aren’t light enough, spray them lightly once more, blot extra bleach with a clean cloth, and wait a few minutes to check the change.
Negative fabric discoloration usually occurs when bleach reacts with dyes or stains in unexpected ways. In some cases, areas intended to remain unbleached might take on yellow or brown hues after exposure. To prevent this, rinse the shirt promptly and thoroughly once the desired bleaching level is reached, using cold water to stop the chemical reaction. Neutralizing the bleach with a solution of water and a small amount of hydrogen peroxide or a commercial bleach neutralizer helps eliminate lingering bleach that can further damage fabric fibers.
Over-bleached or damaged fabric appears thin, rough, or has tiny holes. This happens when bleach is left on too long or applied too heavily. After spotting damage, immediately rinse the shirt well in cold water to remove remaining bleach. To repair small damaged areas, dab fabric glue beneath weak spots to stop further tearing, or consider adding fabric patches creatively. Avoid ironing or washing over weakened fabric until it fully dries and strengthens slightly. In future projects, reduce bleaching time or dilute bleach with water to 50% to protect fabric integrity.
Crystallized bleach powder deposits show up when undissolved bleach settles on the shirt during application. These powdery crystals burn fabric and leave rough, discolored marks. Using liquid bleach rather than powder minimizes this risk. When using powder, dissolve it fully in plenty of water before applying. When crystals form, avoid rubbing them in; gently rinse the area with cold water and blot dry instead. Keeping the bleach solution well mixed during spraying prevents settling and uneven concentration.
Effective prevention combines consistent technique with attention to timing. Use a spray bottle, hold it evenly at a steady distance, and monitor your shirt every 2 to 3 minutes during bleaching. Rinse promptly once you reach the lightness you want to protect fabric and colours. Avoid using high-strength bleach for longer than 10 minutes. Performing a test spray on an inconspicuous fabric patch can help you adjust timing and concentration before working on the entire shirt. These steps reduce surprises and improve your bleaching results.
8. Environmental and Safety Best Practices When Bleaching
Disposing of leftover bleach requires care to avoid harming yourself and the environment. Do not pour bleach directly into storm drains or onto the ground, as it can contaminate water sources and soil. Instead, dilute small amounts by mixing bleach with plenty of water before pouring it down a household drain connected to a sewage treatment system. For larger quantities, contact your local waste disposal authority for guidelines on hazardous chemical disposal. Always store bleach in its original container with the label intact until you can dispose of it properly.
Wearing the right protective gear is important for your safety when working with bleach. Gloves made from nitrile or rubber protect your skin from irritation and burns. Eye protection such as safety goggles or glasses will prevent splashes from causing serious eye damage. Work in a well-ventilated area to reduce inhaling bleaching fumes, either outdoors or near an open window or fan. Avoid enclosed spaces to minimize respiratory risks. Cover surfaces you want to keep clean with plastic or old towels to prevent accidental bleach damage.
- Wear rubber or nitrile gloves to protect your hands
- Put on safety goggles to shield your eyes
- Work outdoors or near an open window for ventilation
- Cover work surfaces to avoid accidental bleach stains
- Never mix bleach with ammonia or other cleaners
- Rinse skin immediately with water if bleach contact occurs
If you get bleach on your skin, rinse the area immediately with cool water for at least 15 minutes. Remove contaminated clothing to avoid prolonged exposure. For eye exposure, flush the eyes with clean water for at least 15 minutes and seek medical attention promptly. Do not use creams or ointments without medical advice, as they can worsen the irritation.
Eco-friendly bleach alternatives, like oxygen-based bleach or hydrogen peroxide, are milder options for bleaching shirts. These products generally break down into harmless substances and are better for the environment, though they may take longer to work. Always check the label for safe usage instructions and test on a scrap fabric piece first. These alternatives still require gloves and ventilation while handling to avoid skin or respiratory irritation.
Always avoid mixing bleach with other household chemicals, especially ammonia, as this creates toxic gases that can be very dangerous.
Step-by-Step Action Plan for Bleaching Your Shirt
Follow these clear steps to bleach your shirt safely and get the look you want without damage.
- Before you start: Choose a 100% cotton shirt or a natural fiber blend and test a small hidden area with diluted bleach. Check for color loss and fabric integrity.
- Setup phase: Prepare your workspace with gloves, ventilation, and plastic coverings to avoid damage or fumes. Lay the shirt flat on a protected surface.
- Application: Use a spray bottle with a bleach-water mix (1 part bleach to 3 parts water) or apply with a stencil for patterns. Stop if fabric weakens or colors change unexpectedly.
- Monitoring: Watch the shirt for 5 to 15 minutes as the bleach lightens the fabric. Remove bleach promptly once the desired shade is reached to prevent holes.
- Stopping the bleach: Rinse the shirt thoroughly in cold water to halt the bleaching process. Wash separately with mild detergent afterward.
- Drying: Air dry the shirt away from direct sunlight to avoid further fading or damage. Inspect fabric strength before wearing.
- Aftercare: Use color-safe detergent on future washes and avoid bleach to maintain the design and fabric quality.
Frequently Asked Questions
What Type of Bleach Should I Use for Different Shirt Colors?
Use regular bleach for white shirts and color-safe bleach for colored ones; this prevents damage while still lightening the fabric effectively. Check the label for any warnings about bleach use.
How Long Should I Soak a Shirt in Bleach Solution?
Soak the shirt for 10 minutes to 1 hour depending on how light you want it and the fabric type. Check periodically to avoid over-bleaching and fabric damage.
Can Bleach Crystallize on Shirts and How Do I Fix It?
Yes, crystallized bleach looks like fine powder on the shirt. Run the shirt in a dryer for about 30 minutes to remove it safely.
Is It Necessary to Dilute Bleach Before Applying It to Polyester Shirts?
Mix equal parts bleach and water for high-polyester shirts. Undiluted bleach can damage the fabric, while diluted bleach lightens effectively when combined with sun exposure.
How Quickly Do Bleaching Effects Appear on Shirts?
Lightening can be seen within 5-10 minutes with undiluted bleach on cotton. Times vary based on fabric and bleach strength.
Can I Bleach a Shirt with Spray Instead of Soaking?
Yes, spraying a light coat of bleach, especially with stencils, works well for patterns. Avoid heavy spray to prevent unwanted bleach spread.
Before You Go
Bleaching a shirt requires careful preparation and timing to get the effect you want while protecting your fabric. Start with a test, apply diluted bleach cautiously, and rinse quickly once you see the right lightening. Your next step is to pick a suitable shirt and gather your materials to try this process safely and confidently.