How to Remove Stains from Clothing: 8 Effective Methods That Work Fast
Removing stains from clothing quickly and safely involves treating the stain right away, using the right cleaning agents, and selecting the correct water temperature. For most stains, applying a stain remover or liquid detergent directly and letting it sit for about 15 to 30 minutes before washing in cold water produces the best results. This advice is for anyone tired of tossing stained clothes who wants practical, effective methods to clean and preserve their garments at home. The following tips cover simple processes and household solutions that target common stains like sweat, juice, grass, and deodorant.
You will learn how to identify different types of stains and why each requires a specific treatment approach. The methods include safe pretreatment techniques, using ingredients like hydrogen peroxide and vinegar, and tips on avoiding mistakes that worsen stains. Understanding these essentials helps you save clothes and extend their life without harsh chemicals or professional help except when absolutely necessary.
Key Takeaways
- Act quickly by applying stain remover or liquid detergent to the stain and let it sit for 15 to 30 minutes before washing.
- Use cold water to soak juice stains for 30 minutes and treat with distilled white vinegar for better stain removal.
- To remove sweat stains, soak your clothes in a blend of 2 cups of water and 1 cup of white vinegar for 30 minutes.
- For dingy whites and underarm stains, soak the affected area in a 50/50 mix of 3% hydrogen peroxide and water for 30 minutes.
- Scrub grass stains with liquid dish soap or treat them with a 50/50 hydrogen peroxide and water mixture for effective cleaning.
- For stubborn yellow stains, blend 3% hydrogen peroxide with baking soda into a paste and apply it before laundering.
1. How to Remove Stains from Clothing Quickly and Safely
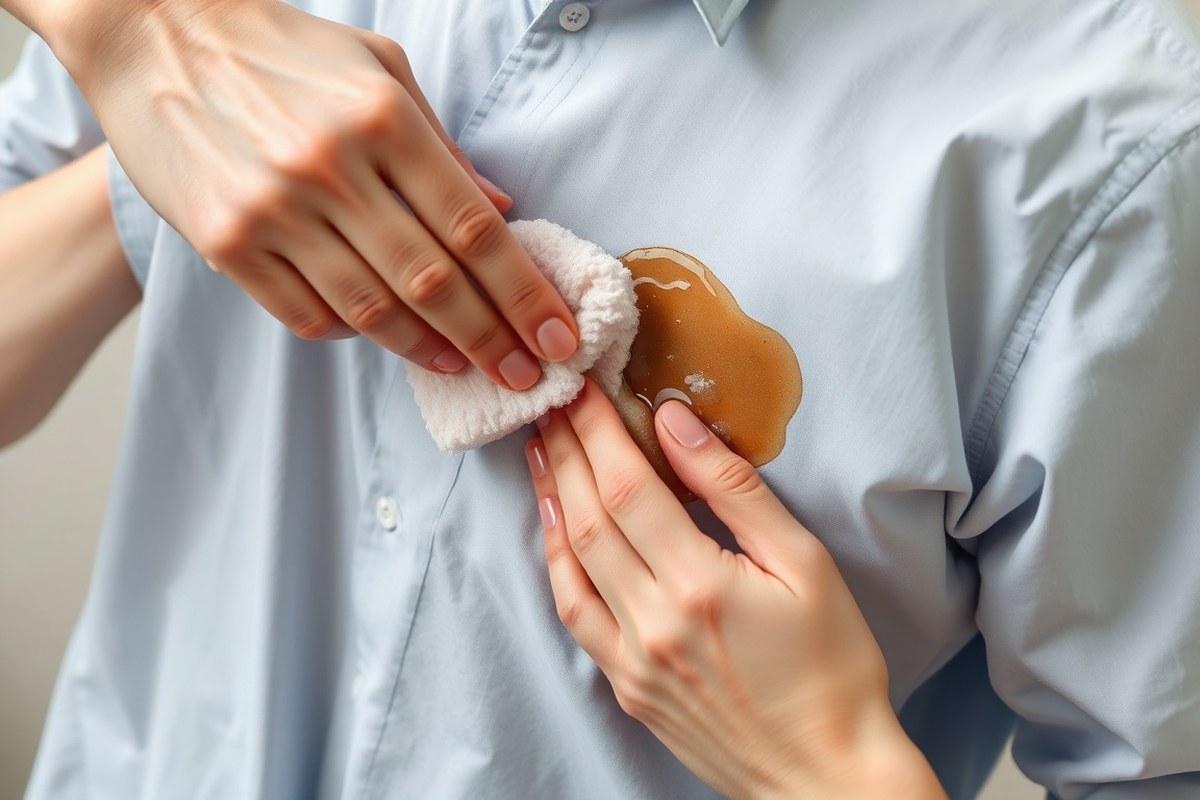
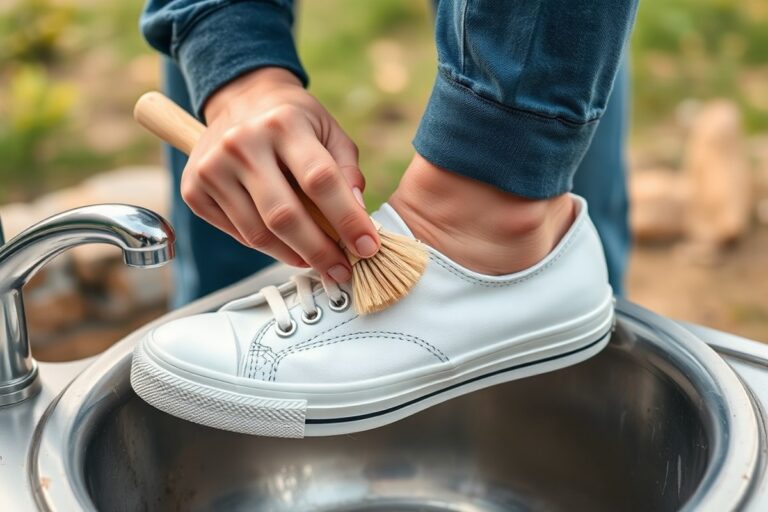
Acting fast after a stain happens is key to preventing it from setting permanently. The first step is to check your clothing’s care label to understand the fabric’s sensitivity to water and detergents. Use cold water to flush most fresh stains, especially juice, blood, or protein-based stains, to avoid cooking the stain into the fabric. Avoid rubbing the stain harshly, which can spread it or push it deeper into the fibers. Instead, gently blot with a clean cloth or paper towel to lift excess liquid. Having a small stain removal kit ready, such as a spray bottle with distilled white vinegar, liquid detergent, rubbing alcohol, and a soft-bristled brush, can speed up treatment at home.
Waiting too long to treat a stain can reduce the chances of removal. Soaking the stained area in water or a suitable solution should start within 30 minutes if possible. After initial treatment, washing the garment according to fabric care guidelines should happen within a few hours to prevent the stain from settling. Some fabrics can’t handle certain treatments; for example, rubbing alcohol may affect some colors, so always test in a hidden spot first.
- Inspect the stain and clothing label. Confirm fabric type and washing instructions to avoid damage. Use cold water for most stains, but hot water might help for greasy or deodorant marks.
- Remove excess debris carefully. Use a dull knife or the edge of a spoon to scrape away solids like makeup or nail polish without spreading them.
- Rinse the stain from the back if possible. This pushes the stain out of the fibers instead of deeper inside. For berry or juice stains, soak the fabric in cold water for 30 minutes first.
- Apply an appropriate treatment. Use white vinegar on juice or sweat stains (rinse well afterward), rubbing alcohol for ink stains on colorfast fabrics, or a mild enzyme detergent on grass or protein stains. Let the treatment sit for 15 to 30 minutes.
- Soak stubborn stains. Soak the garment for at least 30 minutes, up to an hour, according to the care label’s warmest water recommendation, using enzyme detergent for best results.
- Blot gently instead of rubbing. Rubbing can enlarge or embed the stain. Dab gently with a clean cloth to lift the stain.
- Wash promptly and separately. Run the garment through the washing machine soon after treatment, alone or with similar colors, to avoid staining other clothes or setting the stain further.
- Air dry and check. Heat from a dryer can set stains. Let clothes air dry and inspect the stained area before using heat to finish drying.
Having distilled white vinegar, hydrogen peroxide (3%), liquid detergent, rubbing alcohol, and a soft brush can cost around $10 to $20 combined and provide versatile treatment options. Accurate application and timing lead to better stain removal, whereas delayed treatment or ignoring fabric care risks permanent damage.
2. Understanding Different Stain Types and Their Needs
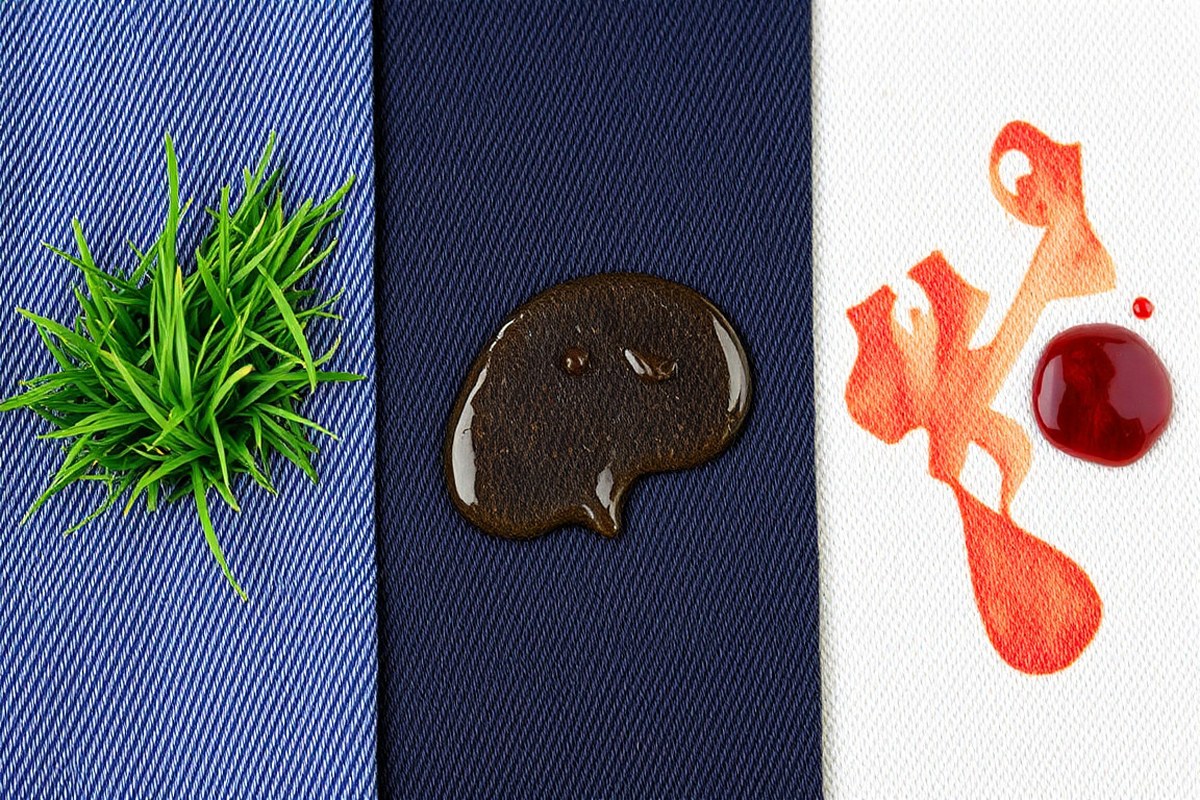
Stains on clothing fall into different chemical categories, and understanding these helps you pick the right removal method. Protein stains include blood, egg, gelatin, urine, and vomit. These stains bind tightly to fabric fibers and react badly with heat, so always rinse protein stains with cold water immediately to avoid setting them.
Oil-based stains like grease, cooking oil, or makeup cling deep into fabric fibers. Rinsing with plain water often just spreads the stain rather than removing it. Treat oil stains with warm or hot water combined with a degreasing detergent, which helps break down the oils. Acidic stains such as coffee, tea, or red wine respond better to enzyme detergents and cold water to avoid permanent discoloration.
Different stains require different water temperatures and treatments because of how they interact with fabric. Protein stains need cold water initially, since hot water “bakes” the stain in. Oil stains tolerate and even need warm or hot water to dissolve the grease. Acidic stains are best treated with enzyme detergents using cold or lukewarm water to neutralize tannins without causing damage.
The table below compares main stain types, how they behave, and the recommended treatment conditions:
| Stain Type | Examples | Behavior on Fabric | Water Temperature | Recommended Treatment |
|---|---|---|---|---|
| Protein | Blood, egg, gelatin, urine, vomit | Binds tightly, sets with heat | Cold water | Rinse cold, apply enzyme detergent, soak if stubborn |
| Oil-based | Grease, cooking oil, makeup | Clings inside fibers, spreads with water | Warm to hot water | Pre-treat with degreaser or detergent, wash warm |
| Tannin (acidic) | Coffee, tea, red wine | Discolors fabric, acid-based | Cold to lukewarm water | Rinse cold, use enzyme detergent, avoid hot water |
For delicate fabrics, like silk or wool, avoid harsh or prolonged soaking. Mix a mild detergent with cold water and gently work the solution through the stain. Always test any remover on an inconspicuous fabric area first to prevent damage. Cotton and polyester generally tolerate enzyme detergents well, speeding up protein stain removal.
Never use hot water first on protein stains like blood, as this can permanently set the stain into the fabric fibers.
Acidic stains need a different type of remover than oily stains because oils require agents that break down grease molecules. Acidic stains involve tannins, so enzyme detergents that digest organic matter are more effective. Applying the wrong treatment can make a stain harder to remove or even worse. Identifying the stain type promptly and using the correct water temperature along with targeted detergent improves results and extends your clothes’ lifespan.
3. Safe Pretreatment Techniques to Boost Stain Removal
Pretreating stains before washing is a key step in removing stubborn marks effectively. It softens and breaks down the stain, increasing the chances that your wash cycle will fully lift it. Using either homemade solutions or commercial products can improve your results safely and economically.
Homemade Pretreatment Recipes
Simple household items can create effective pretreatment solutions tailored for different stains. For example, a paste made from equal parts baking soda and white vinegar works well on grease and food stains. Another reliable approach is rubbing a lemon slice gently over the stain to use natural acids that break down pigments. Here is a basic recipe and method to make your own pretreatment paste:
- Mix 2 tablespoons of baking soda with 2 tablespoons of white vinegar to form a paste.
- Apply the paste directly onto the stained area using a soft cloth or your fingers.
- Rub the paste gently into the fabric to increase contact and penetration.
- Let the paste sit on the stain for at least 30 minutes, but not more than an hour to avoid fabric damage.
- Rinse the area with cold water before laundering as usual.
Combining ½ cup hydrogen peroxide with ½ cup baking soda and adding it to your wash can remove tough stains. Fresh spots like wine or fruit juice respond well to scrubbing with lemon and salt.
Top Commercial Pretreatment Products
Commercial pretreatment sprays and powders offer strong formulas designed specifically to target various stain types safely. For grease and oil stains, Tide Ultra Oxi Boost is highly effective and consistently outperforms many competitors. For a gentle yet powerful option, Puracy Stain Remover Free & Clear works well but requires a longer pretreatment time, about 24 hours for set-in stains. Here are some recommended products:
- Tide Ultra Oxi Boost: Best for greasy and oily stains.
- Puracy Stain Remover Free & Clear: Good for sensitive skin, needs overnight pretreatment on stubborn stains.
- Shout® Triple-Acting: Especially effective on food-related stains, with a quick action time.
- Biz Stain & Odor Eliminator: Popular but less effective than Tide for soaking set-in stains.
The choice depends on your fabric and stain type. Enzyme detergents are excellent for protein-based stains like sweat or blood and should be used in warm water when washing.
Timing and Application Tips
The effectiveness of pretreatment depends heavily on timing and application. For fresh, dry stains, waiting 1 to 5 minutes after applying the product or homemade paste is usually sufficient before washing. Set-in or older stains benefit from longer soaking or pretreatment, anywhere from 30 minutes up to overnight. Follow these steps for best results:
- Identify the stain type to choose the appropriate pretreatment.
- Apply your chosen pretreatment generously to cover the entire stained area.
- Allow the pretreatment to sit: 1, 5 minutes for fresh stains, 30 minutes or more for older stains, up to 24 hours for deeply set ones.
- Do not allow the pretreatment to dry completely on the fabric, as this can make removal harder.
- For stubborn stains, gently blot with denatured or isopropyl alcohol before washing.
- Wash in the warmest water safe for the garment using an appropriate detergent.
Checking fabric care labels and testing pretreatment on a hidden area can prevent unwanted damage. Avoid scrubbing too hard, which may fray delicate fabrics or spread the stain. Proper timing improve stain breakdown and reduces the need for repeated washing cycles.
4. Removing Specific Common Stains from Clothing
Different types of stains require specific treatments to remove them effectively without damaging your clothes. Understanding the right method and water temperature to use is key to restoring fabric. Below is a table with 10 common stains matched to their best removal methods and water temperatures, followed by step-by-step instructions for each type.
| Stain Type | Best Removal Method | Ideal Water Temp |
|---|---|---|
| Grass Stains | Hydrogen peroxide, clothing brush | Warm |
| Blood Stains | Hydrogen peroxide, liquid detergent pretreatment | Cold |
| Juice/Fruit Stains | Oxygen bleach soak (e.g., Restoration) | Cold |
| Coffee Stains | Blot, liquid detergent, oxygen bleach | Cold |
| Grease Stains | Baking soda, dish soap pretreat | Warm |
| Marker Stains | Stingray spot remover | Warm |
| Sweat Stains | Hydrogen peroxide, liquid detergent | Warm |
| Ketchup/Tomato Stains | Oxygen bleach soak, liquid detergent | Warm |
| Red Wine Stains | Hydrogen peroxide, oxygen bleach | Cold |
| Chocolate Stains | Oxygen bleach soak, liquid detergent | Warm |
The following detailed steps explain how to apply these methods for each major stain category.
Grass and Dirt Stains
Grass stains contain chlorophyll and proteins that bond tightly to fabric fibers. Using hydrogen peroxide helps break down these pigments effectively. Start by dabbing a small amount of hydrogen peroxide onto the stain, then work it in gently with a soft clothing brush. Let it sit for five to ten minutes but avoid prolonged exposure to prevent fabric damage.
After treating, wash the garment in warm water to help lift leftover residues. For heavy stains, pre-soak the area in a water and oxygen bleach solution (one scoop of Restoration per gallon of water) for up to six hours before washing. This treatment also works well on dirt embedded in denim and cotton fabrics.
Coffee, Tea, and Juice Stains
These stains, made from tannins, often resist removal since they soak deep and change color. First, blot the spot right away using a clean cloth to soak up extra liquid, avoiding any rubbing. Next, put some liquid detergent on the stain and softly massage it with your fingers or a gentle brush.
For tougher stains, dissolve an oxygen bleach powder in cold water and soak the garment for several hours. Oxygen bleach safely removes pigment without harming most fabrics. Washing in cold water after soaking helps prevent setting the stain further. Avoid hot water on these stains, as it can cause them to set permanently.
Grease, Oil, and Sauce Stains
Oil-based stains need to be treated to break down the fats before washing. First, blot away any excess grease with a paper towel. Then sprinkle baking soda over the stain to absorb remaining oil; let it sit for 15 to 20 minutes before brushing it off.
Next, apply a small amount of dish soap to the area and work it in gently. Dish soap is formulated to cut through grease effectively. Wash the item in warm water to help dissolve the oil. Repeat treatment or washing as needed, since grease stains may require multiple applications for full removal.
Ink and Marker Stains
Ink stains, especially from markers, can be tricky because many inks are designed to be permanent. Start by placing a paper towel under the fabric to prevent the stain from spreading during treatment. Use a versatile spot remover like Stingray that works on many stains without harsh chemicals. Saturate the stain and let it sit for a few minutes.
Blot with a clean cloth to lift the ink, then wash the garment in warm water. Avoid rubbing vigorously as this can spread the ink or damage the fibers. For delicate fabrics, test the remover on a hidden area first.
Blood and Protein Stains
Blood contains proteins that coagulate and bind to cloth fibers, especially when exposed to heat. Always start stain removal with cold water to avoid setting the stain. Apply hydrogen peroxide directly on fresh blood stains; it acts as a natural bleach breaking down the proteins.
For older or stubborn stains, apply a liquid detergent pretreatment and use a clean toothbrush to gently work the solution into the fabric. Rinse in cold water before laundering. Avoid hot water and drying the fabric until the stain is fully removed, as heat can fix blood stains permanently.
5. How Water Temperature Affects Stain Removal Success
Cold water is generally the safest choice for removing most stains because it prevents protein-based and some pigment stains from setting deeper into fabric fibers. Using cold water around 65-75°F reduces the risk of heat fixing stains like ketchup or blood, which hot water can permanently set. For tougher stains on sturdier fabrics, warm water (85-105°F) can improve detergent performance and help dissolve oils without causing damage.
Delicate fabrics such as silk, cashmere, and wool require the gentlest care, meaning cold water combined with mild detergents or enzyme cleaners is best. Hot water risks shrinking or weakening these materials. On the other hand, cotton and synthetics often tolerate warm water, which can improve stain removal but should be used cautiously depending on the stain type. Hot water (120-140°F) is effective for removing oily or greasy stains from durable fabrics but may damage colors or delicate fibers. The chart below shows recommended water temperatures by common stain types and fabric safety guidelines.
| Stain Type | Recommended Water Temperature | Fabric Considerations |
|---|---|---|
| Ketchup | Cold (65-75°F) | All fabrics; avoid hot water to prevent setting |
| Blood | Cold with enzyme detergent | Delicates: soak gently; sturdy fabrics: wash normally |
| Coffee | Hot water with organic soap | Durable fabrics only; avoid hot water on delicates |
| Urine | Warm water with baking soda solution | Test fabric first; suitable for most washable fabrics |
| Deodorant | Cold with baking soda, hydrogen peroxide mix | All fabrics; test first on colored garments |
| Oil and grease | Hot water (120-140°F) | Only durable cotton/synthetics; avoid delicates |
Start treating an unknown or mixed stain by rinsing with cold water; this reduces the chance of setting the stain and damaging the fabric. Use enzyme detergents with cold water for protein-based stains like blood and sweat, especially on delicates. Warm water helps with organic stains like urine when mixed with baking soda, loosening residues effectively. Reserve hot water for oil or grease on sturdy fabrics, and never use it on delicate or protein stains to avoid permanent damage and shrinkage.
Always test stain removal solutions on a hidden fabric patch first to check for colorfastness and damage before applying them fully.
Handling fabric gently during soaking or washing keeps fibers intact. For delicate materials, soak in cold water with mild detergent and squeeze gently rather than scrubbing. Hard scrubbing or using hot water on delicate items risks stretching or weakening fibers. Proper temperature choice balances effective stain breakdown with fabric care, yielding cleaner clothes without unwanted wear or discoloration.
6. Tips and Tricks Using Household Items for Stain Removal
Household items like vinegar, baking soda, lemon juice, and salt can be effective stain removers when used properly. Vinegar works well on many stains except on delicate fabrics. Baking soda forms absorbent pastes to lift oils and grime. Lemon juice can brighten whites but may affect colored fabrics. Using these safely requires attention to fabric type and stain nature, plus avoiding unsafe mixes like vinegar with hydrogen peroxide directly.
Using Vinegar for Stains
White vinegar is a versatile and affordable stain remover that disinfects and breaks down many stains such as sweat, deodorant, wine, and tea. It works best on cotton, polyester, and other sturdy fabrics but can damage delicate materials like silk or acetate. Always test vinegar on an inconspicuous area first. Mix vinegar with water (a 1:1 ratio) for gentle stain treatment or combine it with baking soda for tougher stains on whites.
To use, pour plain white vinegar directly onto the stain or soak the fabric in a vinegar and water solution for 15 to 30 minutes. Afterward, wash the garment as usual. Avoid combining vinegar with bleach or hydrogen peroxide in the same application, as this can create harmful fumes or reduce cleaning power.
Baking Soda Paste Preparation and Use
Baking soda absorbs oils and lifts stains, making it a good option for grease, sweat, and deodorant marks. Create a paste by mixing ½ cup baking soda, 1 tablespoon salt, and 1 tablespoon 3% hydrogen peroxide for heavy stains like yellow discoloration. For lighter stains, combine 6 tablespoons of baking soda with ⅓ cup warm water.
Apply the paste evenly on the stain, gently rub it in, and let it sit for 15 to 30 minutes. The paste draws out grime and sweat buildup. After treatment, rinse or wash the clothing with an enzymatic detergent to remove all residues. Avoid leaving the paste on too long on dark or delicate fabrics to prevent fading or damage.
Applying Lemon Juice Safely
Lemon juice acts as a natural bleach and is good at removing stains like rust, mildew, or berry stains, especially on whites and light-colored fabrics. Use lemon juice sparingly on colored fabrics, as its citric acid can cause fading or discoloration over time. Always test a small hidden area first.
For stain removal, squeeze fresh lemon juice onto the stain, or soak the garment in diluted lemon juice mixed with water. Let it sit in the sun for up to an hour to boost whitening effects. Rinse thoroughly and launder immediately to avoid permanent bleaching spots.
Precautions and Best Practices
Using household items safely means observing fabric care labels and avoiding harmful combinations. Vinegar and hydrogen peroxide should never be mixed together directly, as they react and lose effectiveness. Lemon juice’s acidity demands cautious use on colored or delicate clothes.
Before applying any mixture, blot excess stain gently without rubbing. After treatment with these natural remedies, wash clothes with a quality detergent to fully remove loosened stain particles and residues.
- Always test natural stain removers on a hidden fabric spot first.
- Use pastes like baking soda mixtures for oil-based and sweat stains.
- Dilute vinegar and lemon juice with water to reduce fabric damage risks.
- Avoid mixing vinegar with bleach or hydrogen peroxide directly.
- Allow lemon-treated stains to dry partially in sunlight for whitening.
- Use enzymatic detergents to wash out pretreated stains completely.
- Handle delicate fabrics gently or avoid household acids and abrasives.
Variations for Different Stains
For greasy stains, sprinkle baking soda first to absorb excess oil, then add a paste with hydrogen peroxide for oxidation. Sweat stains benefit from the baking soda and water paste left to sit overnight. For red wine or tea stains, use diluted vinegar or baking soda paste immediately after blotting excess liquid. To tackle deodorant marks, a baking soda and water paste applied before washing can reduce residue without harming fabric. Boiling water with a splash of vinegar or baking soda can help remove stubborn stains from sturdy whites but avoid this technique on wool or synthetic fibers that shrink or damage with heat.
7. Common Mistakes That Set Stains and How to Fix Them
Applying too much pressure on a stain can harm the fabric fibers and cause the stain to spread and sink deeper into the garment. Gently blotting the stain with a clean cloth or sponge helps lift the dye without pushing it into the fabric. Aggressive scrubbing may lead to thinning or pilling and makes the stain harder to remove.
Putting stained clothes in the dryer before the stain is fully removed sets the stain, causing it to become permanent and nearly impossible to remove. Heat from drying causes chemical changes in the stain, bonding it more securely to the fabric fibers. Always check if the stain is gone before drying. Accidental drying of a stained garment calls for soaking the item in a mix of cold water, white vinegar, and detergent for 30 minutes to loosen the stain fibers.
Ironing stained clothes also fixes the stain, much like drying. Pressing a stain with heat should be avoided; treat the area quickly using stain remover and cold water to prevent it from setting. Cold water helps break down the stain residues without setting them further, unlike hot water, which often worsens protein-based and dye stains. Soak stubborn spots thoroughly before rewashing.
Old stains can still be removed, but it takes more effort and patience. Start by treating the stain with a paste made of detergent and water, then soak the garment in cold water mixed with white vinegar and detergent for at least 30 minutes. Repeat treatments might be necessary. For stains like chocolate or paint, early treatment is more effective, but soaking after applying pretreatment boosts removal, even for older stains.
- Avoid rubbing stains; blot gently instead
- Do not dry clothes until stains are fully gone
- Use cold water for soaking and rinsing stained fabric
- For stains that have dried, soaking the fabric in a vinegar and detergent solution can help reverse the setting process.
- Apply stain remover paste before soaking old stains
- Follow garment care labels to avoid fabric damage
This approach helps protect your clothes from permanent damage and maximizes your chances of removing tough stains at home. Choose cold water over hot, check stains carefully before heat exposure, and treat promptly for best results. These steps typically take less than an hour per attempt and require only household cleaning supplies that cost just a few dollars.
8. When to Use Professional Stain Removal Services
Stains on certain fabrics and stubborn marks can require the skilled hands of a professional to avoid damage and achieve full removal. Clothes made with delicate materials like silk, wool, or vintage linens often react poorly to home treatments, especially when harsh chemicals or high water temperatures are involved. Oil-based paints, set-in ink, and protein stains that have been untreated for a long time also tend to benefit more from expert stain removal. Professionals have specialized solvents and technology that target these tough stains without harming fabric integrity.
Knowing when to seek professional cleaning helps protect your investment in clothing and prevents making stains worse or permanent. You should look for dry-clean-only labels or fabrics that feel fragile and display signs of discoloration or texture change after home attempts. Professionals can also adjust treatments specifically tailored to intricate garment construction or unique dye processes, reducing risks of fading or shrinking. To decide between home treatment and professional cleaning, use this step-by-step checklist. It guides you in assessing the stain type, fabric, and cleaning history, ensuring you choose the safest and most effective option:
- Check the care label for fabric content and cleaning recommendations; dry-clean-only or delicate symbols suggest professional help.
- Identify the stain type, oil-based, dye, protein, or combination, and consider how long it has been on the fabric.
- Attempt gentle home treatment only if the fabric is washable and the stain is recent and light.
- Assess the fabric’s reaction to the home treatment; if discoloration, texture change, or spreading occurs, stop immediately.
- Review the stain history thoroughly before taking the item to professional cleaners, noting the stain’s source, age, and any home treatments used.
- Ask your cleaner what methods and solvents they plan to use on your stain, and whether they guarantee removal or offer a damage waiver.
- Consider the cost of professional cleaning, usually ranging from $10 to $30 per item, higher for complex or oversized garments.
- Decide on professional treatment when stains persist after safe home attempts, or when the fabric is vintage, highly delicate, or has sentimental value.
Avoid wetting wax stains before they dry; wet wax spreads and sets deeper, complicating cleanup for both DIY and professionals.
Step-by-Step Action Plan for Removing Stains from Clothing
Follow these steps in order to tackle most stains effectively and protect your clothes.
- Immediately after the stain occurs: Blot or gently scrape off any excess material using a clean cloth or spoon, avoiding rubbing to prevent spreading.
- Within 5 minutes: Rinse the stained area under cold water to flush out as much of the stain as possible. Check if the fabric tolerates cold water before this step.
- Within 30 minutes: Apply a safe pretreatment, such as a small amount of liquid laundry detergent or a paste made from baking soda and water, directly onto the stain. Wait 10 to 15 minutes to let it work.
- Before washing: Choose the correct water temperature based on the type of stain and fabric: cold for protein stains like blood or sweat, warm for oil-based stains, and hot only if the fabric can handle it.
- During washing: Wash the garment with your usual detergent and the selected water temperature. Avoid using bleach unless the fabric label allows it.
- After washing: Check if the stain is gone before drying. When the stain lasts, repeat pretreatment and washing steps. Avoid heat from the dryer as it can set stains permanently.
- When the stain remains after two attempts: Try specialized stain removers or professional services, especially for delicate or valuable clothing.
Frequently Asked Questions
What Removes Tough Stains from Clothes?
The Lab Co spot stain remover is effective on tough stains, while grease and oil respond well to Tide Ultra Oxi Boost. Always pre-treat the stain and use appropriate cleaning techniques for the stain type.
Can a Stain Be Removed After a Long Time?
Yes, old stains can come out by soaking clothes overnight in cool distilled water mixed with 2 cups of white vinegar before washing. This helps break down the stain fibers without harsh chemicals.
How Do I Remove Hard Stains from Clothes?
Tough yellow stains respond well to a mixture made from 3% hydrogen peroxide and baking soda, applied as a paste directly on the area. After treating the stain, wash the item using an enzymatic detergent for the most effective cleaning.
Does Vinegar Remove Stains?
Vinegar can remove stains like sweat and juice effectively when diluted with water and used to soak the fabric. Treat stains gently and rinse after soaking to avoid fabric damage.
Can I Use Bleach on Colored Clothing Stains?
Bleach can damage or fade colored fabrics, so opt for color-safe stain removers or natural alternatives to protect your clothes while removing stains.
How Soon Should I Treat a Stain After It Happens?
Treat stains as soon as possible to prevent setting; prompt soaking or pre-treating increases your chances of complete removal.
Wrapping Up
Removing stains from clothing starts with quick, careful steps that focus on the stain type and fabric care. Taking action soon after a spill minimizes damage and keeps your clothes looking good longer. Start by keeping basic pretreatment supplies handy, so you’re ready to act right away when a stain happens.